Okay, so as part of the plugsuit I needed a nice glowy orb to go on the chest. You could just do this with a red christmas bauble, but here’s the technique for casting in resin and adding a LED.

Okay, so as part of the plugsuit I needed a nice glowy orb to go on the chest. You could just do this with a red christmas bauble, but here’s the technique for casting in resin and adding a LED.
Lyrcra armour is very simple, all you need is lycra, scissors, some glue and a breather so the glue doesn’t kill you.
Poll results are in! Time to make some plug suit : D
Here are the previous tutorials in this series
| How to make a plug suit part 3- F**king shoes |
| How to make a Plugsuit Side tutorial- Skin tight gloves |
| How to make a plug suit Part 2- Armour/Plugs |
| How to make a Plug Suit Part 1- Mock Up |
Here’s how I made these beautiful skin tight legs.
Here’s the story of how I finally arrived at this wig- I think every project has a moment where everything goes wrong and you have to go cry in a corner for a little while. This wig was mine.
Longest tutorial ever- The full construction of a heavily embroidered and beaded georgian waistcoat, 68 pictures of glory.
While Christian made his shirt for Blackadder, I started work on a vital, but also easiest parts of the costume, the trousers.
I bought 2m of cream taffeta which is rather see through, so I knew I’d have to self line these.
I’ve never made flap fronted trousers so I pretty much followed the instructions to the T. I drew the pattern out on the fabric with a blue chalk, then measured the size I needed for where the embroidery would go.
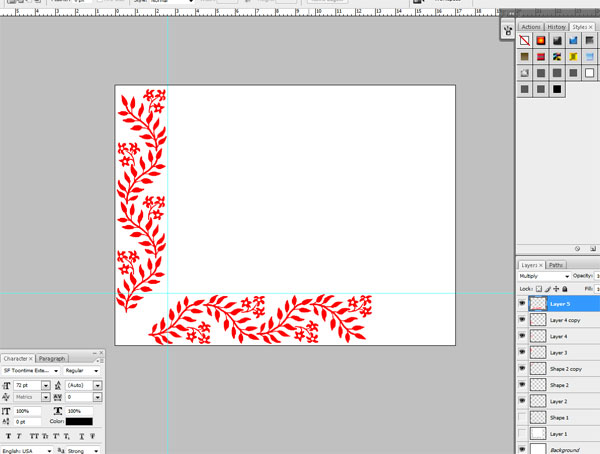
I have a template in photoshop for the embroidery hoop size, the challenge is making something that tessellates nicely and will fit in the border and also be able to be used in the corners of the work.
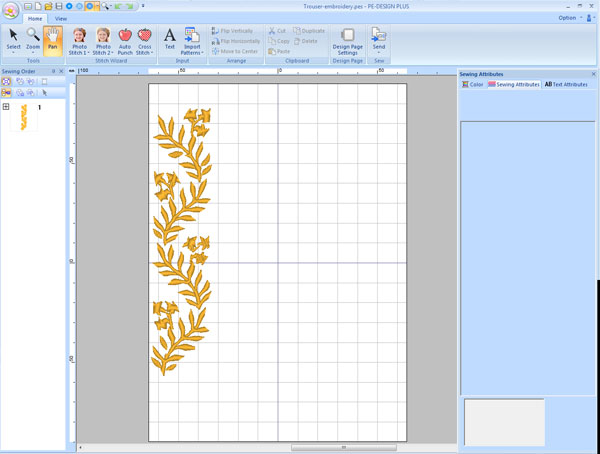
Here’s the pattern in PE design. I actually bought my machine because it came with this software for free, embroidery software can cost up to £1000. PE design is a bit of an idiot to work with, if I had a choice I would use http://www.embird.net/ instead.
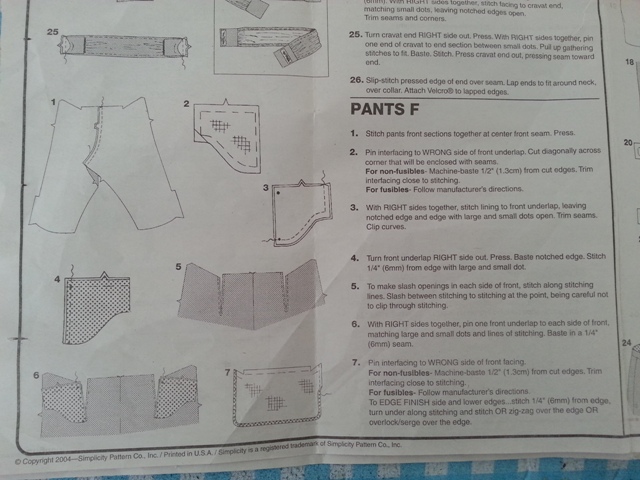
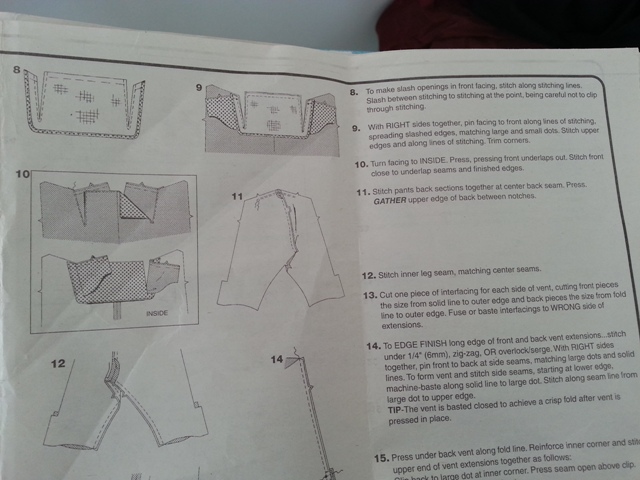
The pattern instructions here are surprisingly very good! I took the embroidered parts of fabric and completed steps 1, 12 and 14 to create a pair of trousers so I could fully line them before proceeding with the front flap steps. Lining trousers is a real head fuck, but I got there in the end!
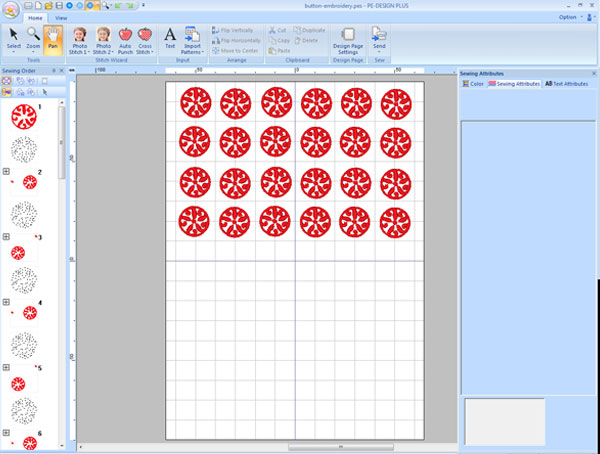
I made up a pattern for some buttons. The reference images for this costume are way too blurry to make out so I’ve got a folder of embroidery inspiration that I’ve been using for ideas.
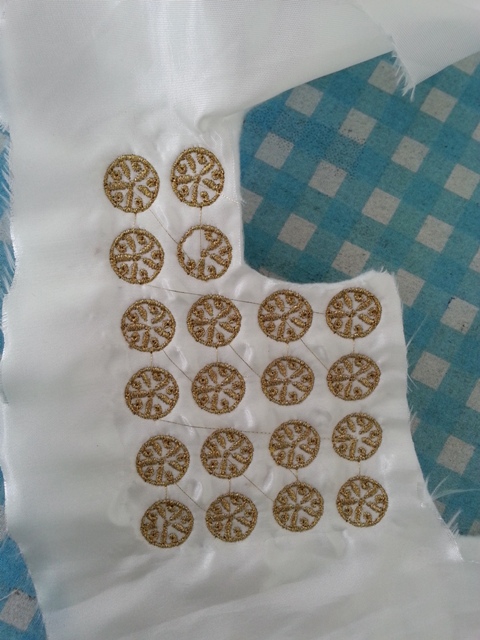
Here you can see the fail rate on machine embroidery and why large projects are terrifying to put in a machine.
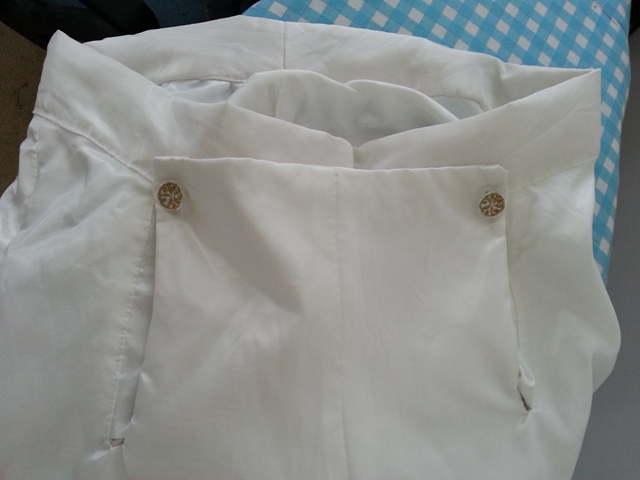
Sexy buttons.
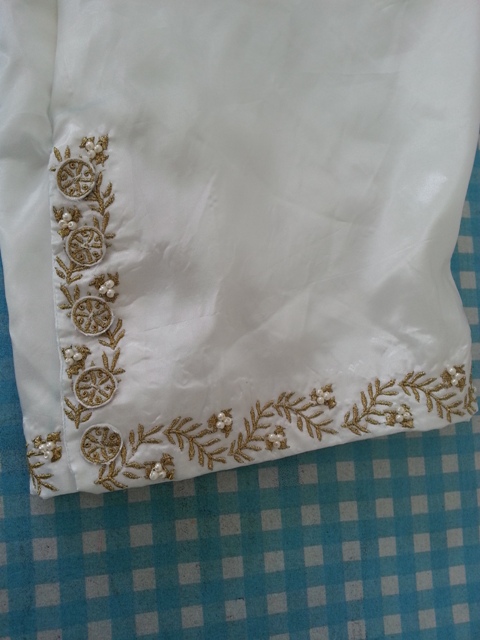
The first little clusters of pearls!
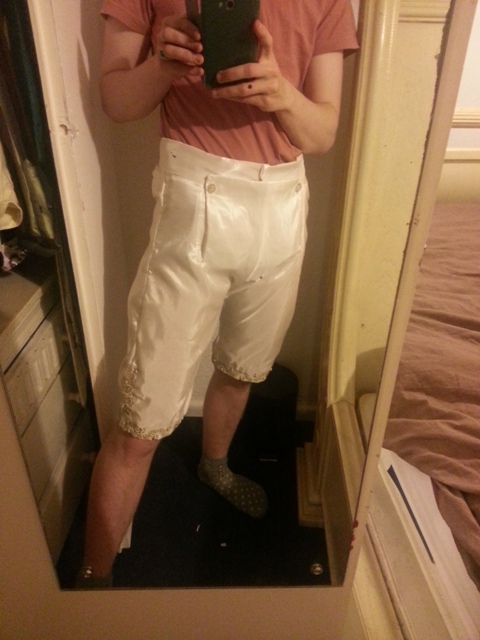
TADA!
I did the stupid thing of not trying something on until I was completely finished and the trousers were WAY too big. But in the bad way where they wrinkle at the crotch and look a bit like strange genitals. I took about 4 inches out on the sides, crotch and back seam, and the result is what you see here.
They’re still slightly see through even though they’ve been lined. I’m going to have to buy a pair of beige pants.
9 hours work, 2 bobbins worth of embroidery thread.
Total hours: 19