

I’m currently tailoring a jacket that isn’t going so well, so here’s a tutorial to perk me up about costumes!

Onward to inserting the lining!
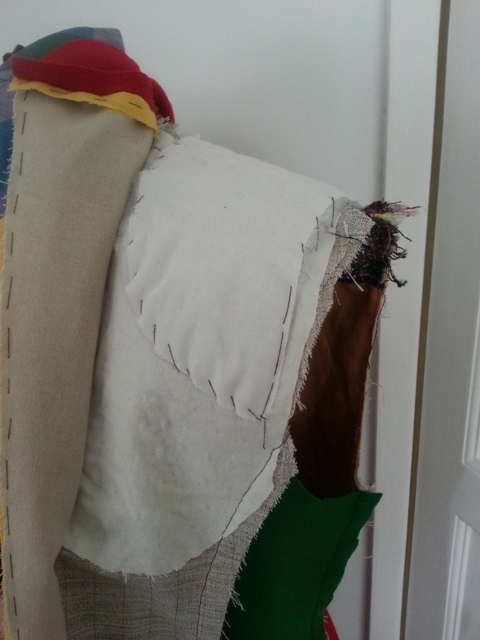
 The easiest time to get the shoulder pads into the coat is now, so off I go! These were made with two layers of wadding and some cotton mull and tacked into place.
The coat inside out on a mannequin- notice that it still doesn’t have it’s sleeves.
I measure and cut a 4inch band of interfacing. I work in inches or cm depending on what I feel like at the time. I didn’t say I would make sense, just that I make things.
This then gets ironed down all around the hem of the coat to give it support and a crisp edge.
Mmm crisp edge…
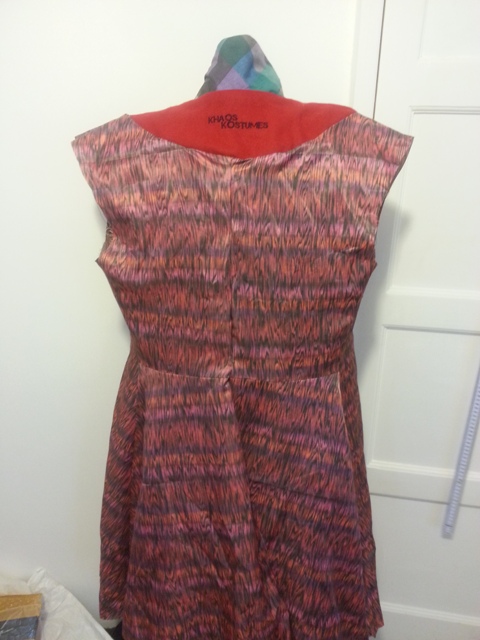
The lining is a simplified version of the outer coat. I’ve condensed the skirt panels into two mains, taken out the collar facing and added a circle of facing to support the back.
I have enough of the fancy lining fabric to simplify even further so I join the top front and skirt together.
Sewing back top to bottom.
Adding a wavy line at the back gives it a bit more flexibility and avoids the back centre seam from fraying/popping.
A lining is done! This is what is commonly referred to as bagged lining where you make a 2 copies of the garment and one is the lining.
I pin the lining all around the back facing and front lapels.
This part can be sewn in by hand with a pick stitch, but you get good results with a machine still so I’m doing it that way to save time. I leave the bottom hem open because that baby needs a touch of hand sewing. Time to turn it all out the right way!
Next I zigzag the sleeve lining inside the sleeve. In a typical garment the sleeve is part of the lining and you secure it at the cuff but for suits I’ve always preferred having the lining supported inside the sleeve, especially with long coats. Easing sleeve allowance in regular fabric is difficult, let alone in flimsy lining fabric!
Now it’s time to begin the adventures in hand stitching! There’s a whip stitch on the main hem, though the iron on hem tape is a good substitute if you’re rushed for time, or have a life.
Everything pinned down and looking fancy.
I used a pretty herringbone stitch on the bottom hem so it can wiggle about a bit.
Up the centre of the back vent it’s a ladder stitch- this is completely invisible once it’s pulled through and I use it lots.
See- look how pretty it is!
Tada, the vest of the coat is now lined- tune in next time for Super Sexy Sleeve Setting!
Leave a Reply