


So, time to make those pretty pocket pieces!
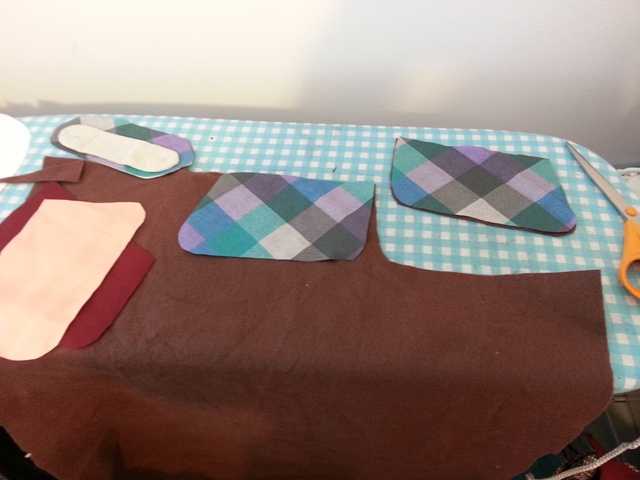
I cut some dark felt out to help line the spoon flower fabric and give it more weight.
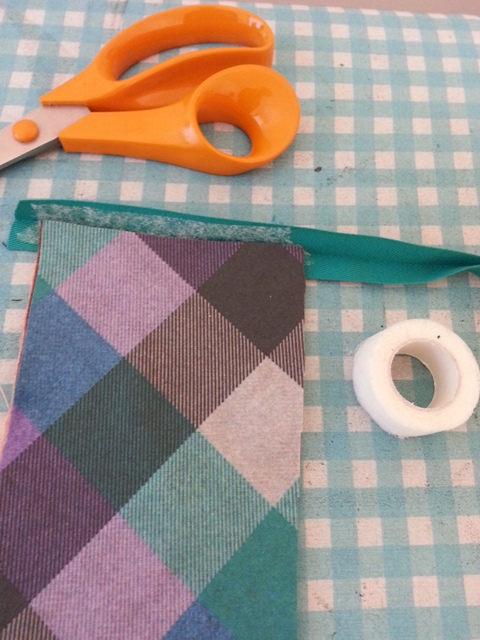
Now the secret of this task- invisible hem tape! I used it to iron the check, felt and lining layers all together in a sandwich of power.
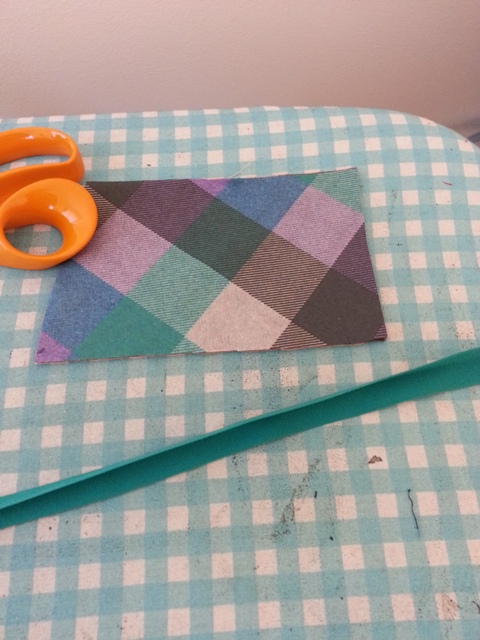
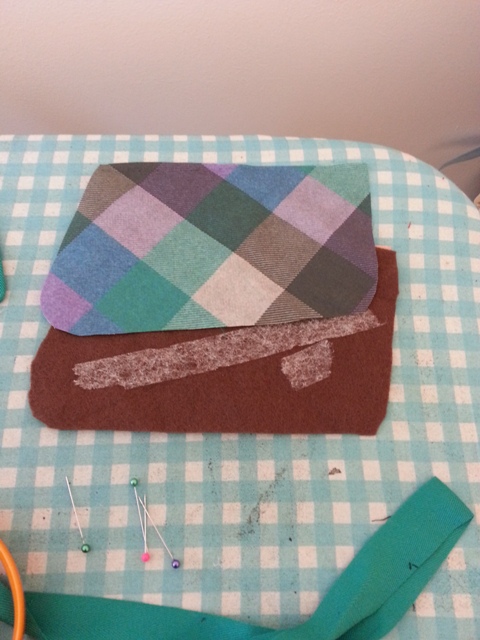
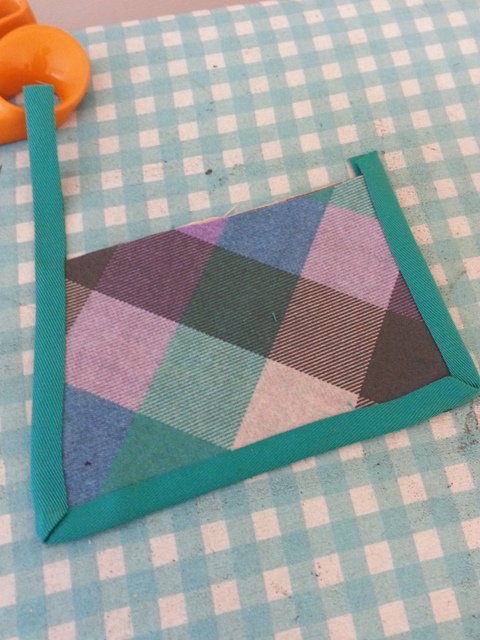
Then I took the herringbone tape and ironed a sharp crease.
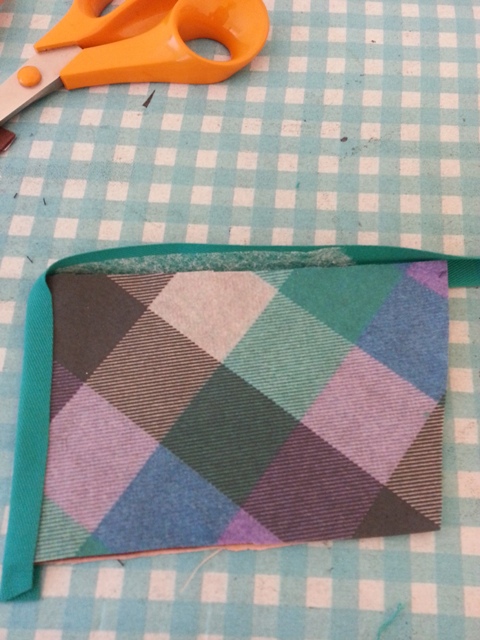
More hem tape and some careful ironing, attempting to not burn fingers.
Then turn the corner and add more tape!
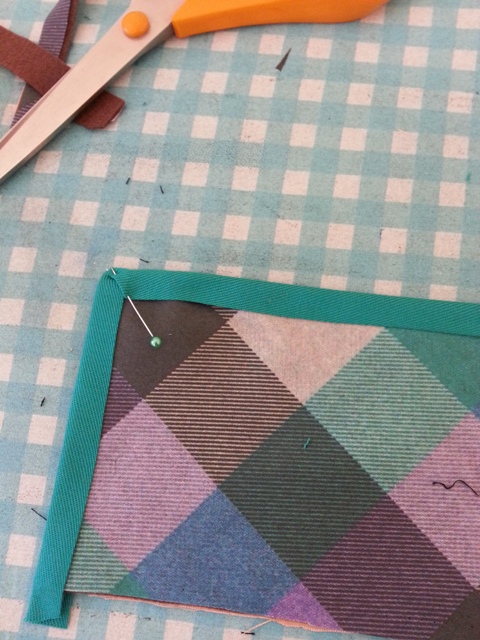
A pin keeps the corner in perfect position.
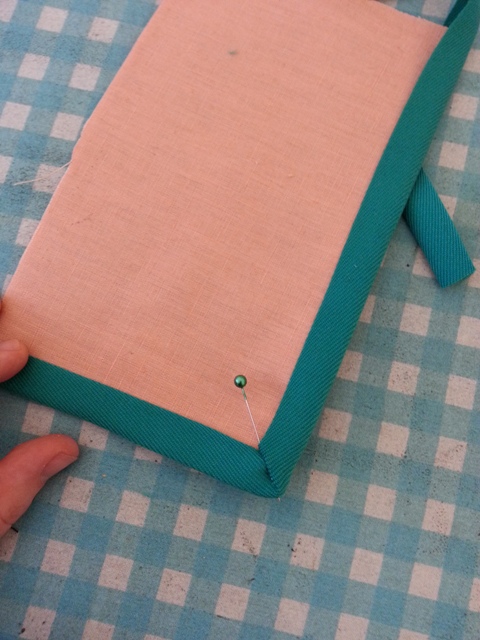
Mmmmm, binding mitre corners.
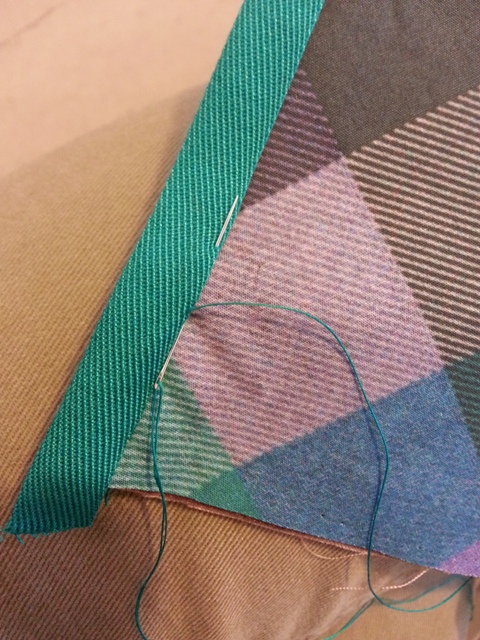
When it’s all done I took a matching thread and used an invisible stitch to sew the edges down. When Christian does his he’ll use a top stitch but I like to make things pretty.
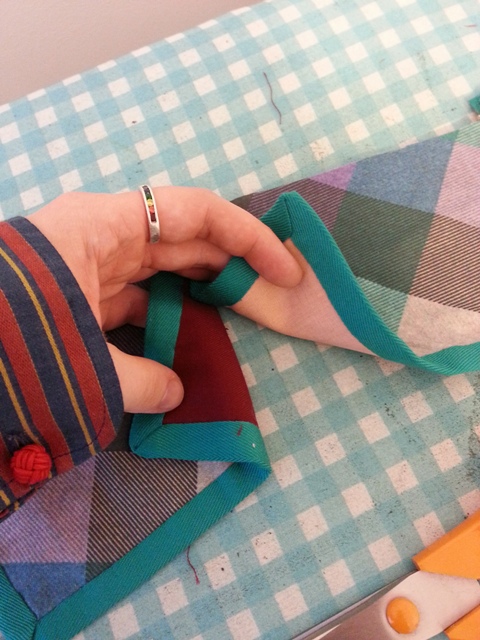
Because this coat hates me the lining for the pockets is different to match the panels they join with. >.>

This is the mystery back piece that has no name. Can anyone fill me in on what it’s called? It’s the part that usually buttons above the back vent.

I cut out the perfect size from the dark felt and pinned it down. This then becomes the guide that I sew around- no more wonky oblongs for me!
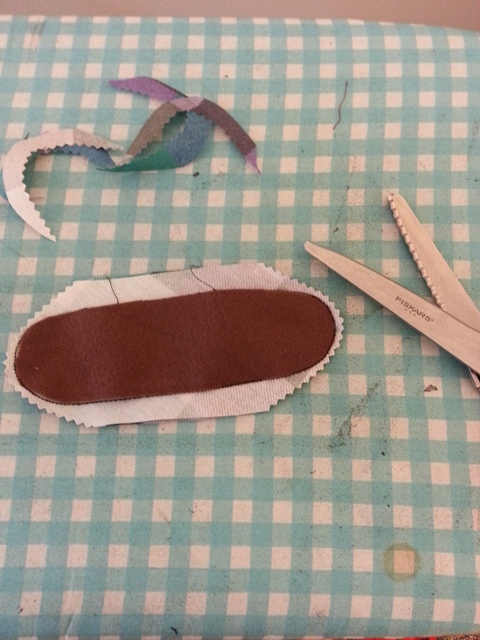
Pinking shears- very useful for trimming inside seam allowances.
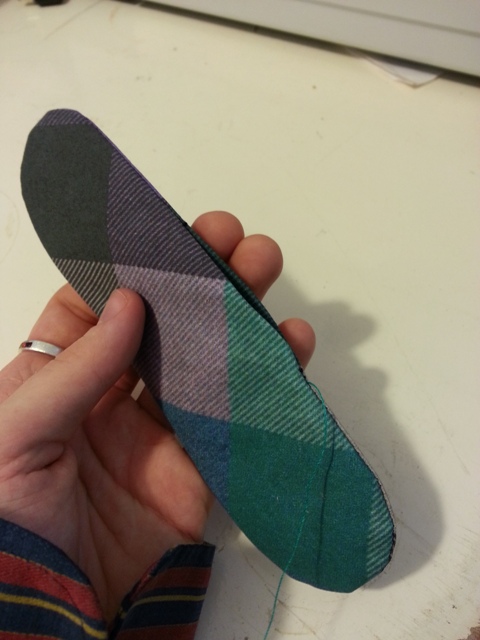
I left a hole to turn it all inside out and iron the bejesus out of it.
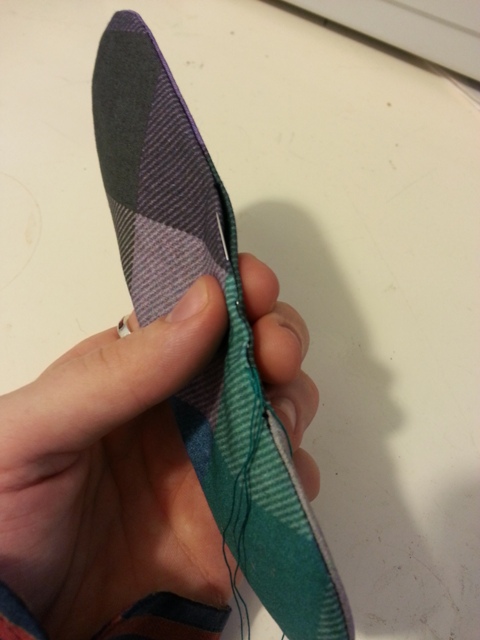
This is a simple version of ladder stitch which is basically invisible. Ooooh yesssss hand stitches.
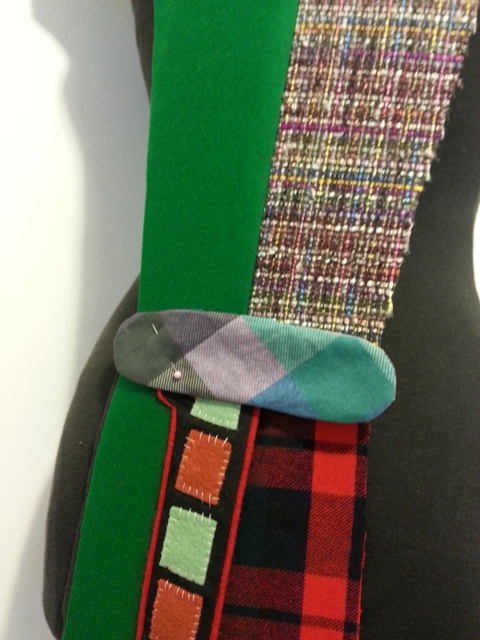
Then it’s pinned to the back, ready to be sewn on right at the end!
Next step- making some welted pockets to give the pocket flaps something to go with. :D
Leave a Reply