

Long post is long- Here’s the breakdown of how I made the tunic for Loki.
Remember the mock up back in part 2? Well first I took that pristine white and draw ALL OVER IT, figuring out the proportions as I went. References are useful here.
I discussed with the commissioner and we decided to make the shirt and tunic all one garment with a zip up the back as they’d rarely take their coat off. I’m remaking this coat at the moment for someone else and we’ve decided on a different zip placement- this time up the neck and down the side. Moral of the story is that there are several ways to skin a loki. I tend to go with the way that makes it easiest for the person wearing it to use the bathroom.
I’d already made the chest and back panel. I used a lining fabric as a base to work on but a stronger cotton in black would have worked better.
Here’s several strips of leather cut out next to the pattern. I then somehow managed to sew these on, mostly by sewing the top on and folding it down ready for the next one. Leave lots of extra room on the edge for overlap and then trim it all down to the correct shape at the end. Because of the way I’d made my scales it was easy enough to machine sew through them.
Now Sleeves!
Here’s the pattern I made after staring at references until I hated everything.
Almost everything involving the chainmail had to be hand stitched. The needle easily slipped through the holes in the chains, it’s just labour intensive.
Cutting a bazillion strips of leather.
I handstitched the chainmail to leather strips for the long wrap around. I had some issues with puckering and couldn’t top stitch the leather down so I ironed it instead. You can iron leather and you can iron chainmail. It just gets really fucking hot so don’t burn your hands because ow metal.
This is it turned over the right way and then hand stitched in place. This is where pliers come in handy for sewing leather.
The cuff with the chainmail edging hand sewn on then machine topstitched while attempting to avoid hitting the metal bits.
At this point I tested the fit of the sleeve and had to add some extra room due to all the bulk of the leather. This had the added bonus of not having chainmail underneath the arm and means it doesn’t catch while the costume is being worn.
Sleeves pinned in place to check the look.
Sleeve all pinned in place and ready to be sewn in.

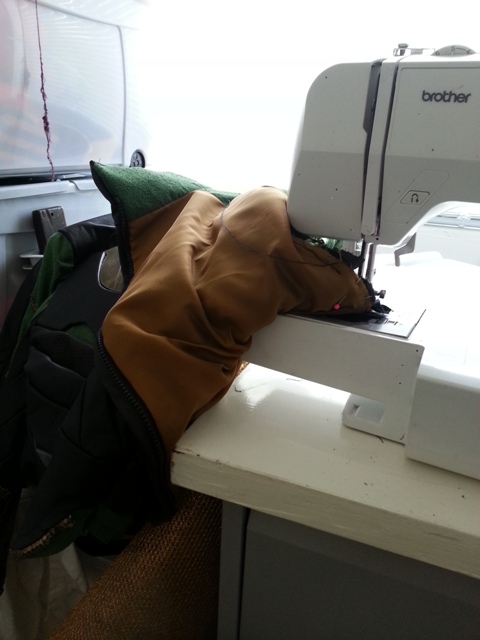
I attempted to put this through my sewing machine and just gave up. YEAH MORE HAND SEWING.
But worth it because PRETTY.
I left the back open all the way through the sleeve sewing- this makes everything much easier to work.
Here’s the back sewn up. Using a back seam means it’s easy to make final adjustments and take it in if need be. The lining is at the bottom- it’s made from 2 semi circles of green fabric for self lining with a vent made of a spare piece.
Here’s the bottom skirt lining being applied around the zip. Yay more hand sewing!
Lining around the zip.
Adding the sleeve lining with some fine pick stitch.
Then the same on the bottom of the sleeve. The sleeves had to be lined or the wearers hands would catch on the fabric as they put the coat on.
Then add the zip tops around the bottom and the belts and you’re DONE. Awww yissss.
Leave a Reply