

Longest tutorial ever- The full construction of a heavily embroidered and beaded georgian waistcoat, 68 pictures of glory.


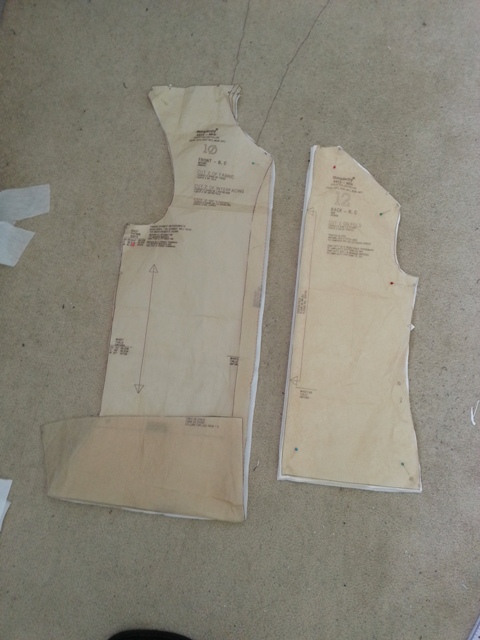
First I cut my pattern out of lining
Checked the fit, then proceeded with the real fabric.
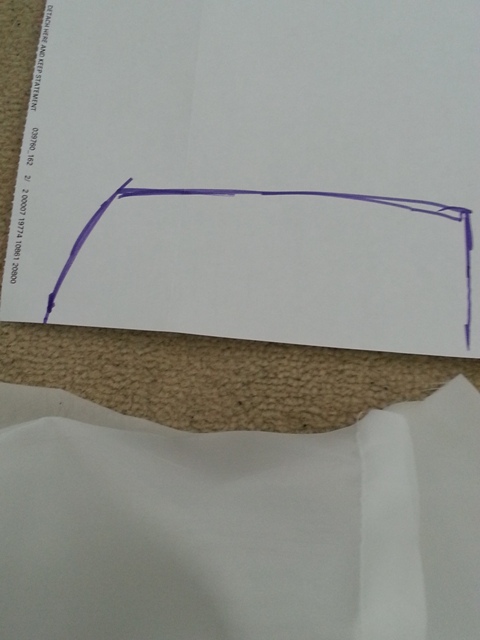
Calculated the collar size and made up a pattern for it too.
This was a cheap bit of fake raw silk I had knocking about. Personal cosplays= money corner cutting. This was then all interfaced on the back so it could take the embroidery. I marked the pattern out with one of the blue erasing pens.
I measured the width of the chest, and a lot of calculating and faffing about I had an overlapping design that fit in an embroidery hoop while allowing enough seam allowance in the middle.
Everything is carefully laid out, then let the embroidery BEGIN
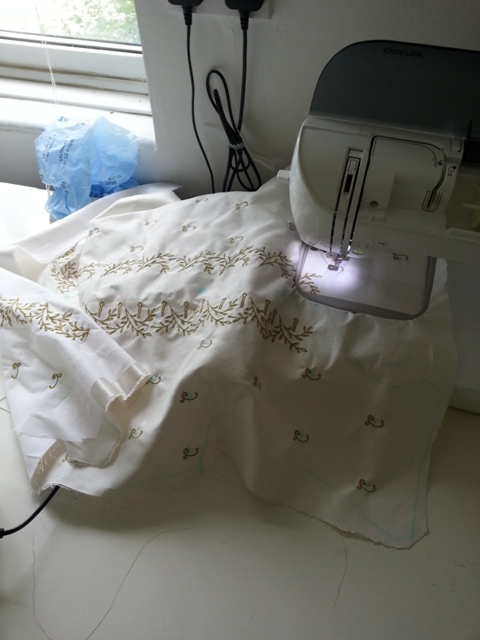
Embroidery is slowly added over time, being careful to line it up properly. I make this look easy, it isn’t.
SURPRISE, embroidery machine catches some fabric underneath itself and I make a massive hole in the fabric cutting it free. I don’t have any more fabric and this costume is for me, so quick fix time!
I iron some fabric under the hole and pray that the embroidery will hide it. Wheeeeeee
More measuring and calculating patterns! The bottom has to be split in two due to hoop size.
Some careful measuring later.
Scary placement time.
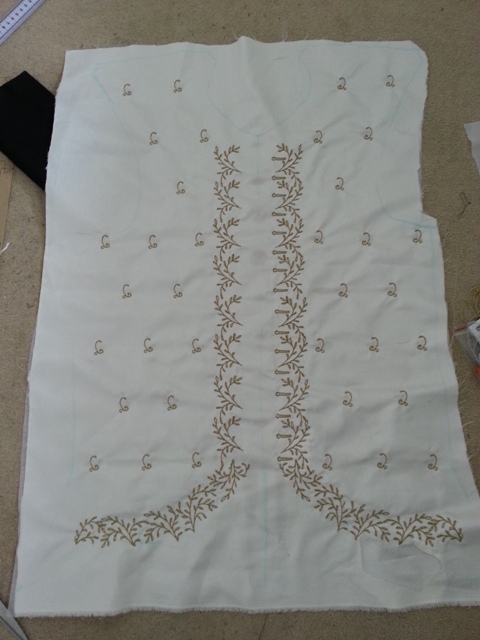
Success! And the hole is almost completely hidden, thank you cosplay gods. 

I make up a small 2 shaped pattern to go all over the body of the waistcoat. Each one gets a blue dot and carefully centred over it. This was me sitting by my machine for several hours.
Time for some pocket flaps! Each one of these took 30 minutes for my machine to do.
Ironing and adding some canvas backing.
Design and make up the collar pattern in 2 parts.
I want a pretty back so I measure out and sew two flap parts and design another pattern to make the holes.
All the pieces laid out.
I’m out of the faux silk so I cut some bias out of cotton mull.
Bias sewn to the back of the pocket flap.
Bias pinned round to the front.
Pearls added and bias sewn down at the same time.
Beautiful flaps!
Welted pocket time! I cut a piece of faux silk about 3cm wider than my desired pocket
Fold it in half and stitch down in pocket position.
Sew pocket flap above.
Cut hole and flip inside.
Cut out a pocket
Pin and sew to one side
Then the other
Turn other way up and you look like a pocket is forming!
Open up each side and sew down the pocket, leaving you with a nice bag.
TADA beautiful pocket. For a better tutorial try over here: http://www.fashion-incubator.com/archive/welt_pocket_construction/
I sew the corseting to the back.
Then the shoulders together, and repeat for the lining.
Then sew the armhole.
Then down the side
Then the back lining
Then zig zag the front together, making sure it all lines up nicely.
Then added the bias binding from the back and repeated the same beading technique as I did for the pockets.
4+ hours of hand beading later, I have a waistcoat!
Bad selfie is bad, but you get the idea. 21 hours on the waist coat, 40 hours total!
Pingback: » Prince George Roundup post KhaosKostumes