


Here’s how the coat came together step by step:
First things first, I cut the lining out of the dyed noile silk. The pattern was taken from the mock up I sent the client- you can see me adding the seam allowance to each piece as I go.
I got a very sunny day in the work room- here’s the lining sewn together. I embroidered my logo on the nape because it’s pretty and interfaced the collar to give it some support.
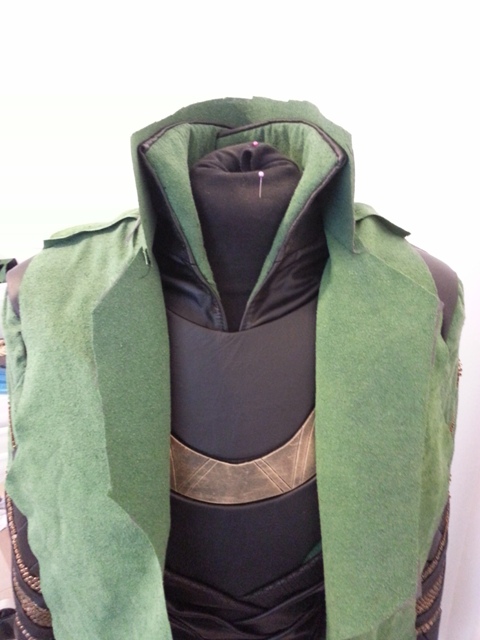
Here’s the lining with the collar sewn on and tested over the tunic.
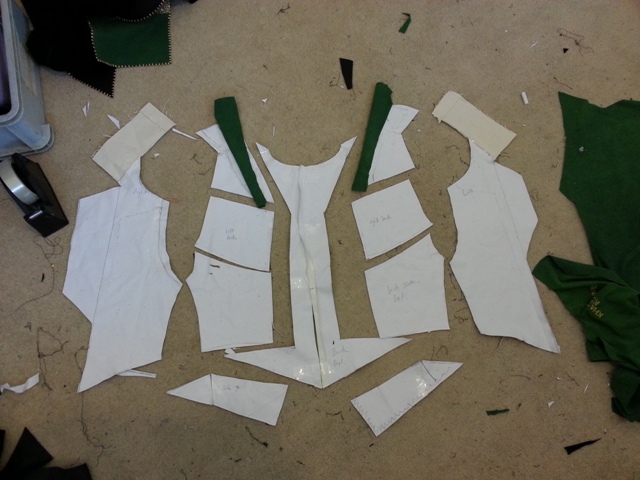
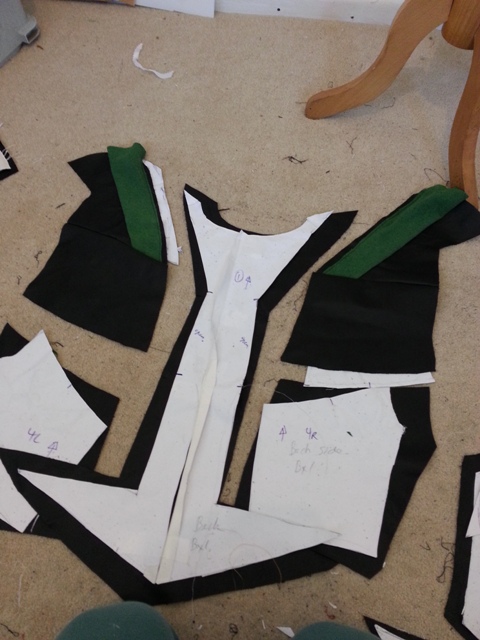
The pattern was then cut down into further parts. The back was hard to get references for so I guessed most of the way, but this is my best estimate for what it looked like in the film.
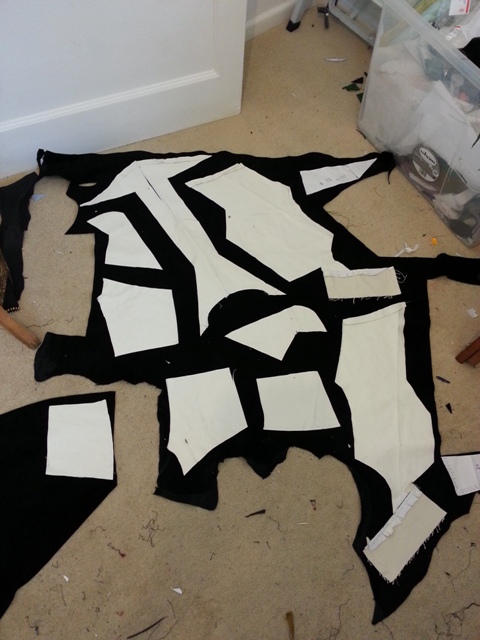
Here’s all the pieces carefully arranged on a leather skin. Leather doesn’t have a grain (though you do need to watch out for patterns and random holes) so you can work it until you make the most of a single skin.
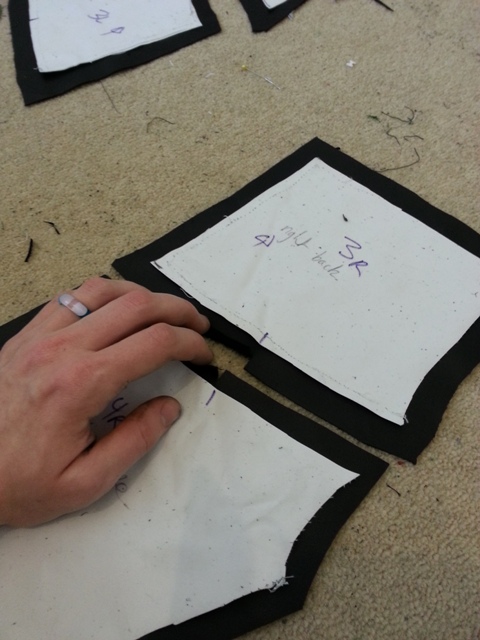
I made sure to include snip marks to match up the pieces exactly later. Everything is very carefully labelled including direction marks so I know which way up the piece goes!
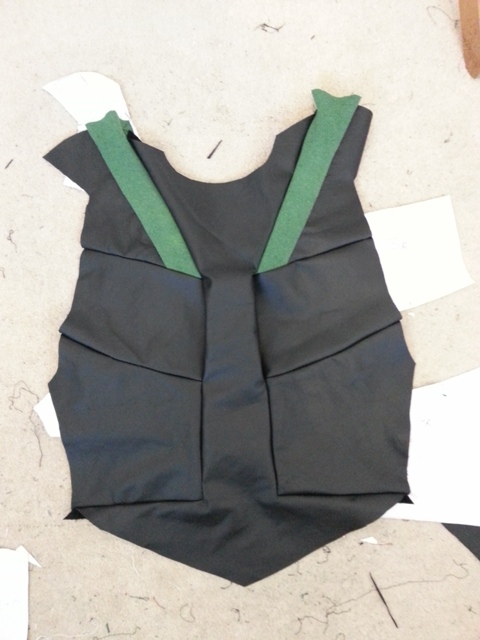
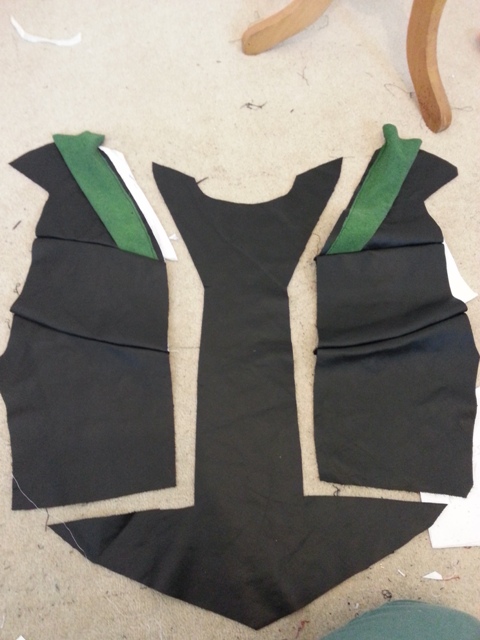
Here’s the leather cut out including all the shoulder pieces. The shoulders were cut from the patterned leather and edged in a line of plain black.
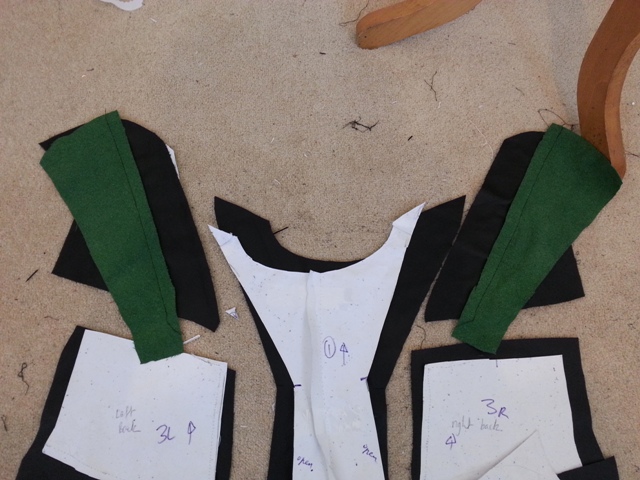
The back of the shoulders have a weird little cape bit going on- here they are cut out of the green.
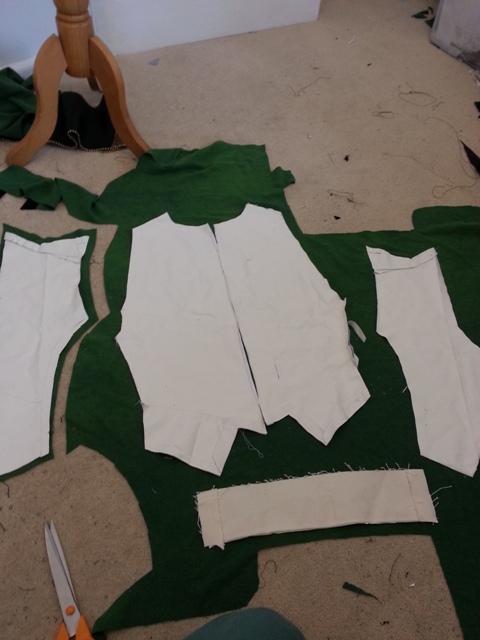
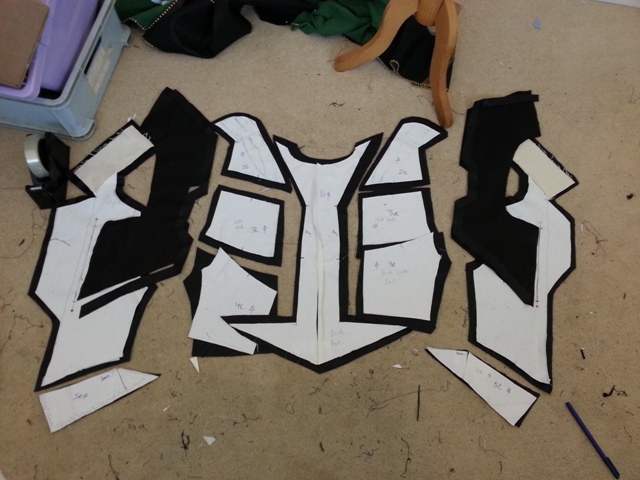
I keep all the pattern pieces arranged on the floor and sew each bit together, checking they fit as I go.
Tricky corner seams but they look soooo good so I left it in.
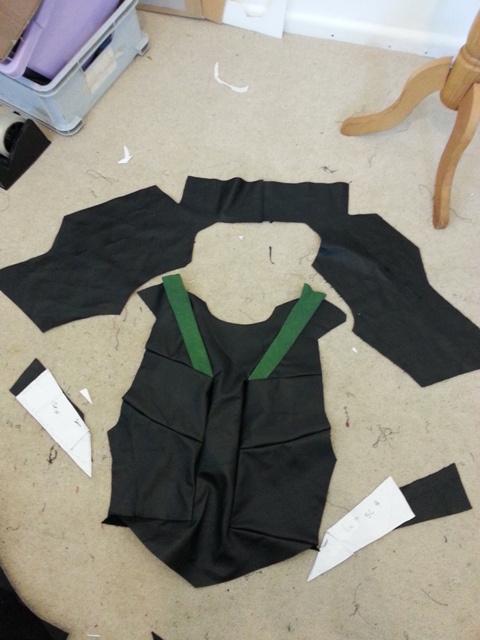
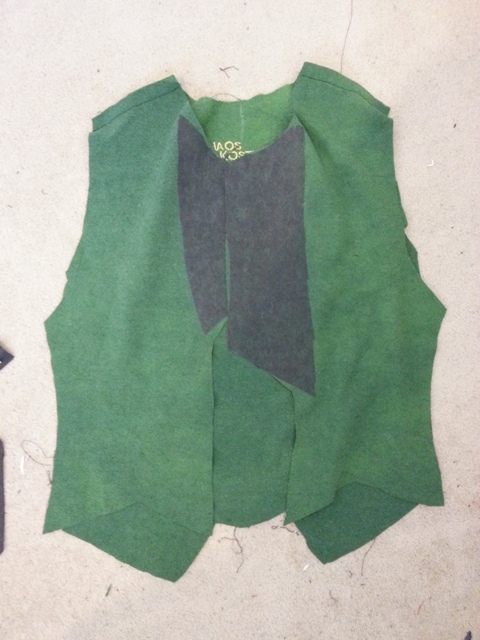
The collar and front were constructed as one big bit then sewn together at the shoulders.

The lining pinned to the body- this is the same technique often used on waistcoats. I sew along the front and around the arms leaving the sides and bottom free to turn it out.
Turned the right way out- victory!
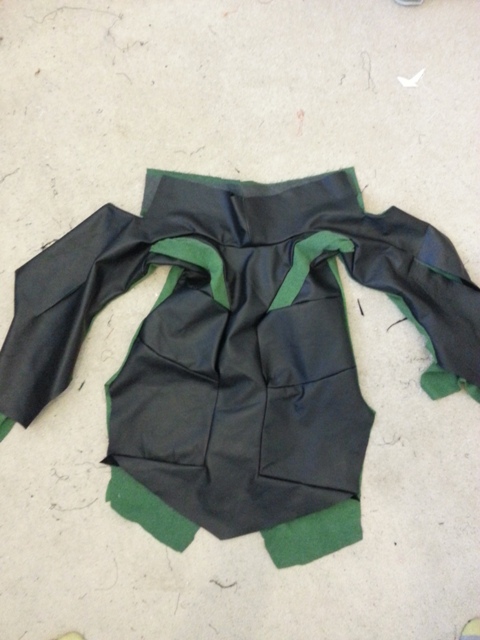
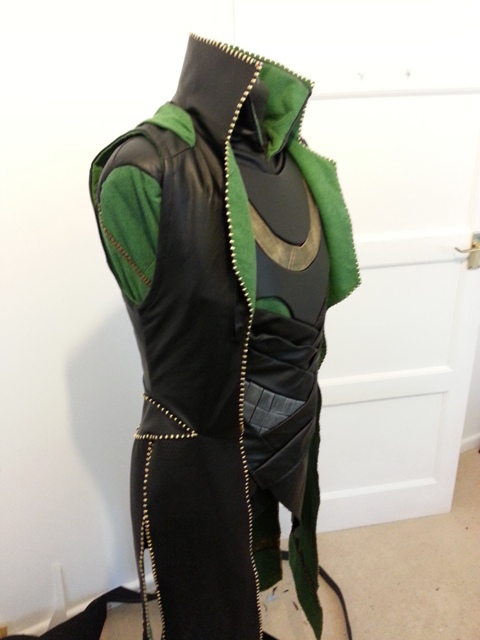
The base of the coat looks something like this.
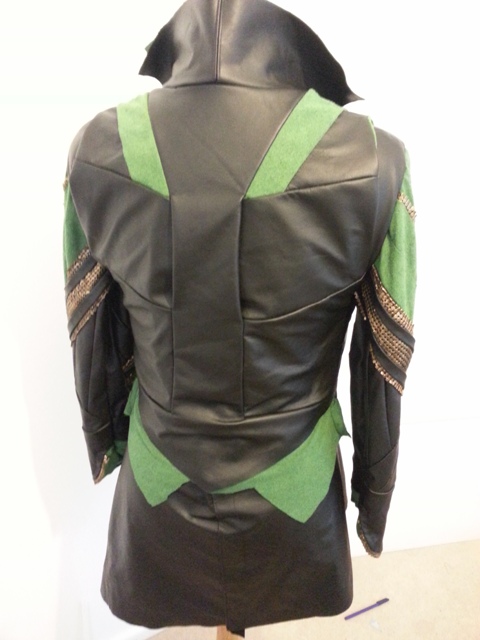
The back middle seam is left free ready for the shoulder pieces.
Then I sew the flaps to the bottom like this. With all the metal bits I’d describe the experience similar to battling Doc Oc.
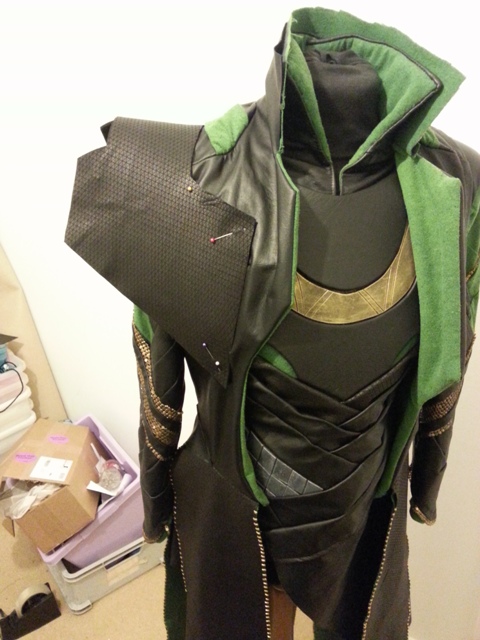
Testing the shoulders to see if they fit properly. These were cut from the patterned leather and then backed with black EVA foam.
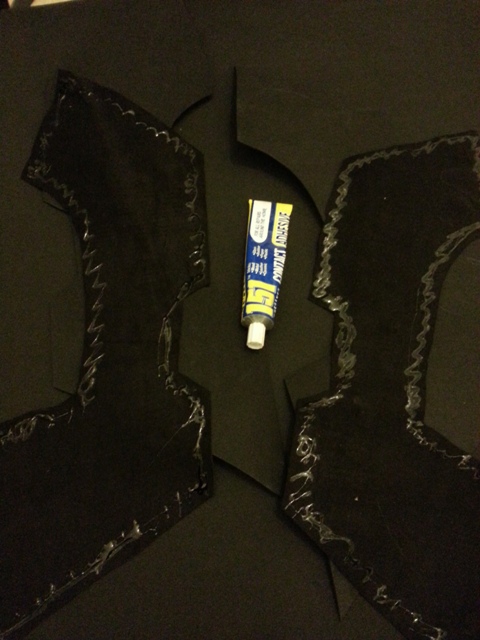
Using contact adhesive to glue the shoulder leather to the foam.
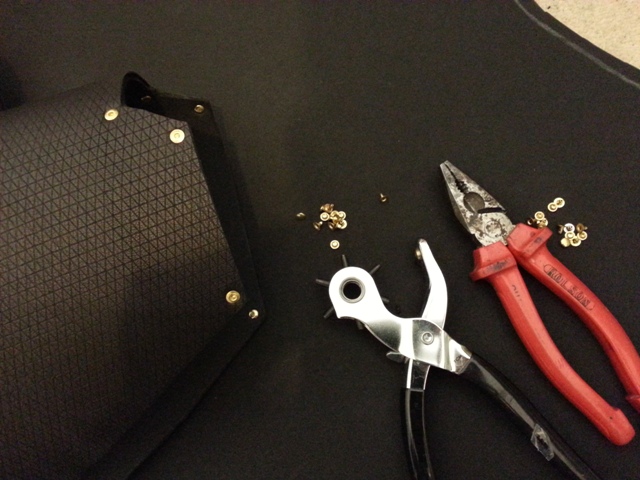
I secured the leather down again with some rivets. I love rivets, more cosplayers should use them.
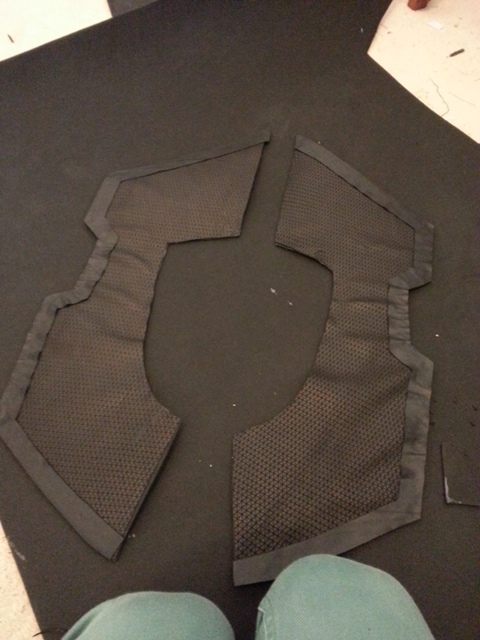
Shoulders laid out flat- they look wrinkled but you have to take into account that they’ll be curved over the shoulders.
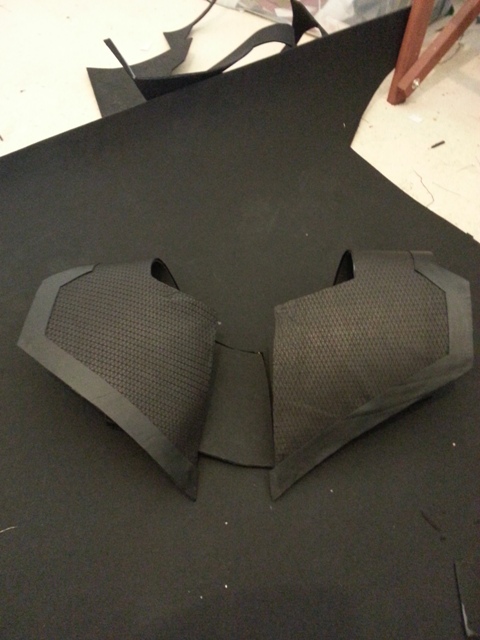
Rounded out they look something like this.
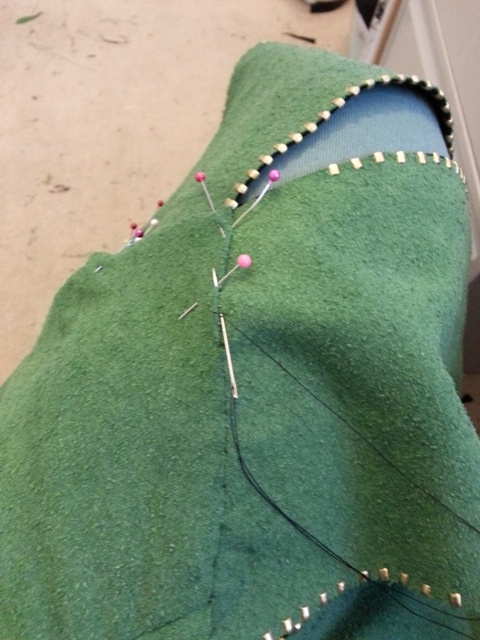
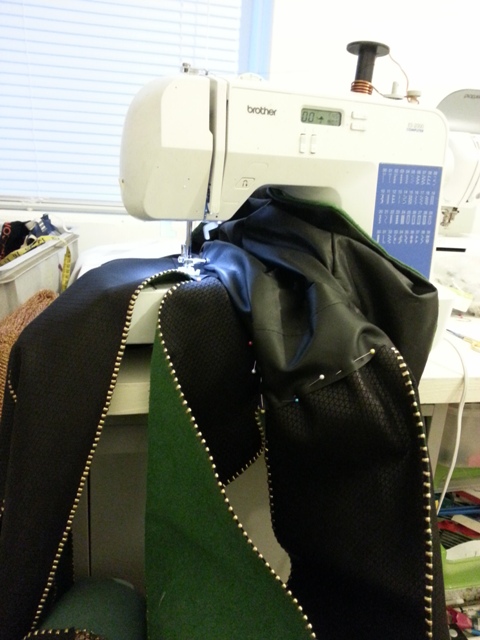
Hand stitching the back of the lining to the flaps inside.
Then add ALL THE ZIP TOPS.
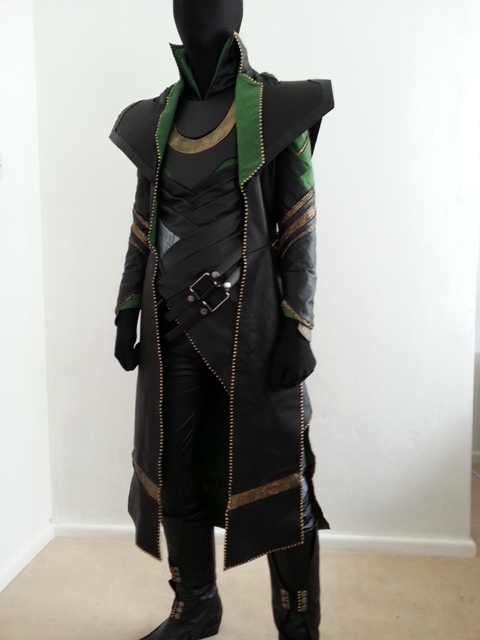
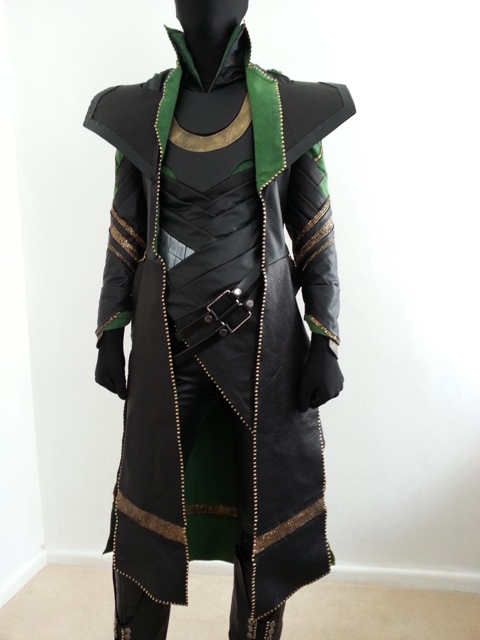
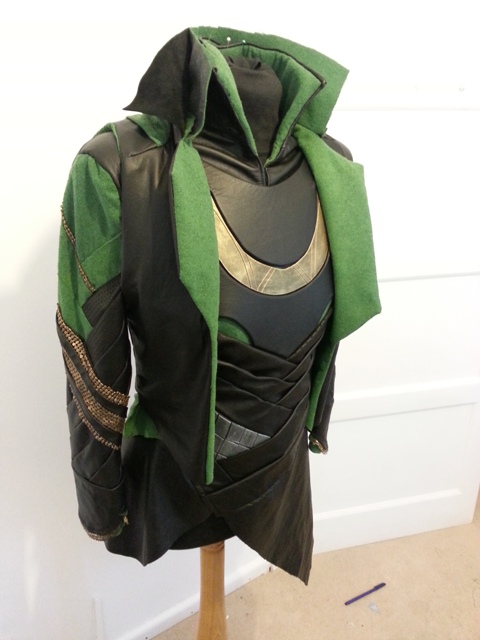
AND THE COAT IS DONE- next finishing the armour!
Leave a Reply