


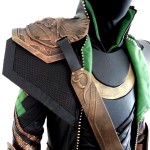


Phew! I Hope everyone has had a wonderful holidays- I’ve had a couple of requests for continuing the loki tutorials so here we go!
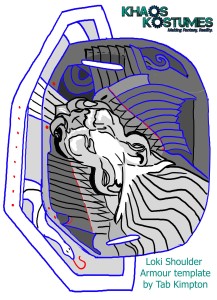
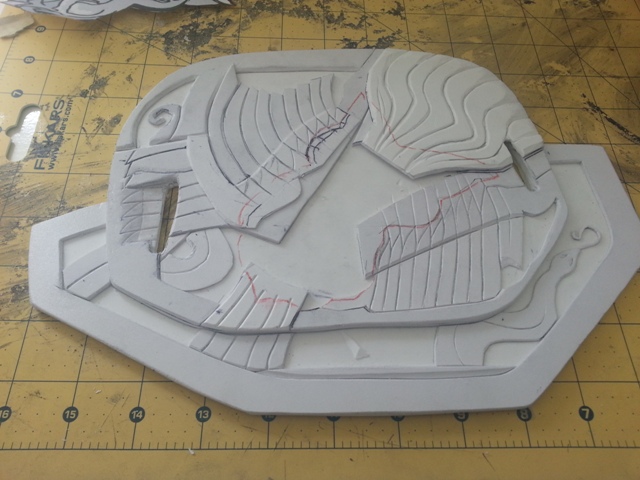
Here’s the template for the shoulder plate if you want to play along- If you do end up using my template then I’d appreciate a link back to me and I’d love to see what you make!
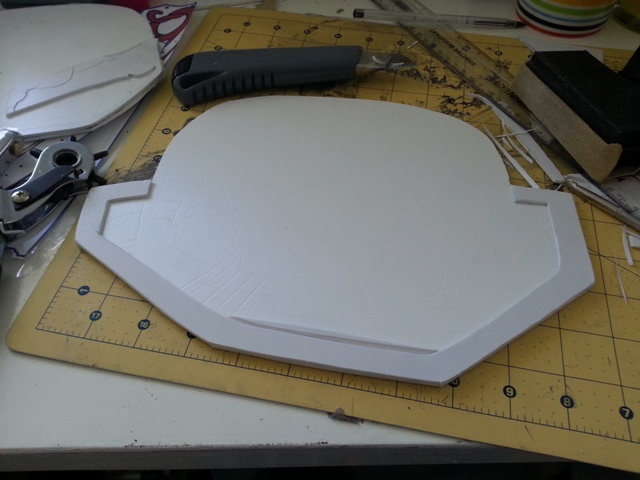
I’m using the same techniques in previous tutorials (see Chest, Strap and Gauntlets) using PVC foamboard/sintra sculpted flat and then cast in resin and moulded into shape.
I used a combination of 3mm, 2mm and 1mm stuff for this. It’s glued down with the clear watery super glue you can buy from poundland or other high class retail stores. You can buy small sheets of the foam from ebay like here. SO CHEAP.
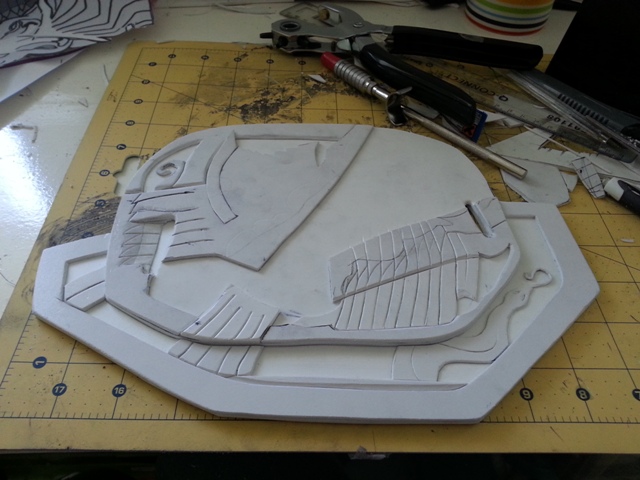
I used the pattern to slowly carve pieces, using leather tools and a blade to mark them, carve them and sand them down into place. Small details like the snake tongue are made using a small slither of board and then glued into place in stages with super glue.
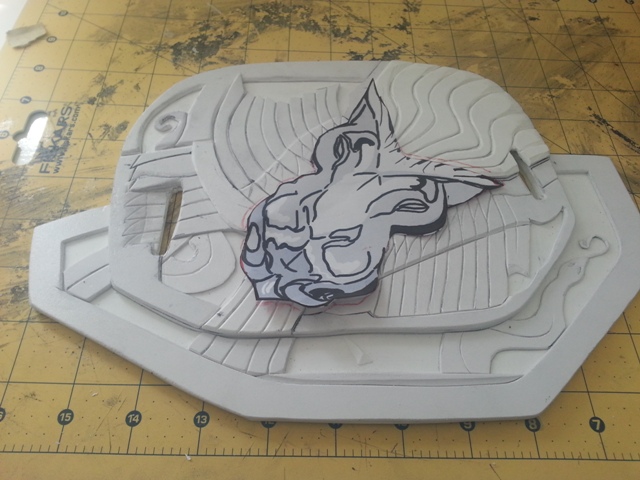
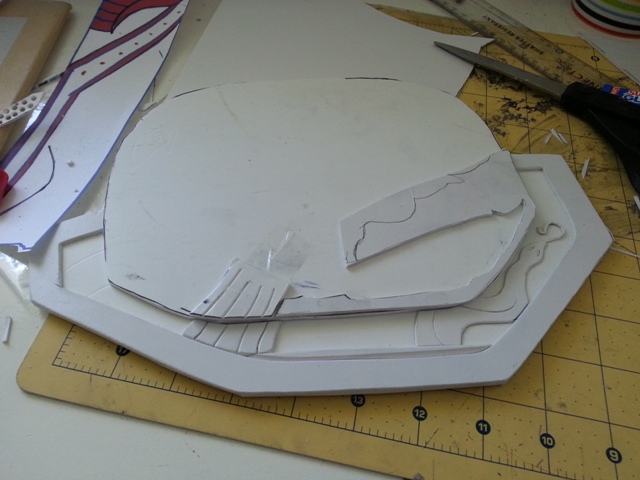
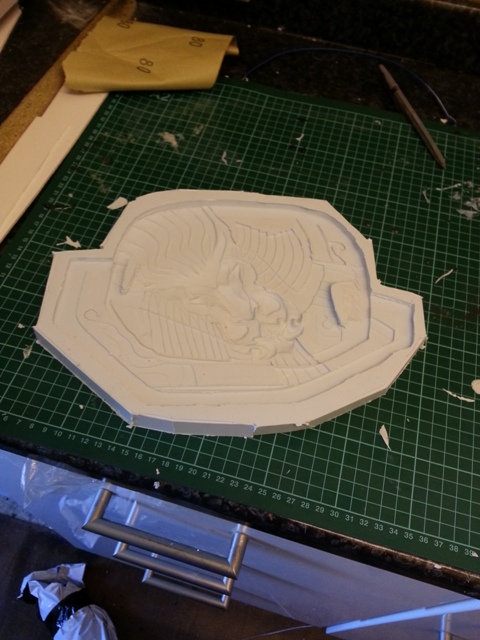
Once I’ve got the base going and I’m happy with it, it’s time to do the adjklasfjhking wolf head. I cut out the template and put it on there to get an idea of where I’m working.
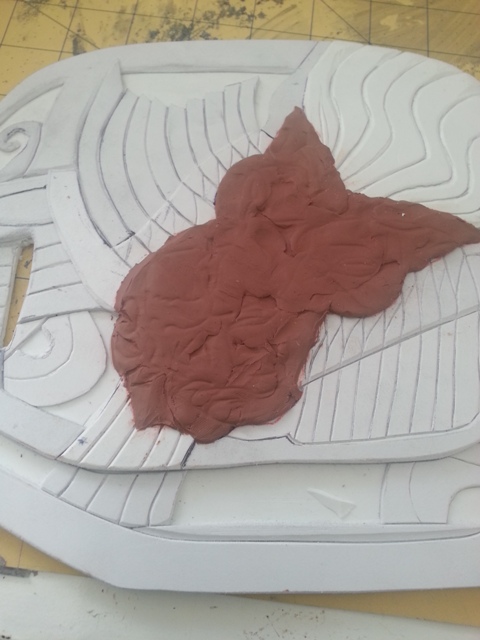
Then I put some oil based clay down in the shape. You can use fancy stuff or just plasticine, though keep it the same colour to make it easier to see what you’re going. The next photos are just me working at it, using some clay tools, pins and bits of wire.
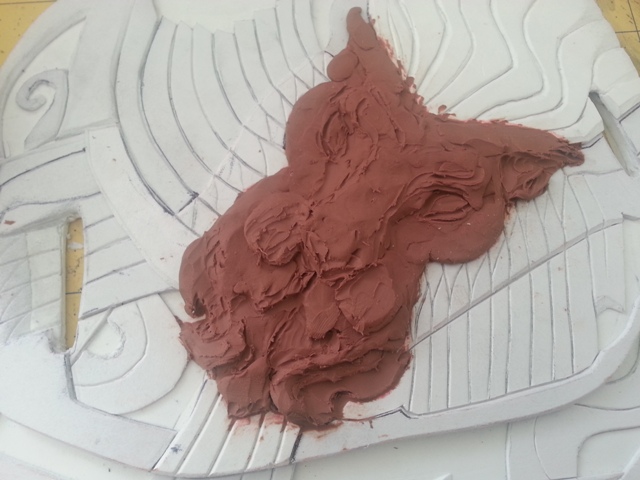
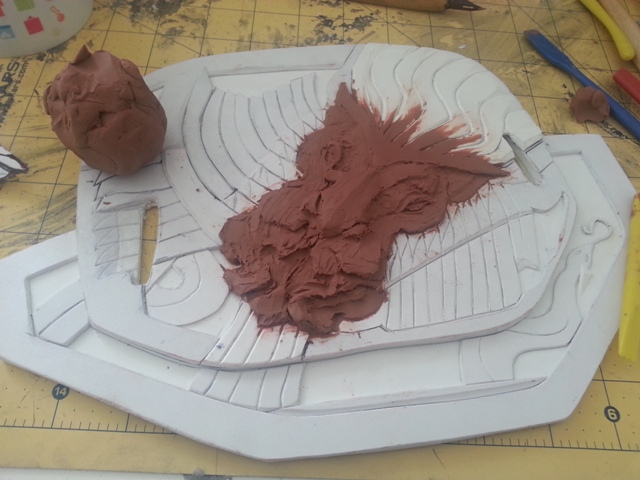
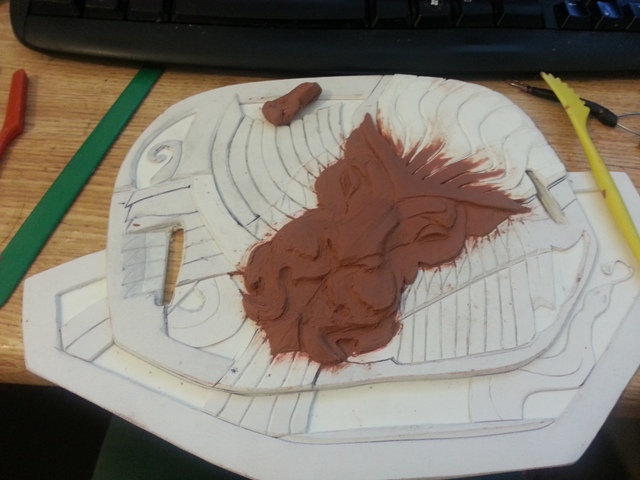
The sculpting of the wolf head took me a day’s work- sculpting is a long job and you have to put time into it. This is why I hate sculpting, ain’t nobody got time for that.
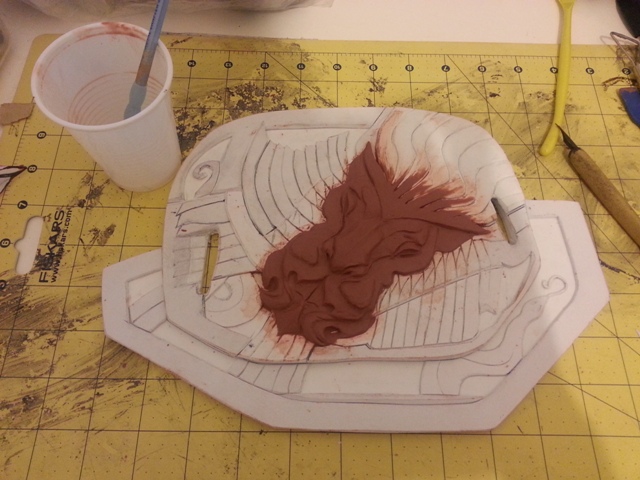
To finish it off I get some turps (YAY FUMES) and gently brush it over, smoothing the surface.
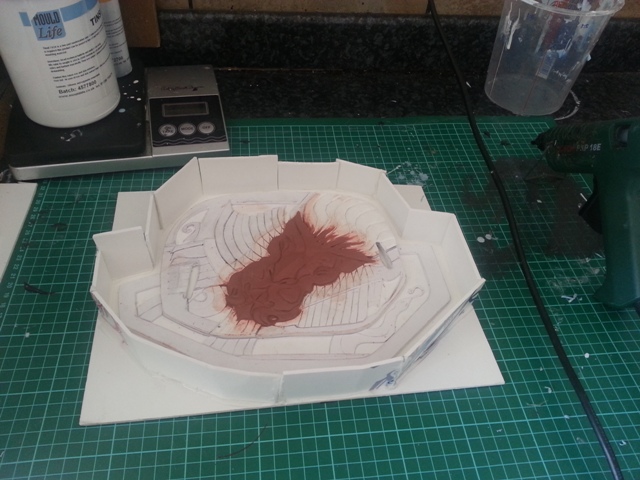
Then I make it a house to sit in. A fine house made of more foam and a butt-tonne of glue gunning.
Silicone, you expensive asshole. This took a lot of silicone- I needed a flat mould that was weighty enough to take bending. I used around 1kg of the stuff on this mould alone. D:
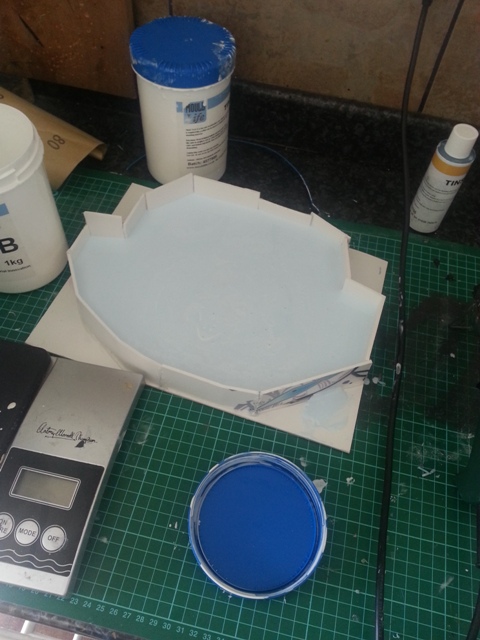
Beautiful mould! This thing cost me DAYS OF MY LIFE- haha I love making costumes don’t you? >.>
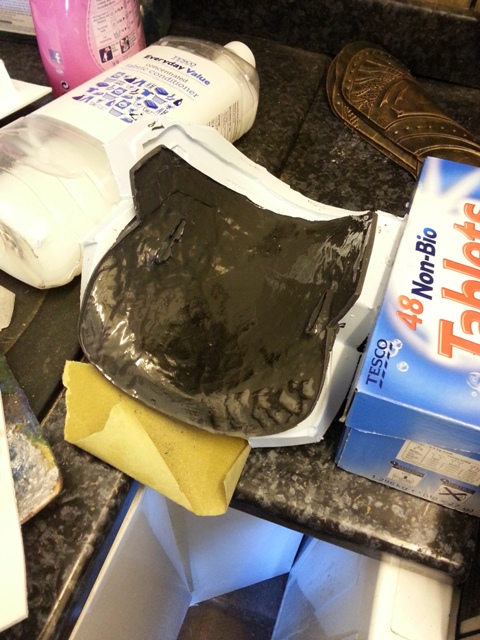
Then I brush easy flo 60 with black resin pigment into the mould with a brush that will never again see the light of day. I kept layering it up and moving it about, adding more batches as needed. Then I left it a bit so it would stop being so sticky on top. While the mould is still warm I moved it about and bent it using a high class jig system such as a box of laundry tablets.
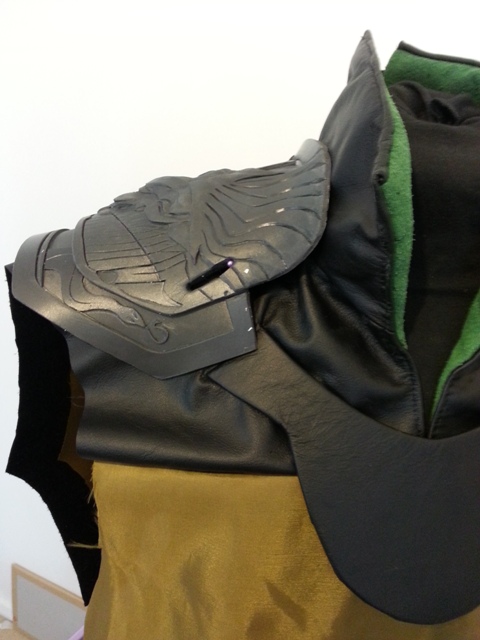
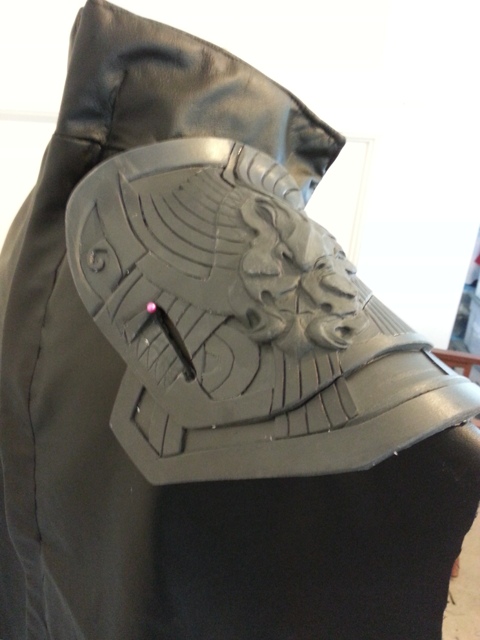
Once properly cured I used a heat gun to make it more pliant and gave it the ridge at the neck, adding more resin to the weak points as I went.
This is the final product with a bit of sanding for all the wobbily edges, the strap holes cut out and a bit more work with a heat gun to bend it to the correct shape.
Any thoughts on the next tutorial? I can continue loki or the plug suit- up to you!
Leave a Reply