


Poll results are in! Time to make some plug suit : D
Here are the previous tutorials in this series
| How to make a plug suit part 3- F**king shoes |
| How to make a Plugsuit Side tutorial- Skin tight gloves |
| How to make a plug suit Part 2- Armour/Plugs |
| How to make a Plug Suit Part 1- Mock Up |
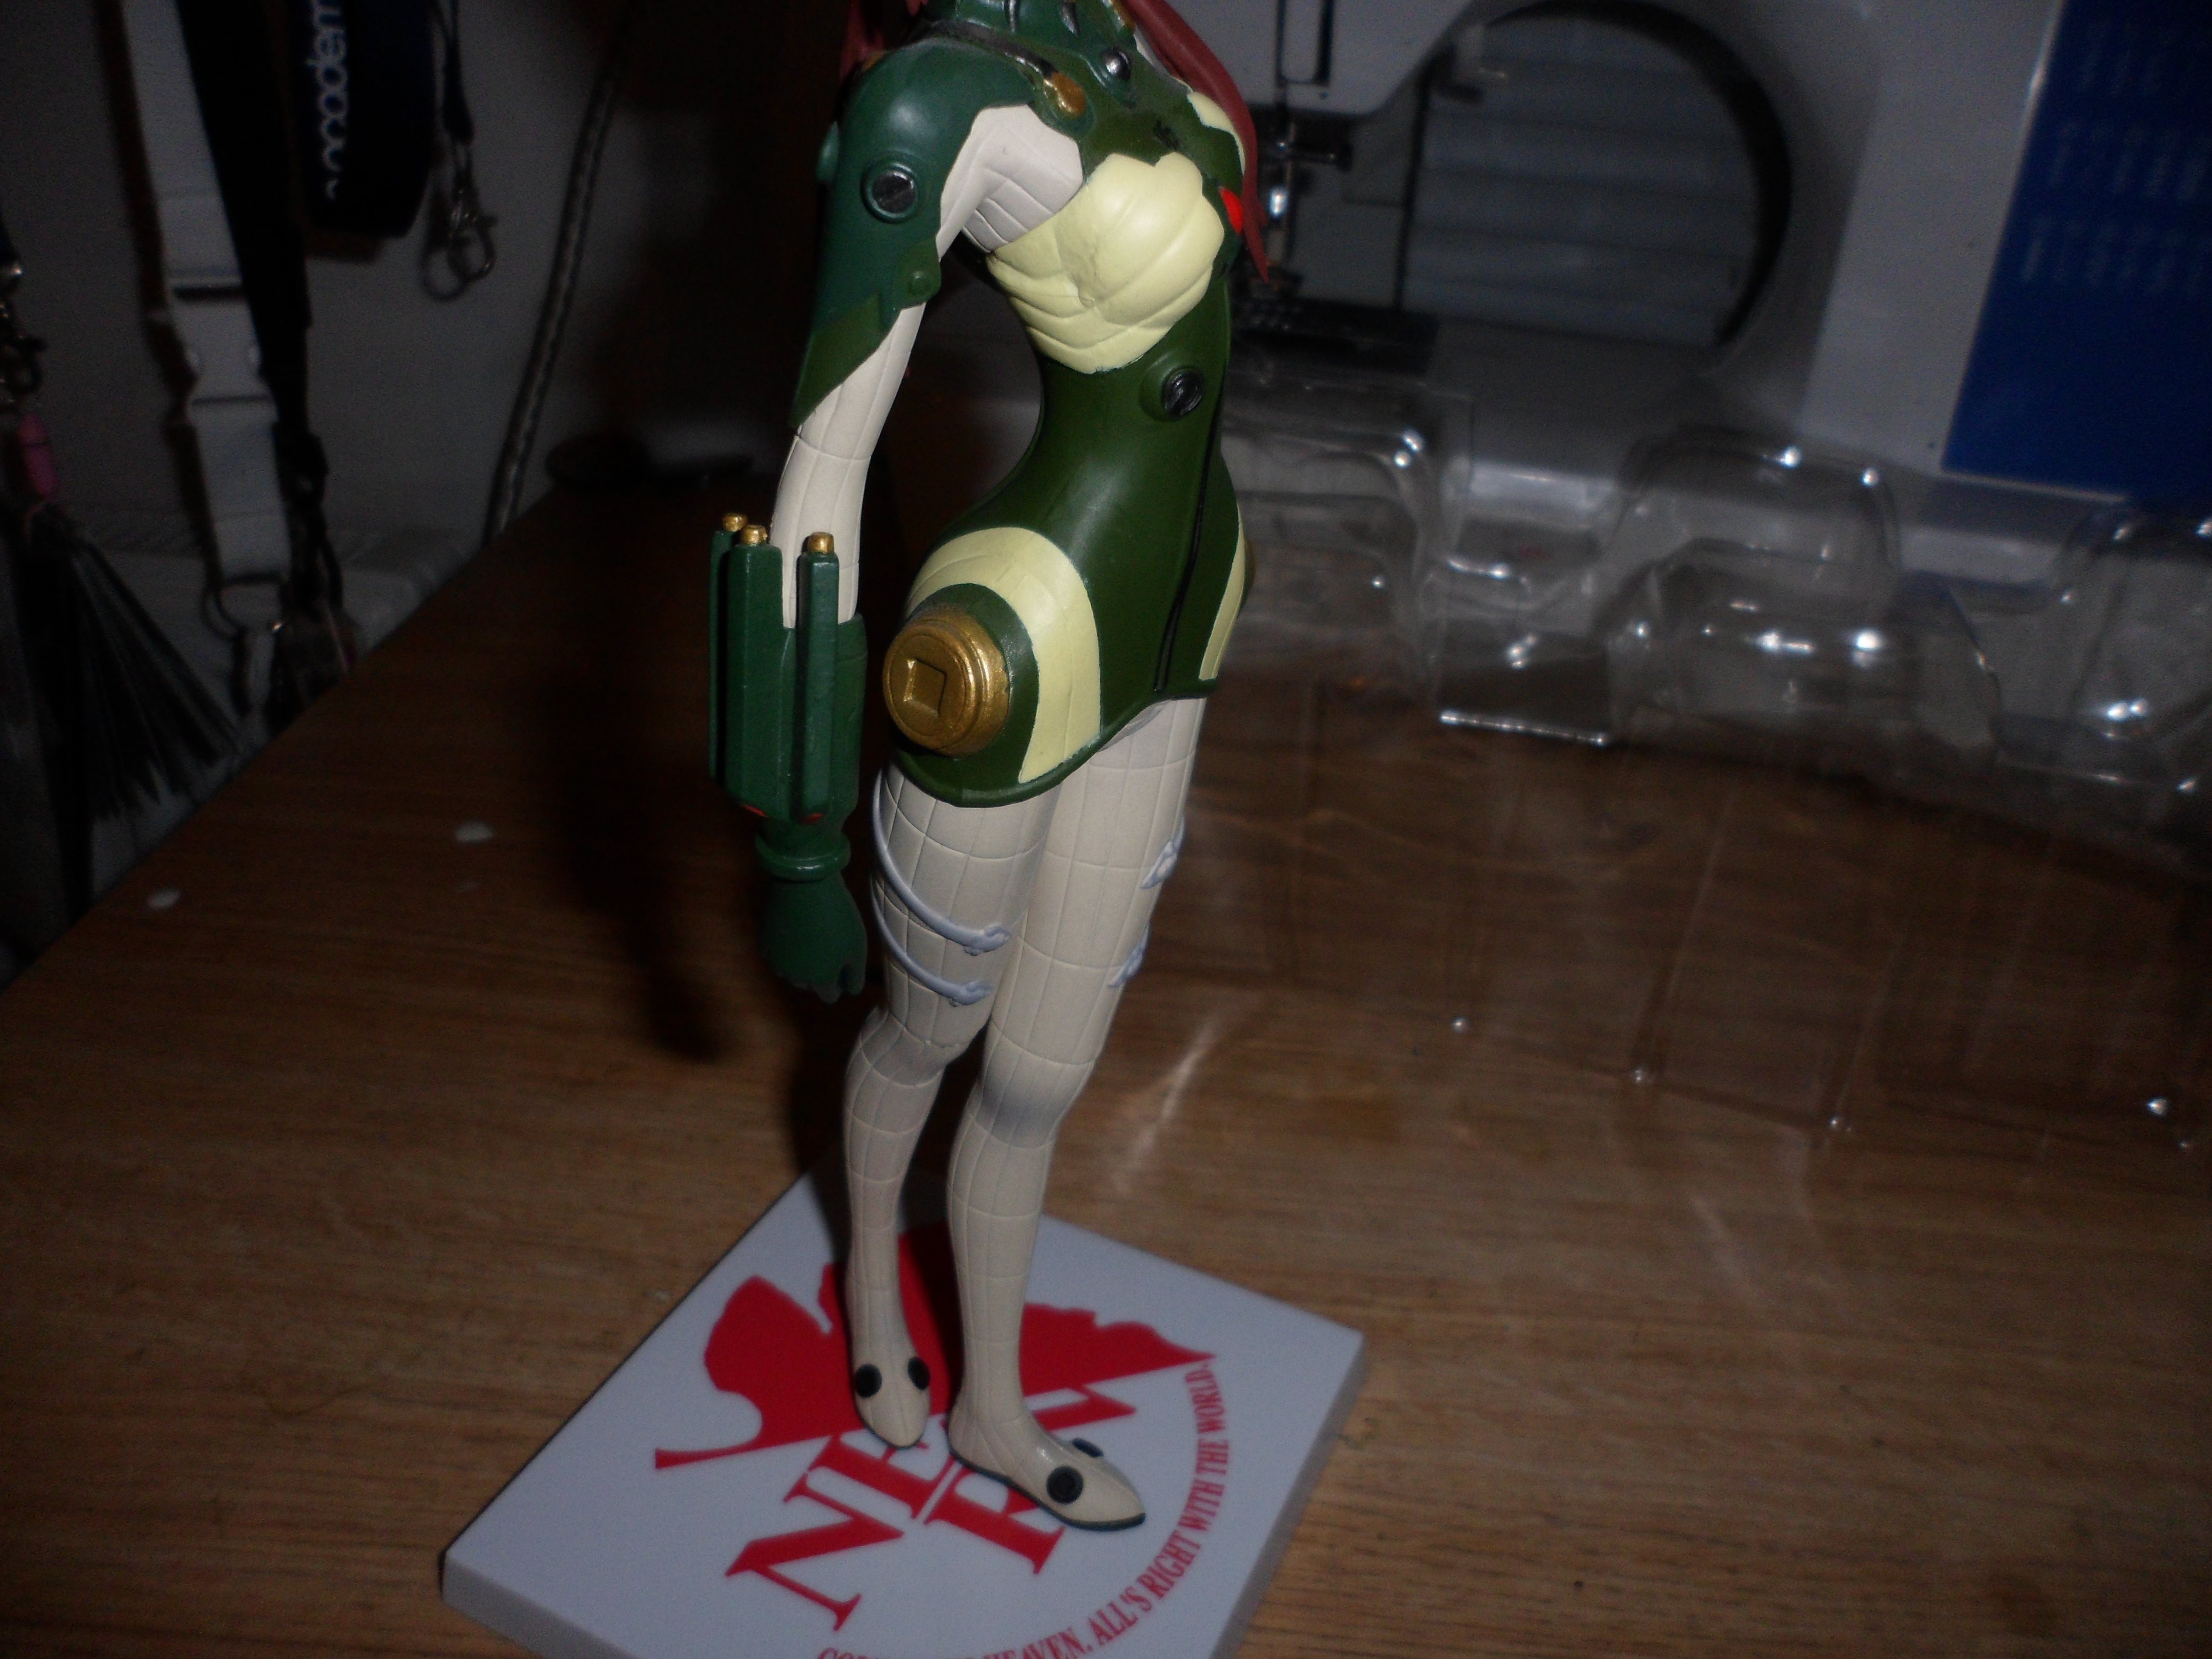
Here’s how I made these beautiful skin tight legs.
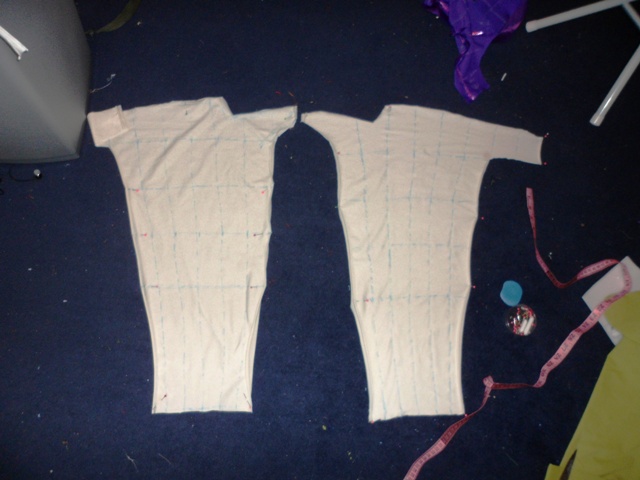
Remember the mock up? I checked my references again and drew blue lines all over it in chalk for the squares. Then cut one of the legs off the duct tape dummy. Here’s a leg and a teeny tiny crotch piece.
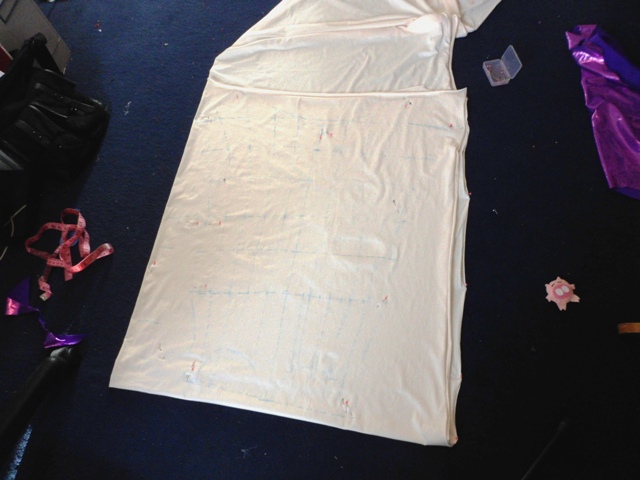
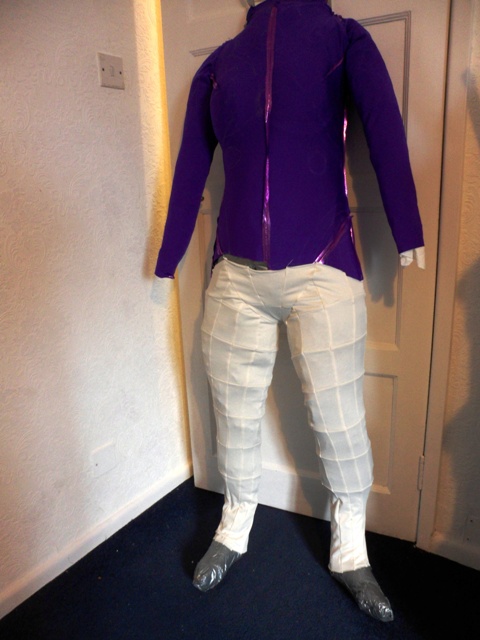
There were 9 lines downwards so with each seam taking 1cm, I included a 9cm expansion and a 1.5 cm seam allowance. Horizontally there were 6 lines so a 6cm expansion and a 1.5 cm seam allowance. Then you do math until your brain hurts and mark out the new lines.
This fabric was awful to work with-Rolled up so much that I had to pin it to the carpet and I had to use 2 layers so you wouldn’t see the client’s underwear through it.
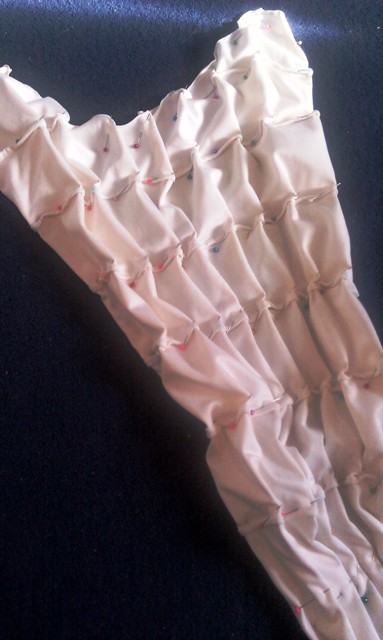
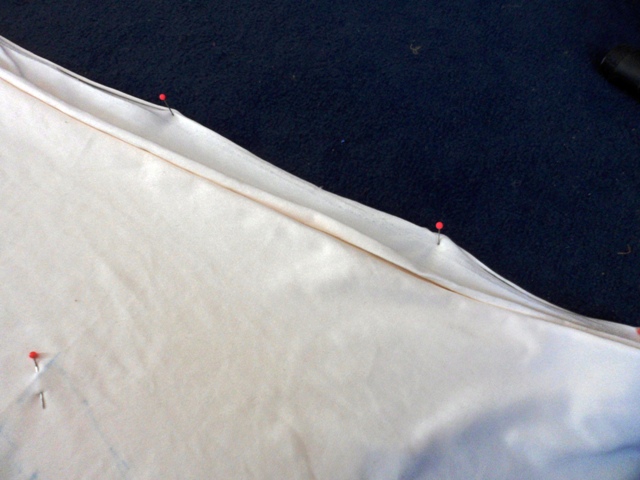
Here I’ve sewn all the horizontal seams and have pinned the verticals. Why yes, it was certain death for hands. A more sensible person would do this one row at a time.
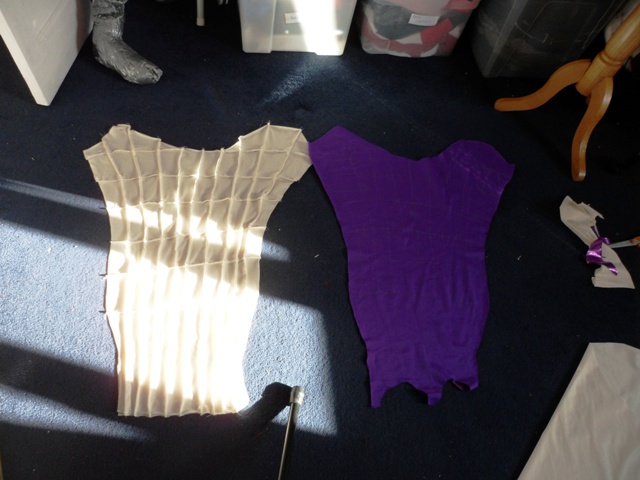
Now I check that the sewn leg is approximately the same size as the original pattern. Happy with the results I repeat the process with leg 2 and the crotch.
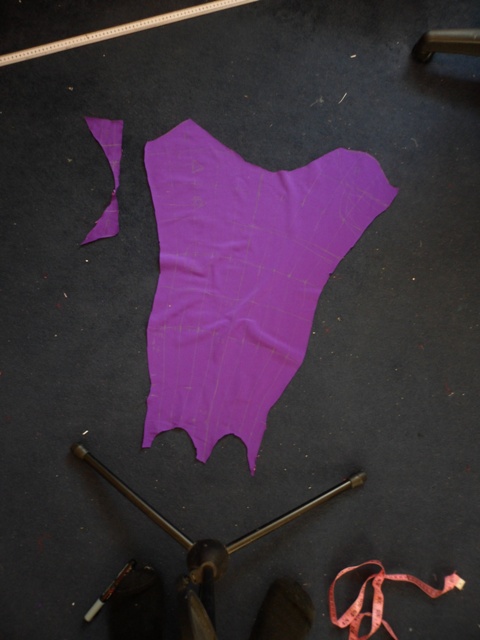
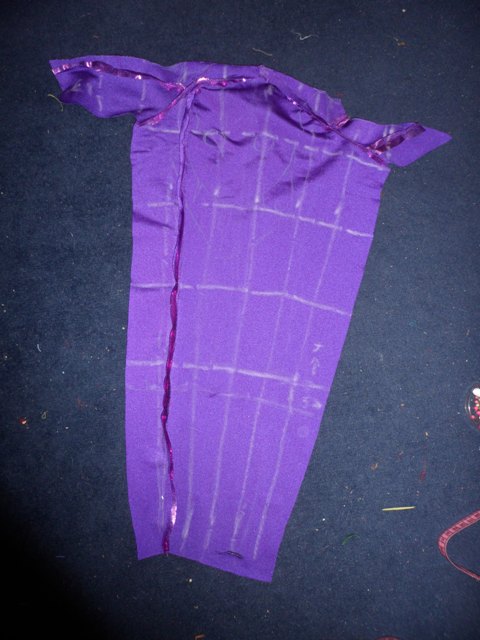
All sewn together and looking purty! Here’s it on the dummy to check the fit.
Next is the arms. Here you can see some of my math scribblings and sketches of the armour going on top. Same technique, expand by 5cm sideways and 4cm lengthways and include a seam allowance.
All marked up and ready to sew!
Next week we enter the exciting world of Lycra armour making : D
Leave a Reply