


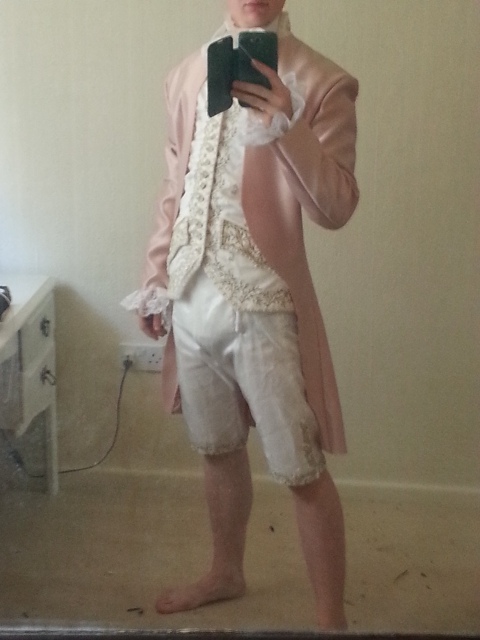
And now the most complex part of the costume broken down- the COAT.
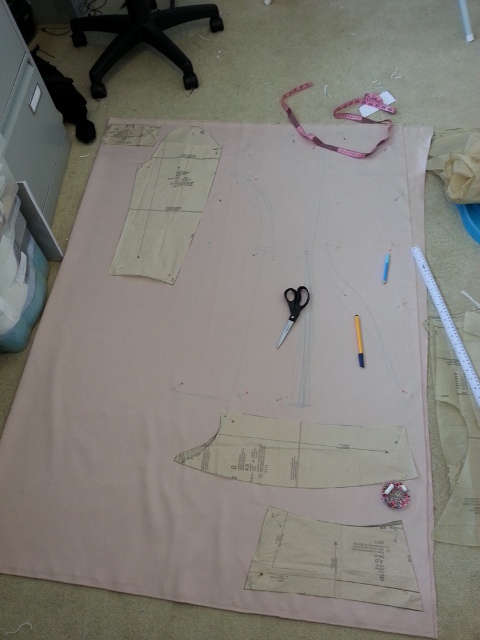
First some pattern drafting- I tend to make up a pattern on the lining so I can fit the lining before going into the main fabric.
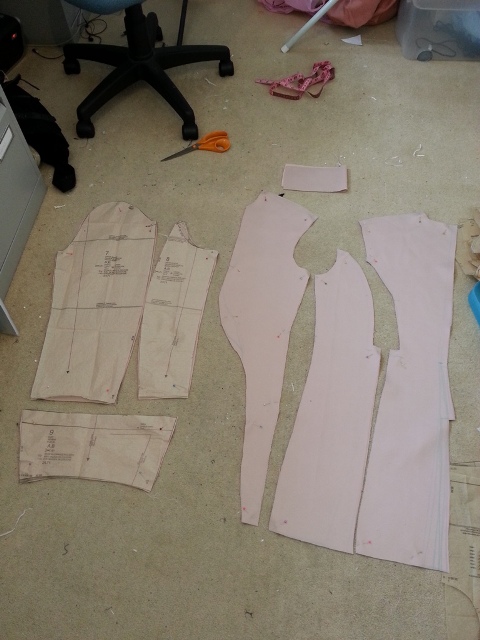
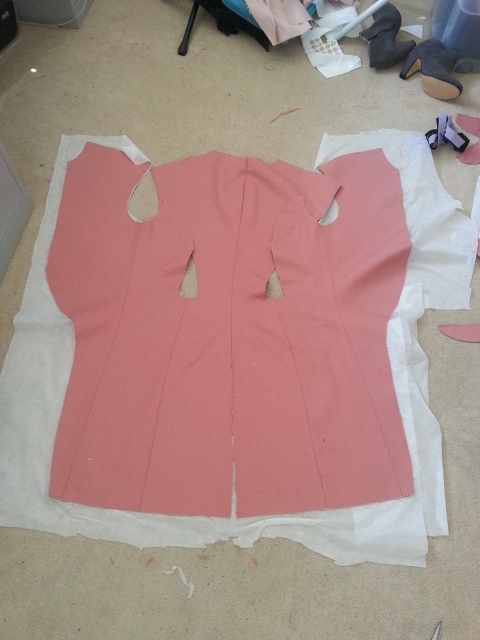
Lining cut out, you can see the front, sides and back more clearly here.
I make up the lining then borrow a sexy Christian to check the fit.
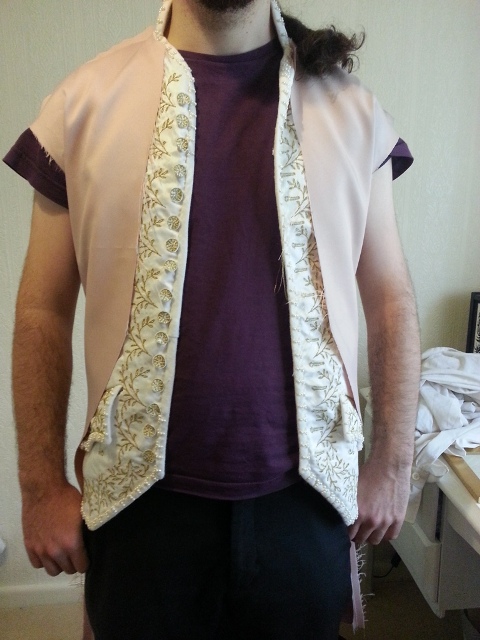
Sleeves added to the lining. Here you can see that it’s a reeeel nice duchess satin.
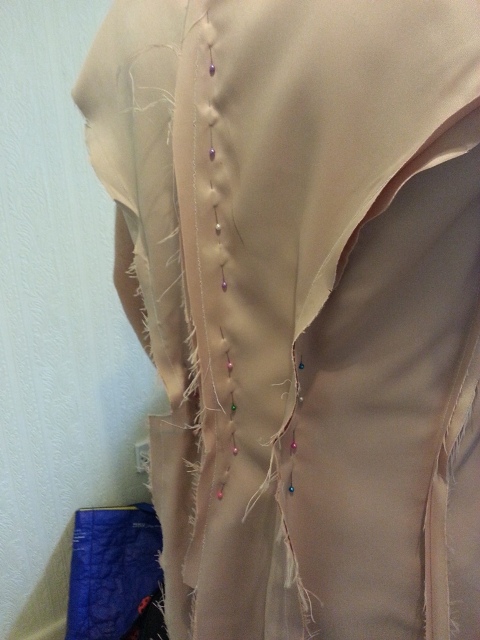
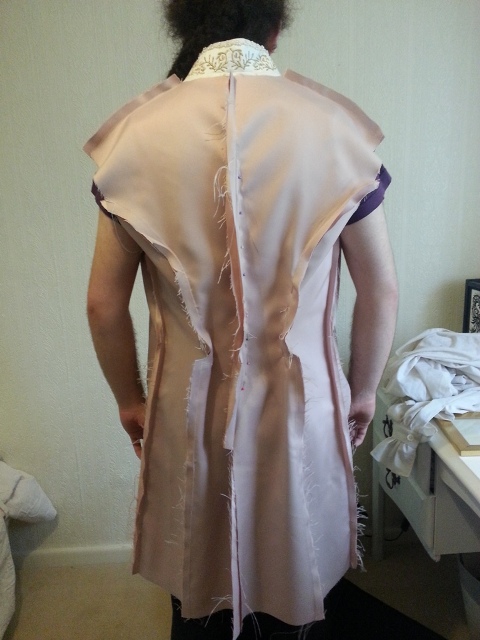
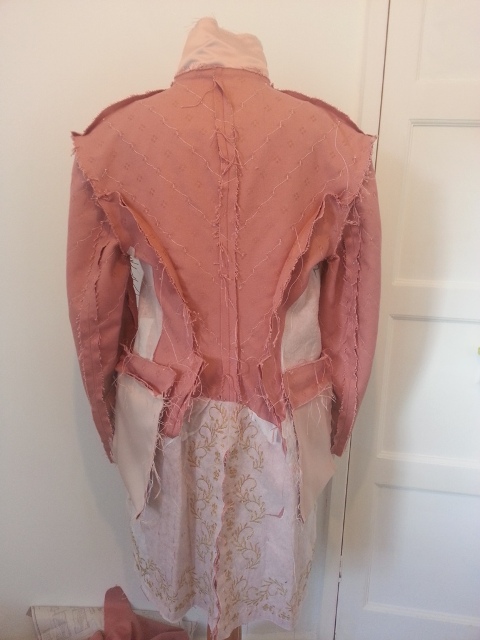
Shot of the lined up back seams.
I check the fit over the other parts I’ve made.
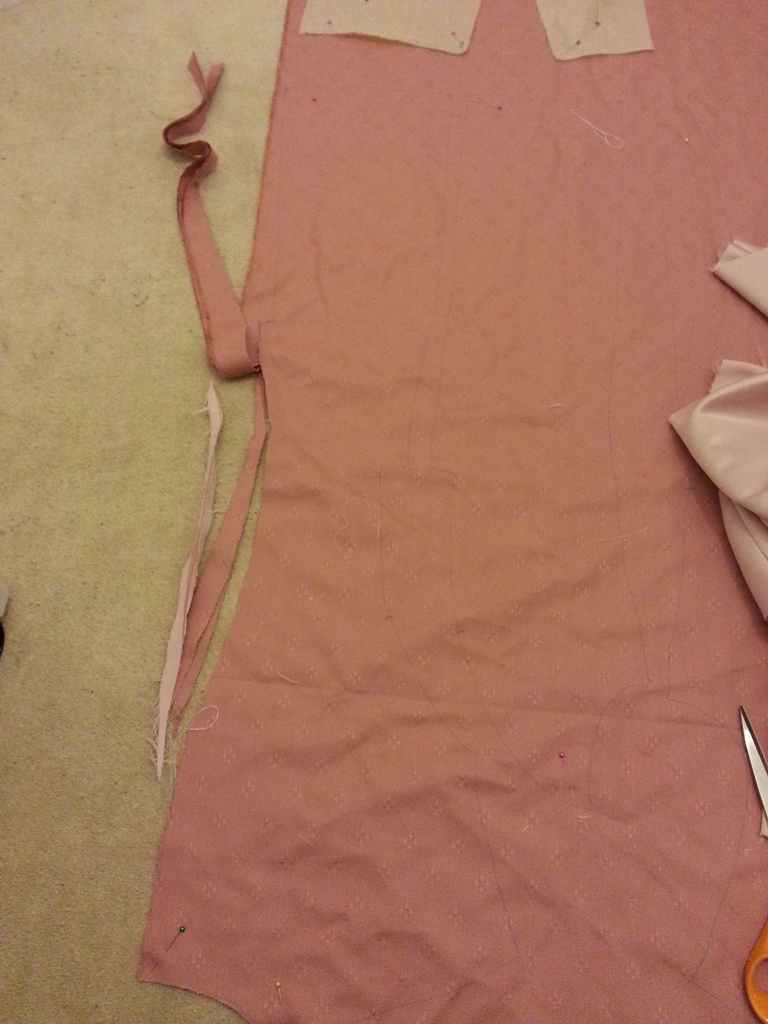
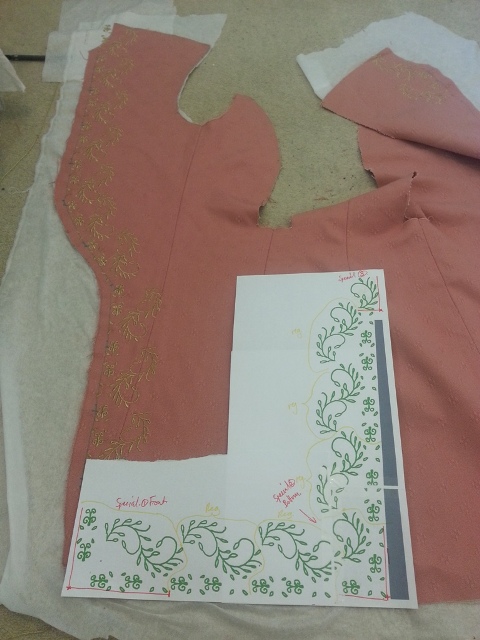
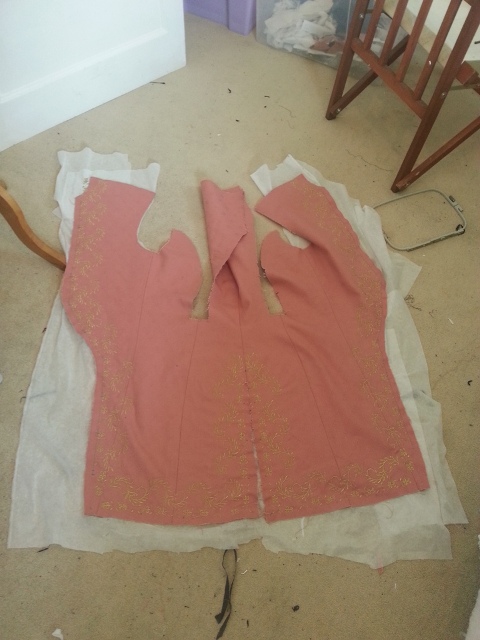
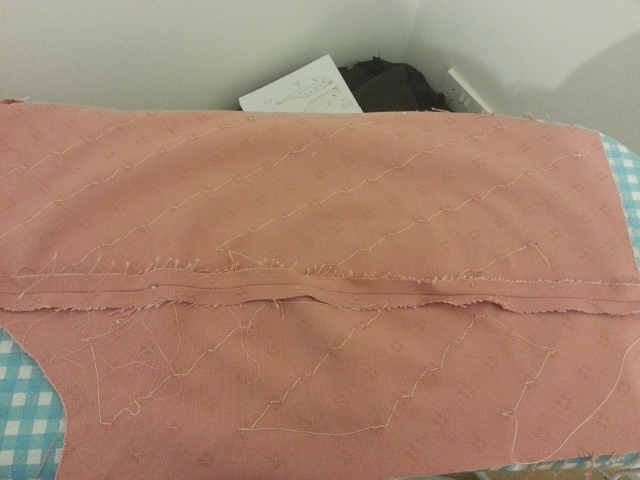
I use erasable ink to draw the pattern out onto the main fabric, a pink upholstery fabric that I tracked down on ebay after months of searching >.>

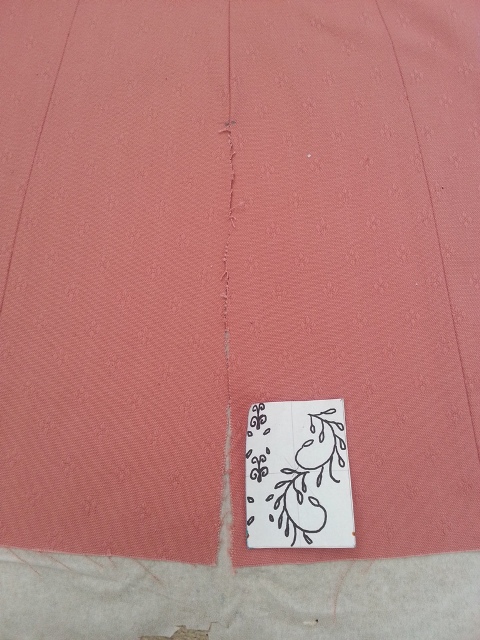
All of the main seams finished ready for pressing.
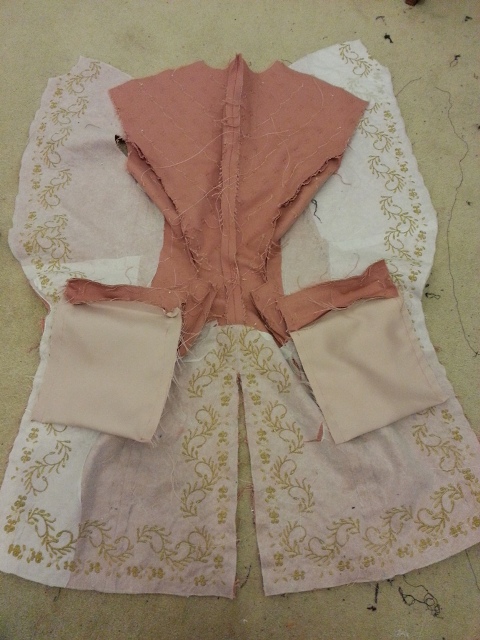
Pressed then I iron on a butt-tonne of interfacing, making sure there’s at least 5 inches all around so I can place the embroidery.
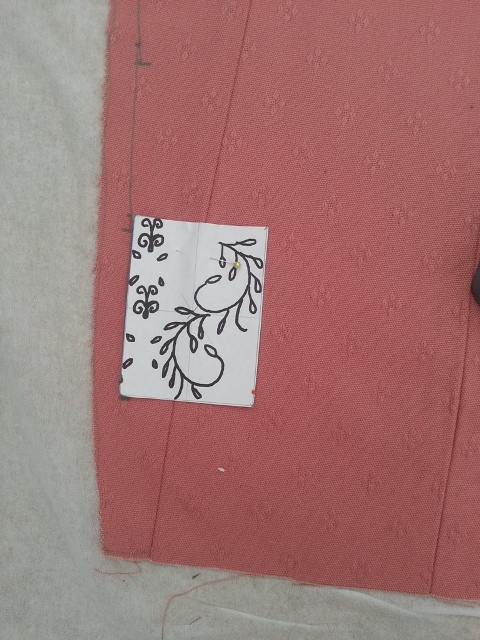
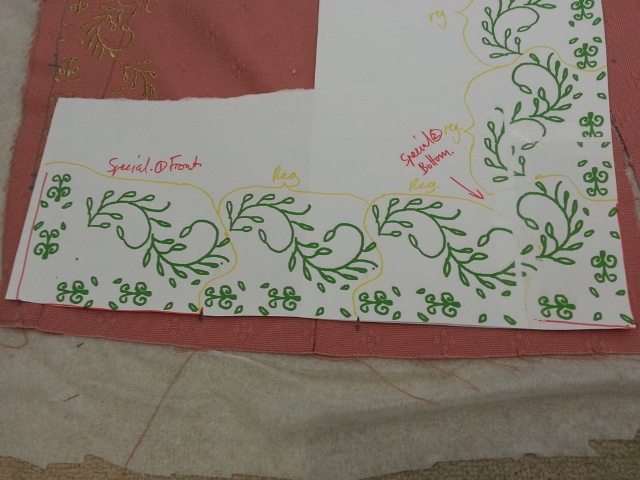
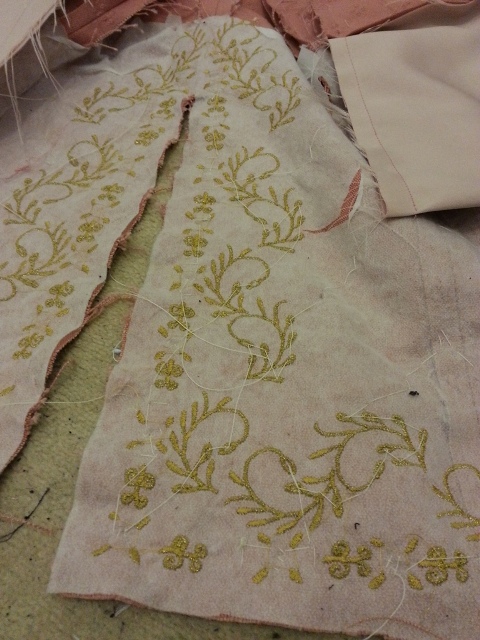
I create a repeating embroidery design and mark all the start and finish points all along the edge of the coat.
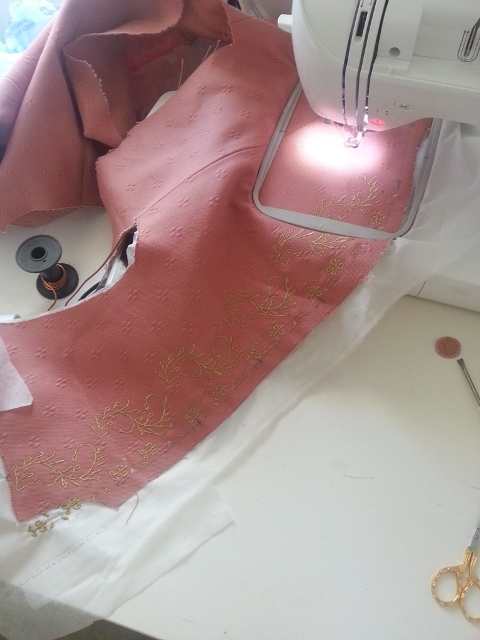
Time for some scary embroidery- if the machine slips up I have to cut the panel out and start again D:
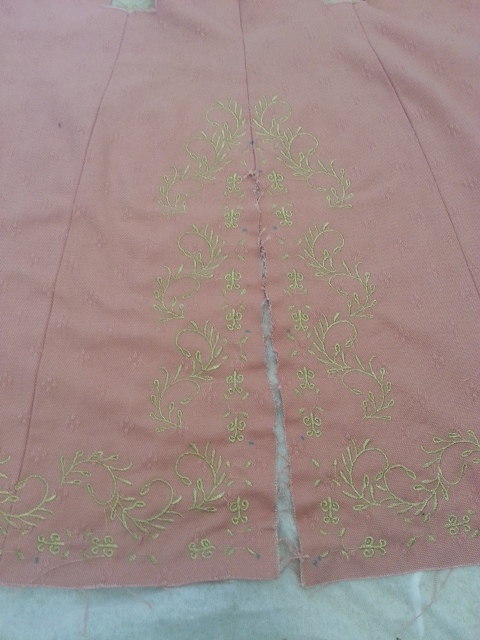
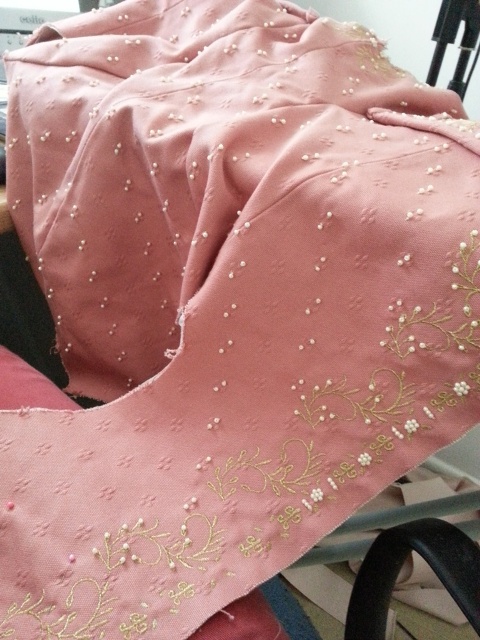
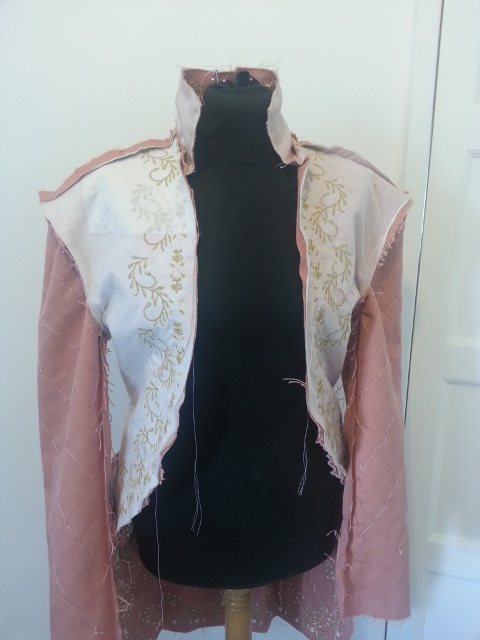
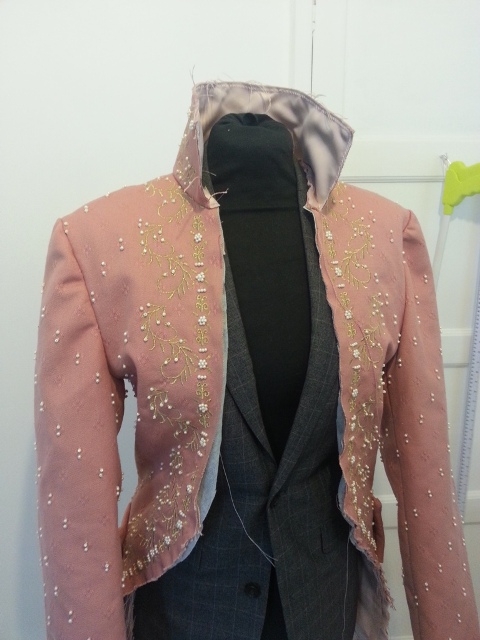
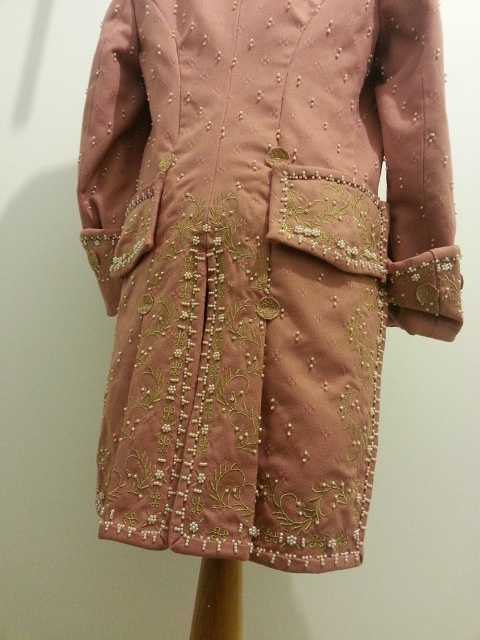
Finished front embroidery
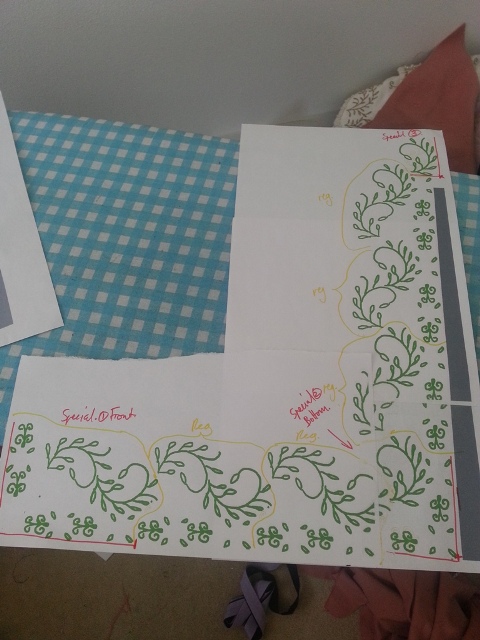
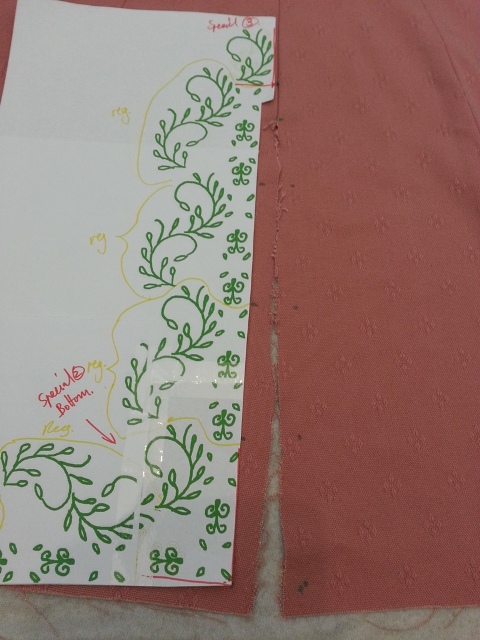
The bottom needs some special attention- I can’t just use a repeat pattern on the corners so I make up a huge template after measuring the bottom of the coat.
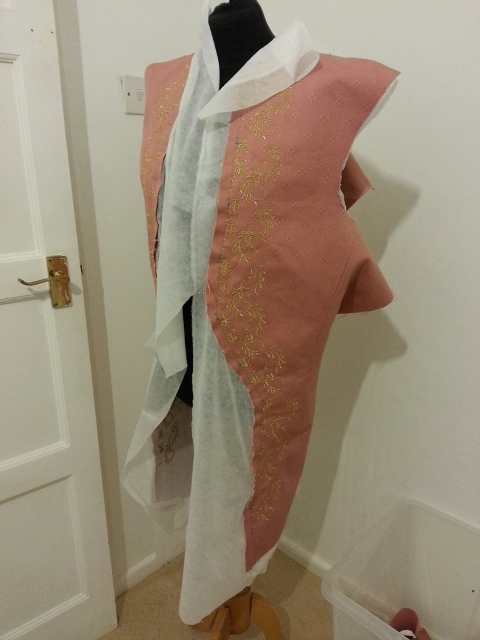
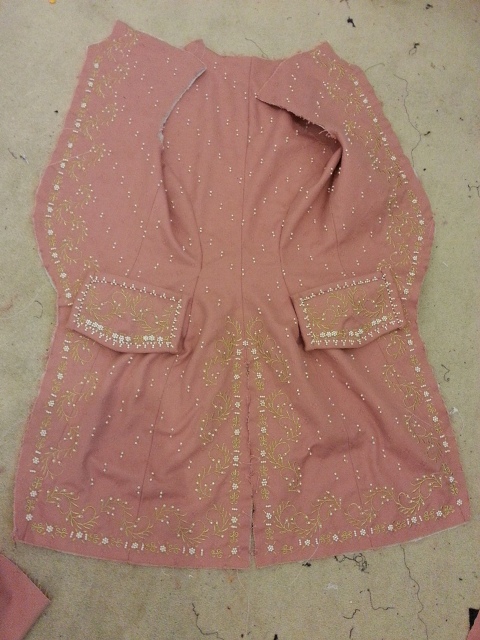
Several finger biting hours of embroidery later and we’re all done!
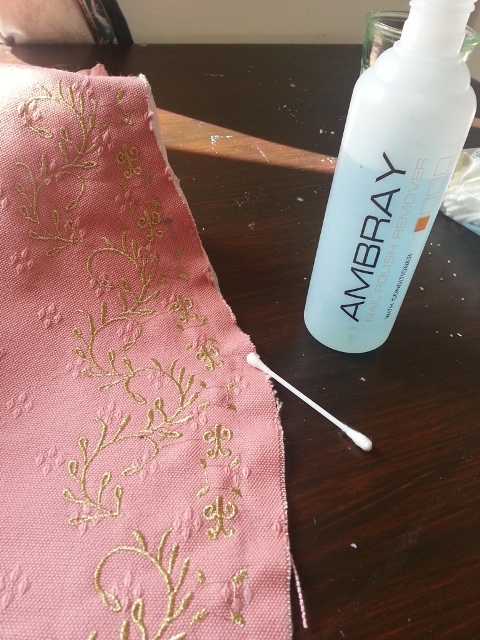
The so called ‘erasing’ ink decided to not come off so I had to very carefully take it off with some nail polish remover.
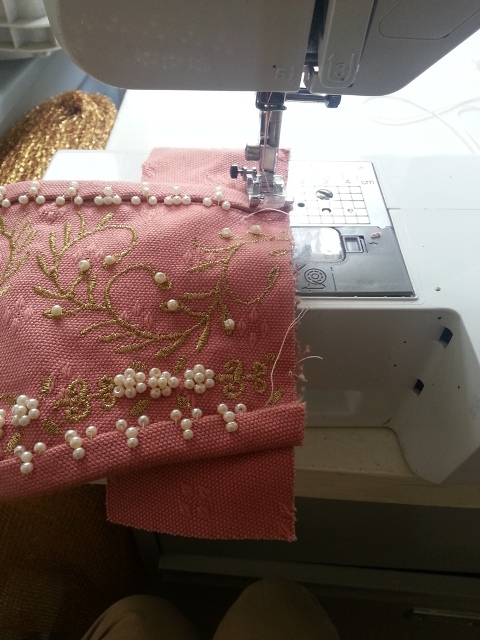
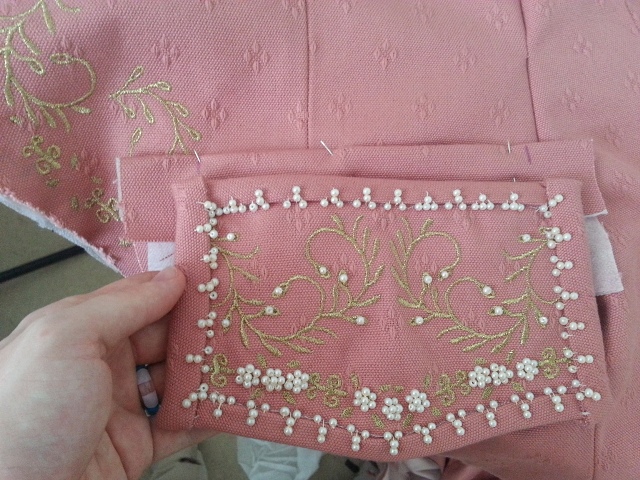
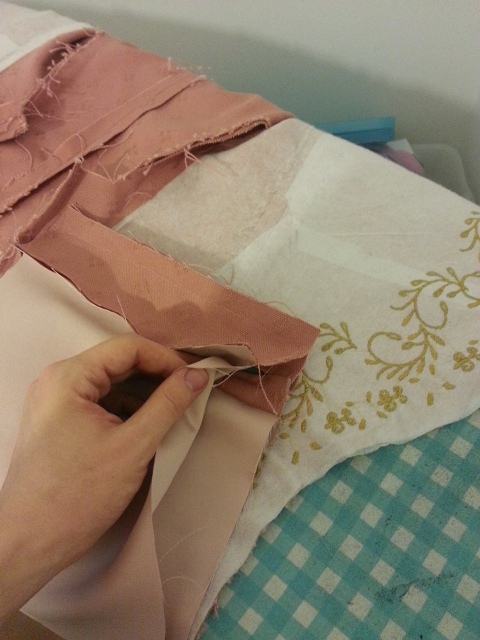
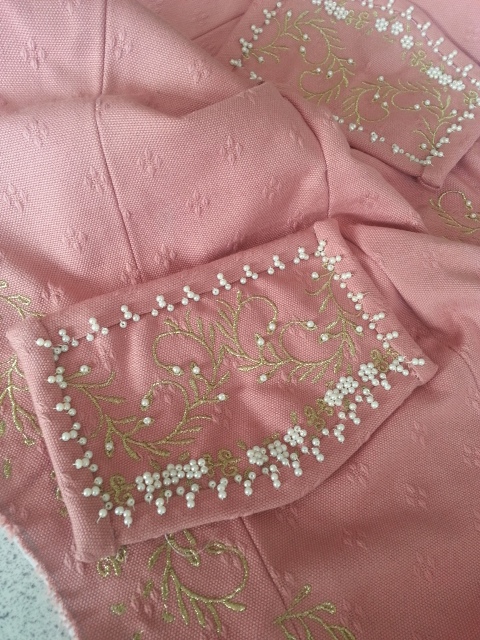
Main coat is done so I design some embroidery for the pocket flaps. This is me adding a lining and bias to the edges.
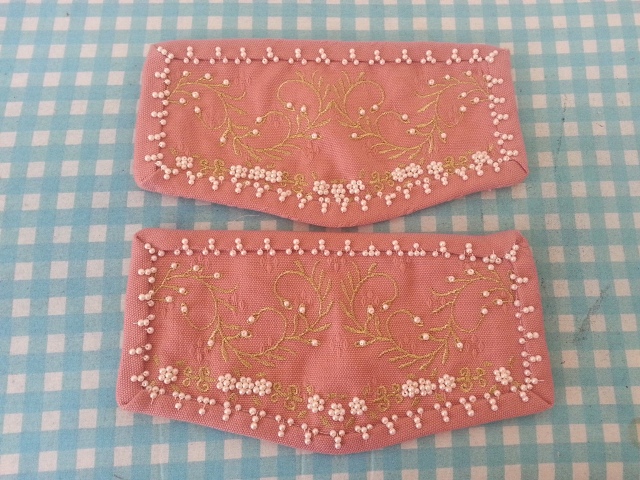
300 pears added later…
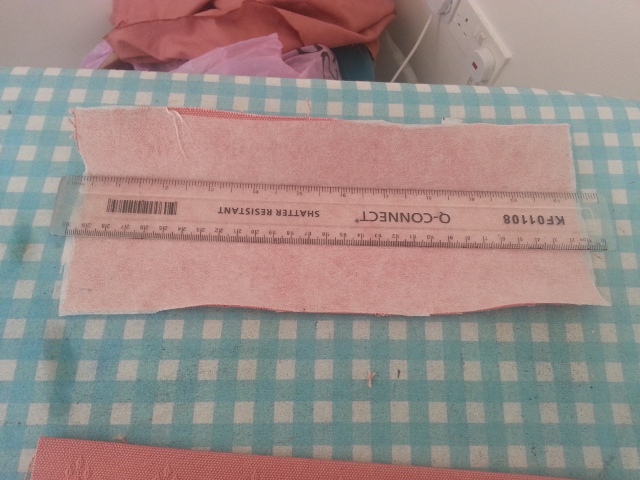
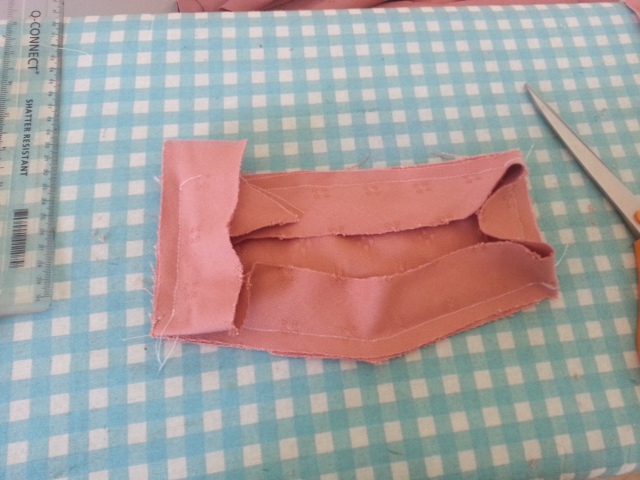
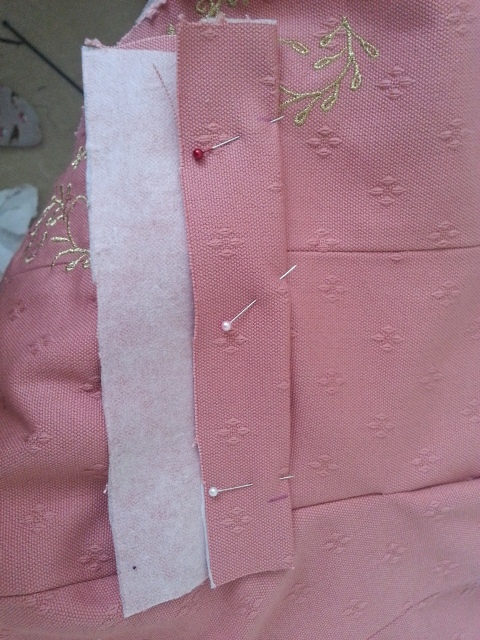
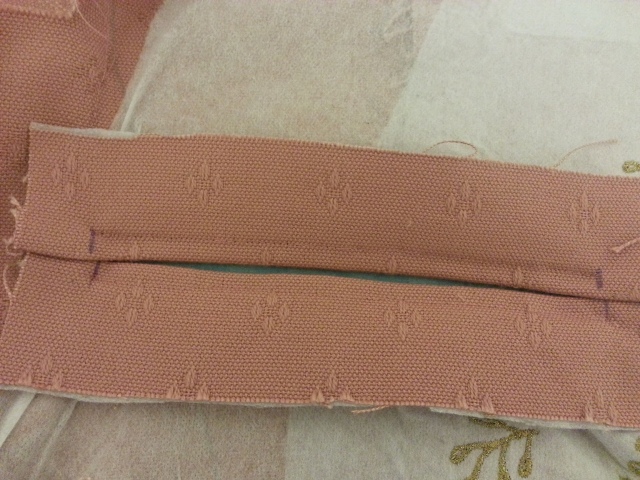
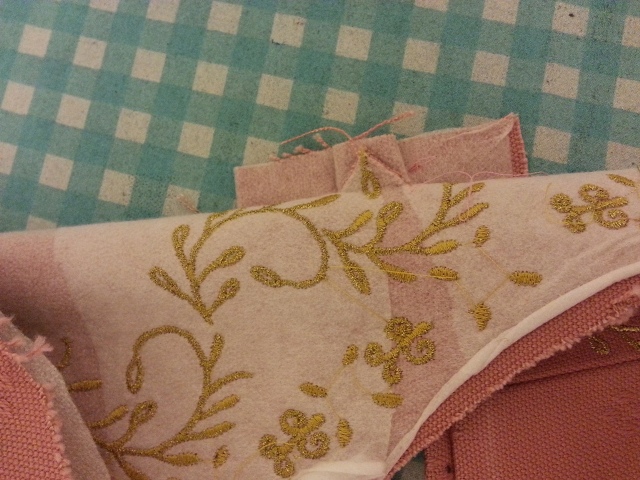
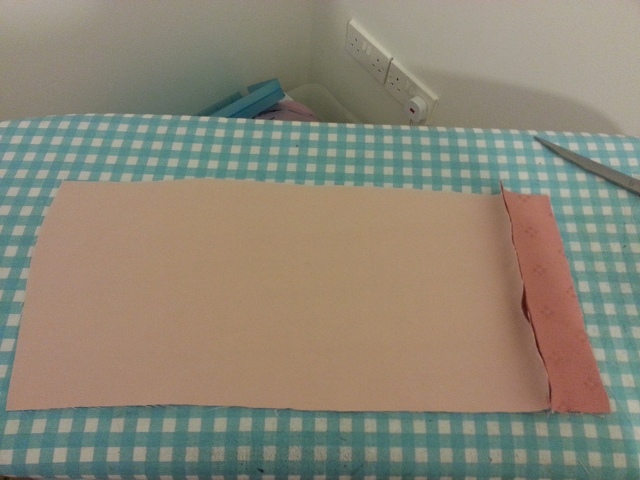
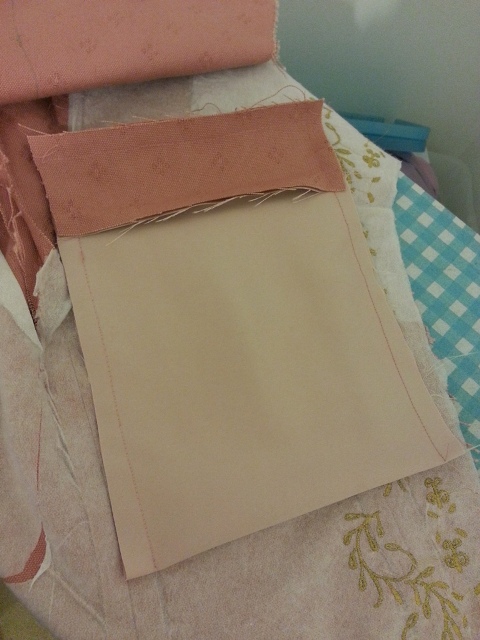
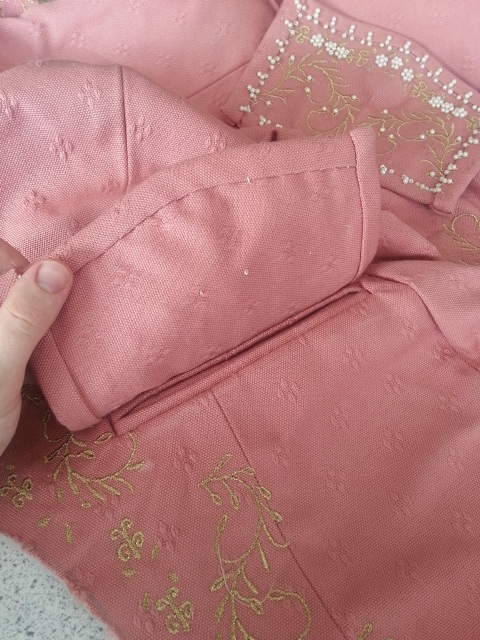
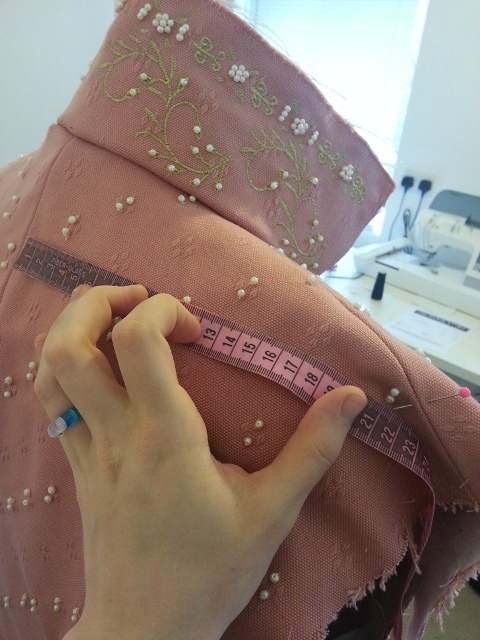
Now a welted pocket- I interface 3 ruler measures of the fabric
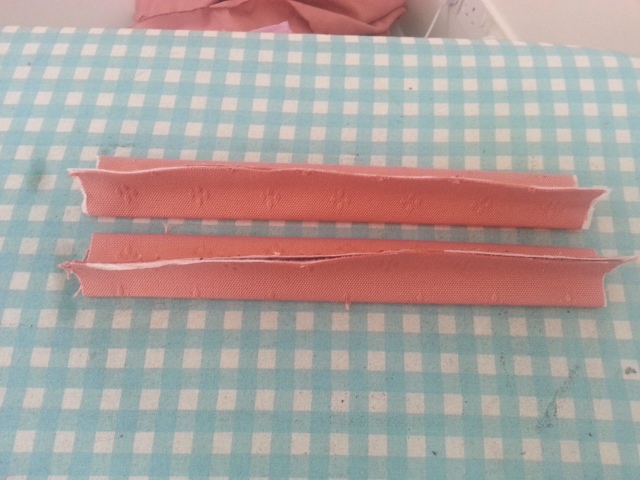
Ironed up each side.

Measured up against the pocket flap.
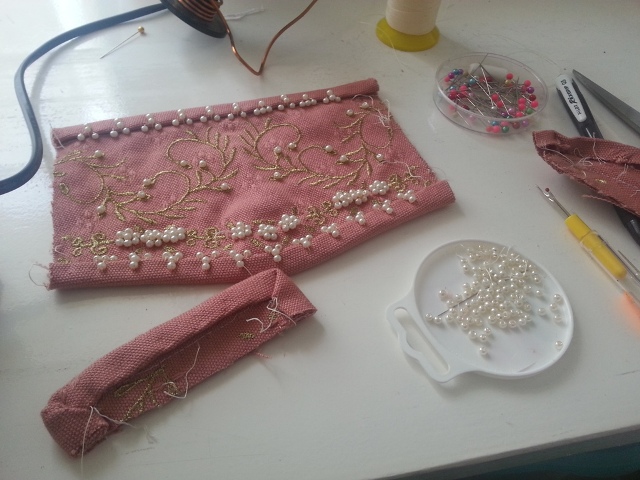
…Then I test it against the coat and realise that I’ve made the pocket flap too big. TIME TO CUT UP ALL MY WORK : D
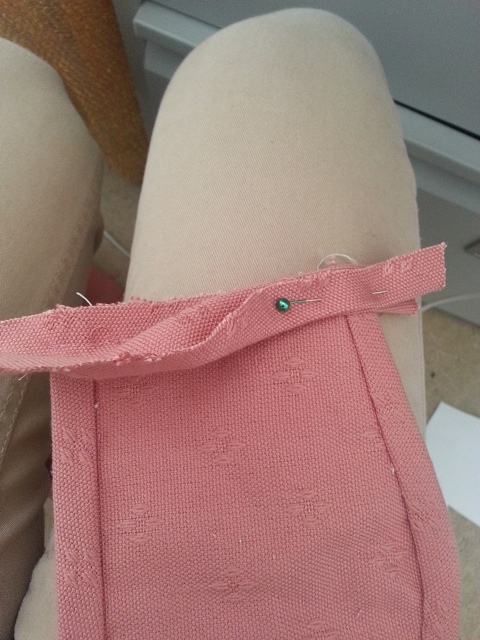
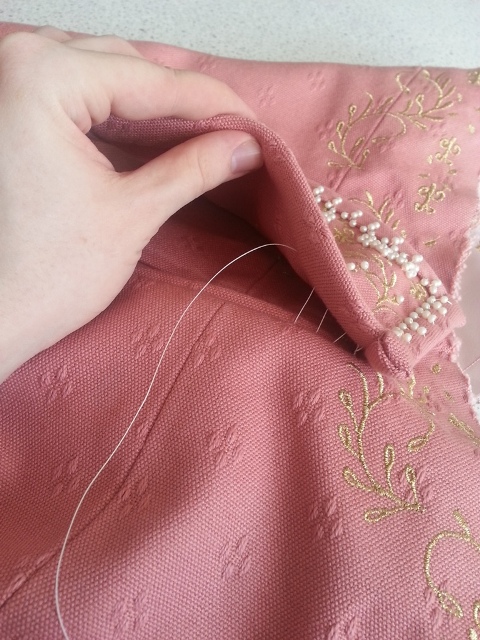
Add some more bias to the cut sides. I’ve left the pearl strings loose so the line of stitching would secure it.
Folded over like a fan and sewn down each side.
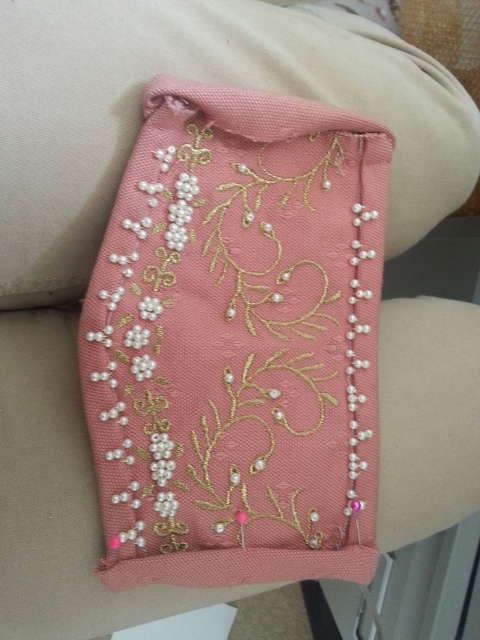
I then use the pearls to sew the bias down and fix the mistake.
Back to the welted pocket- finally have the right pocket dimensions so I mark it on the facing.
Pocket in place to check size.
I sew two lines down either side of the facing. For a better tutorial check out here: http://www.fashion-incubator.com/archive/welt_pocket_construction/
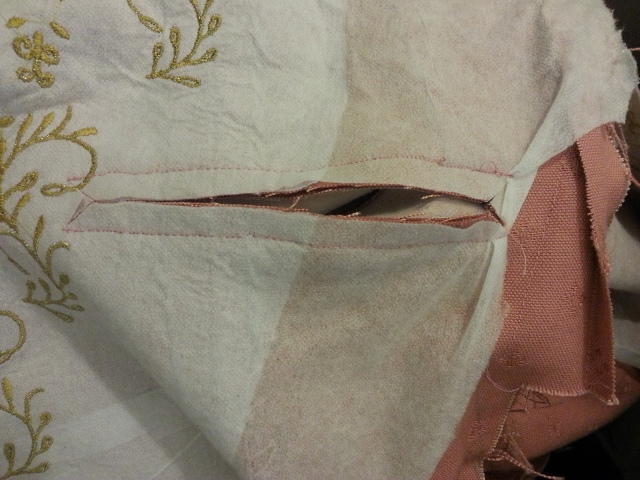
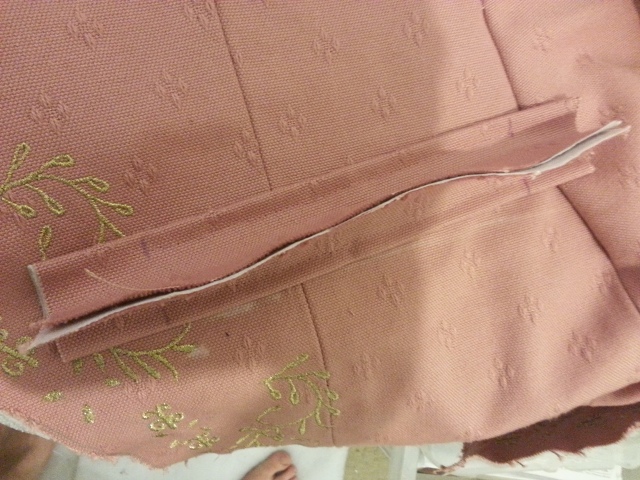
Turned the other way out, cut down the middle. Edges are cut into triangles.
Flipped inside out it suddenly becomes awesome.
Other side after some pressing
Sides folded down then I sew across the triangles to secure the sides.
This is the pocket lining plus a facing of the fashion fabric.
Pocket lining sewn to the top and bottom of the welt.
Sides sewn up nice and purty.
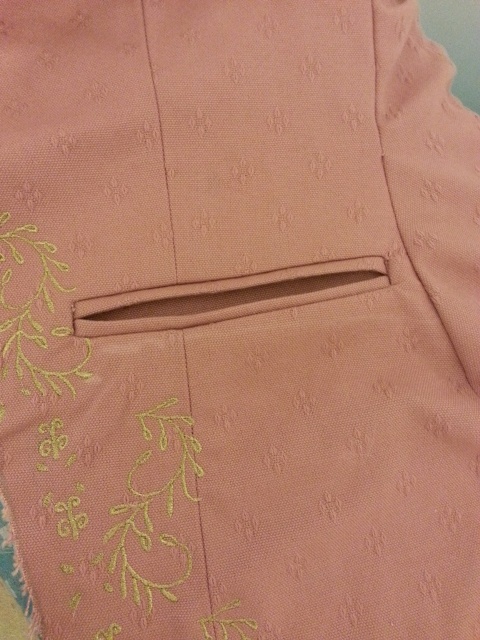
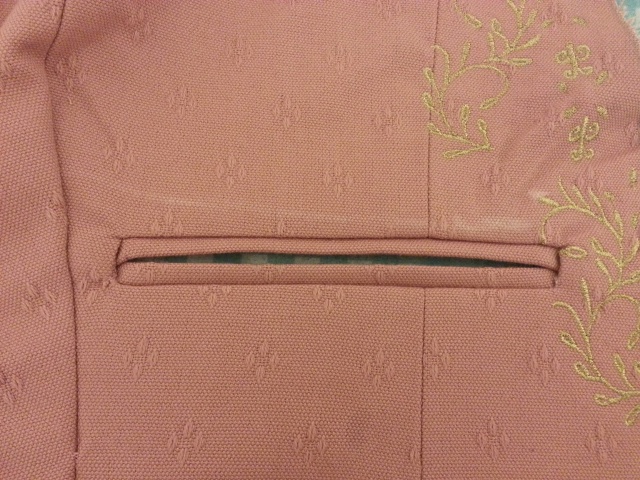
The finished pocket.
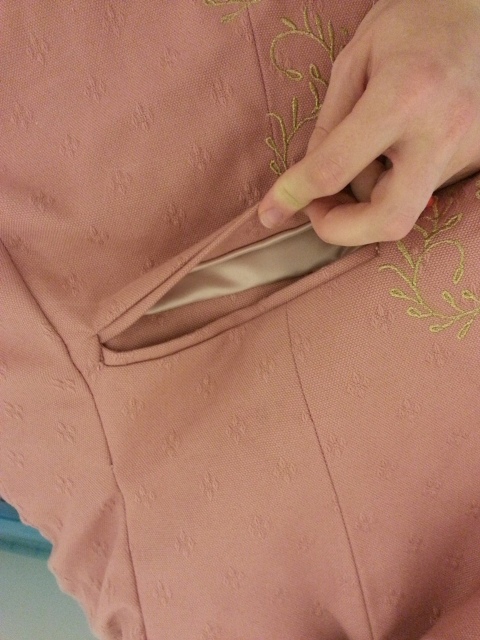
Complete with smexy facing.
I use a ladder stitch to secure the pocket flap over the top invisibly.
YUS POCKET.
Now time to add ALL THE PEARLS.

Total pearls so far: 4500. I watched a LOT of Game of Thrones.
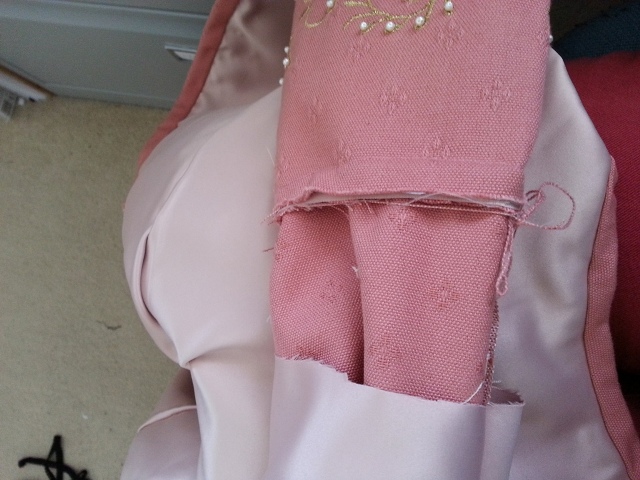
Shot of the insides. See that I’ve left all the ends loose so if a pearl works free I can sew it back on. I’ve used an upholstery thread to avoid snaps, but it means I have to throw away about 5% of pearls as the holes are too small for the needle I have to use.
Insides of the sleeves, showing how I slowly went over the entire surface of the fabric. Each set of 2 gets a knot either side so if the thread pulls it won’t wreck the entire thing.
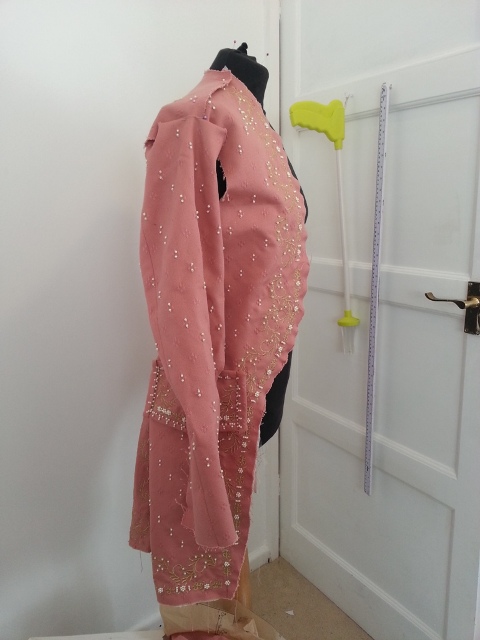
Sleeve tested against the main.
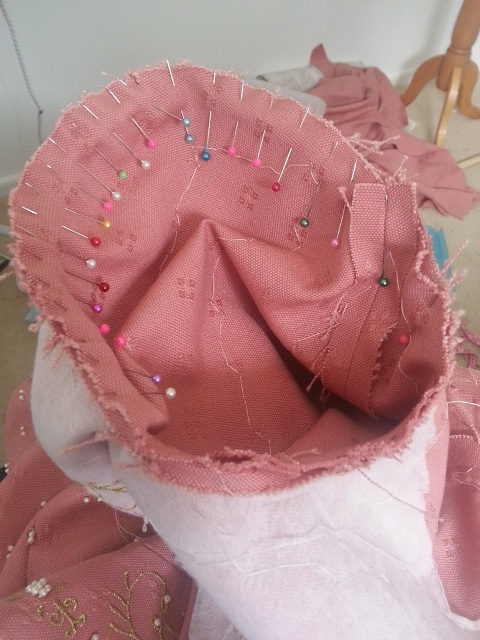
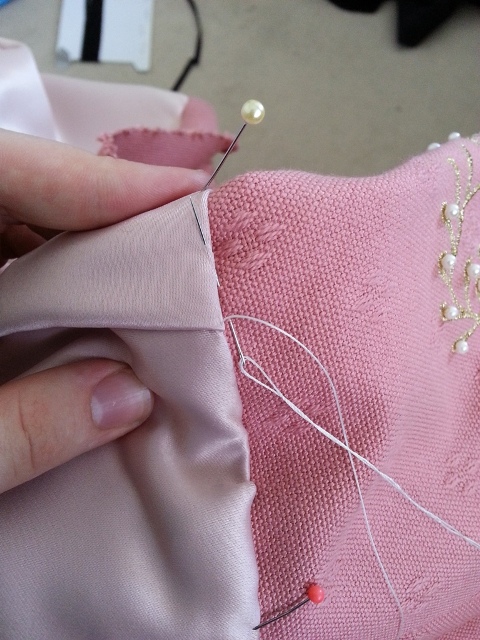
When I’m setting sleeves into anything I use a fuck loads of pins.
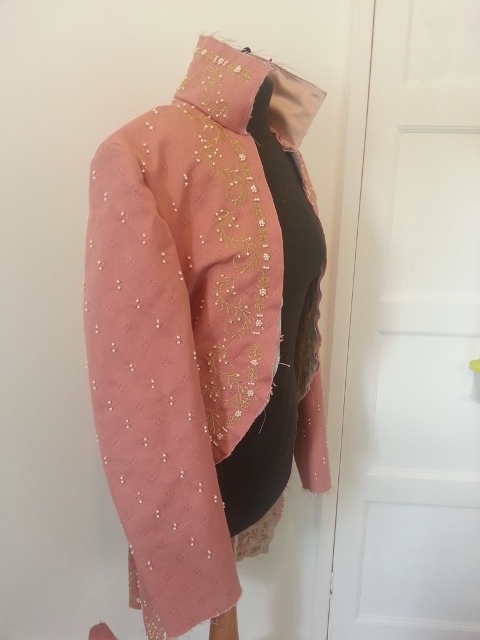
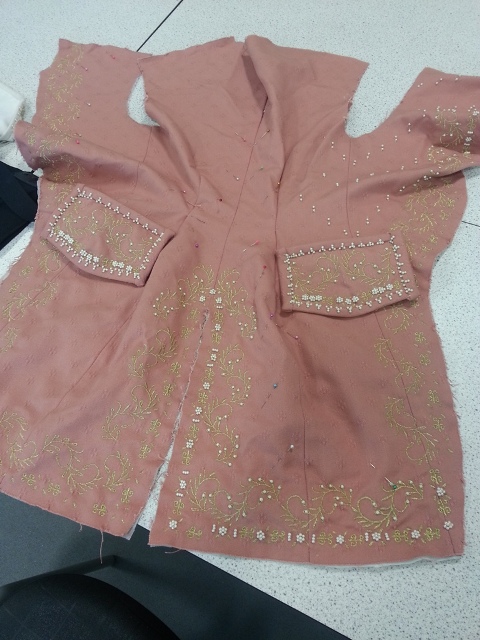
Photos of the coat with sleeves set in inside and out.
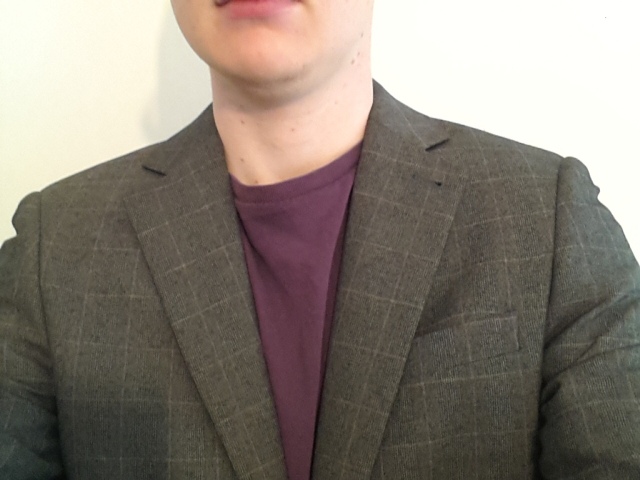
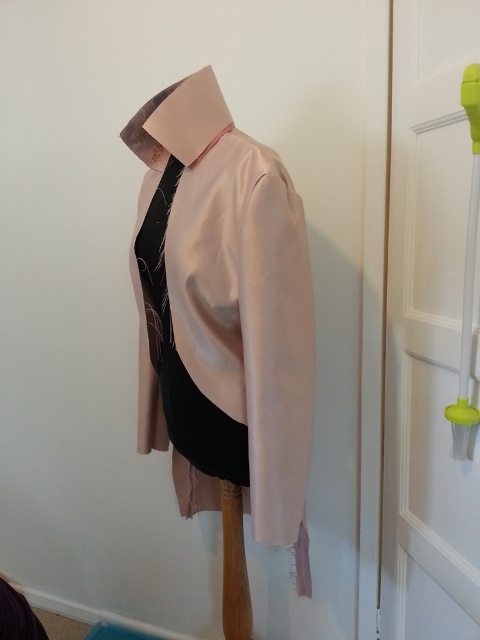
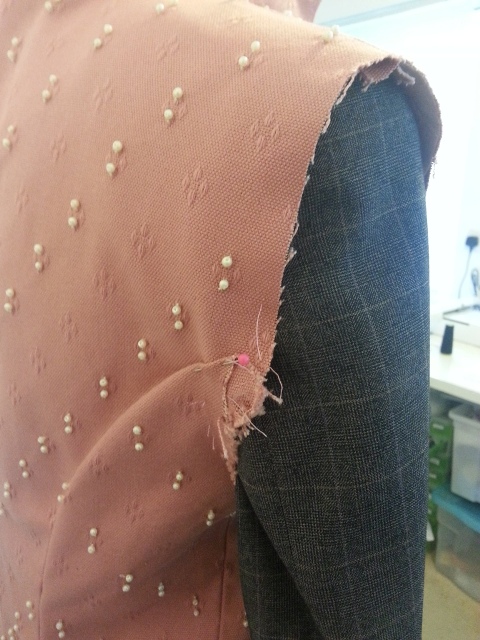
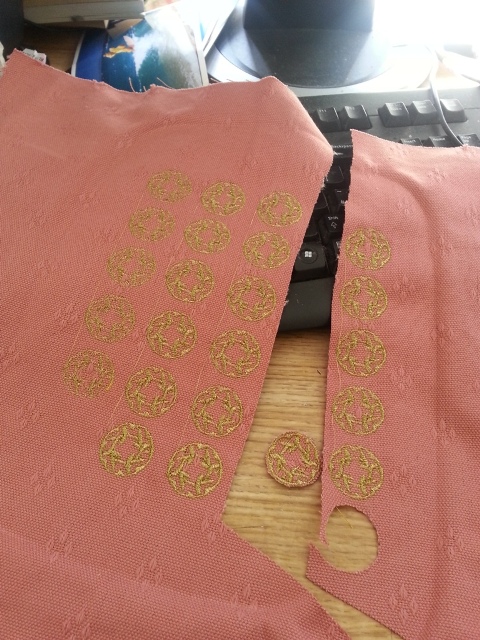
At this point I look at the reference and realise that the shoulders are far too wide. I’ve just brought a suit with shoulders the right width so I take the back measurement from this suit and use it to mark out the shoulders on the George coat.
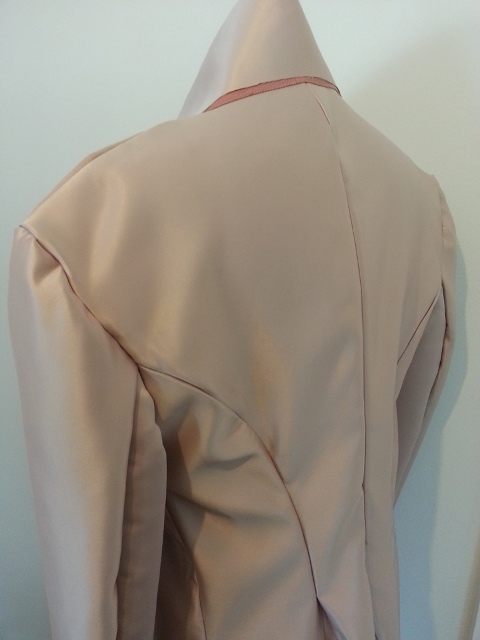
I make some adjustments to the back seam so it lies flat over the check suit.
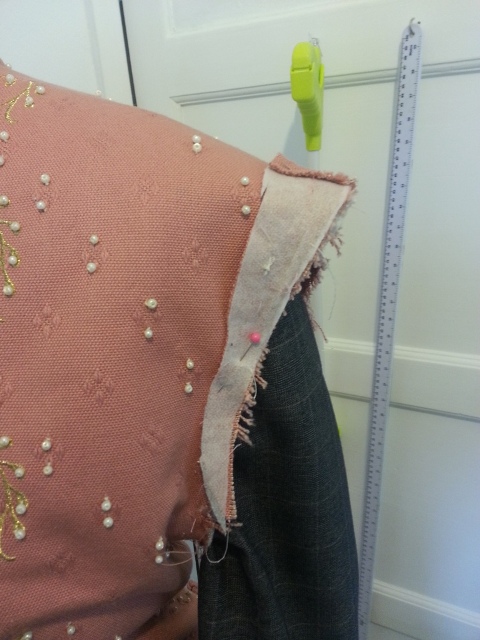
I take the cut from one side and pin to the other to make sure I adjust the same on both sides.
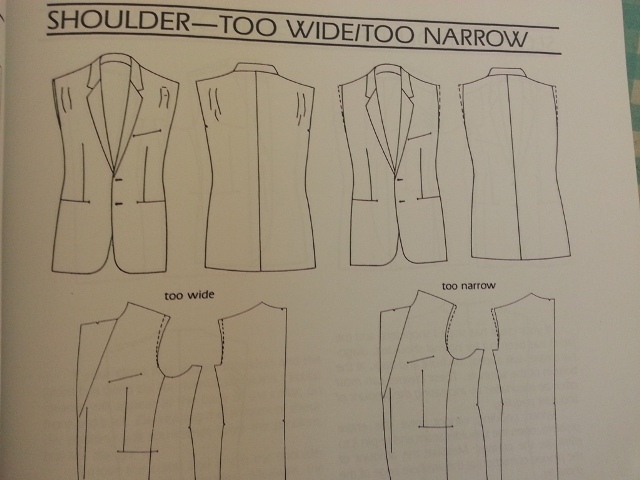

I’ve got a great book on tailoring that runs you through how to adjust tailored patterns. The coat was too wide on the shoulders and too loose above the waist.
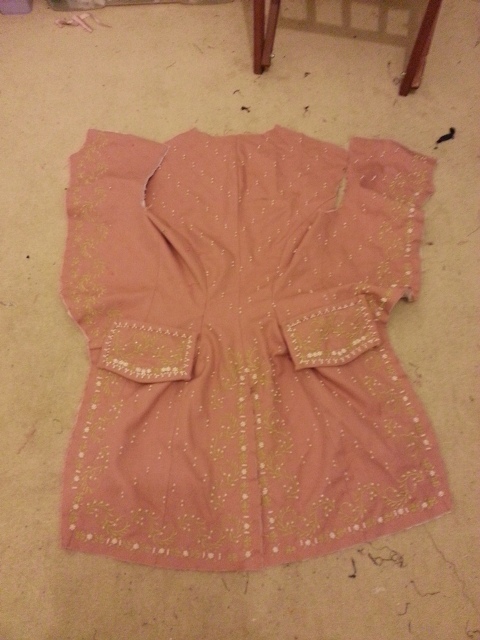
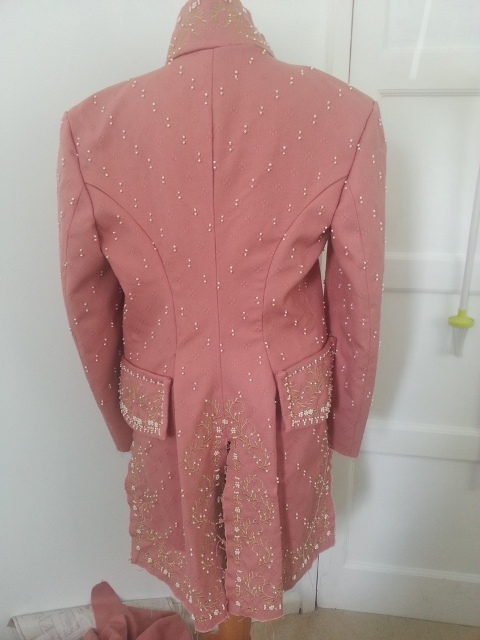
Sleeves back in and much better!
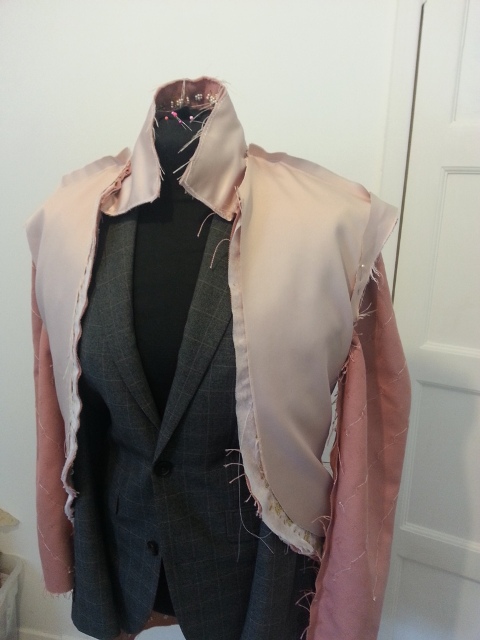

Checking that the lining fits. I’ve also made the same adjustments to the lining so it sits correctly.
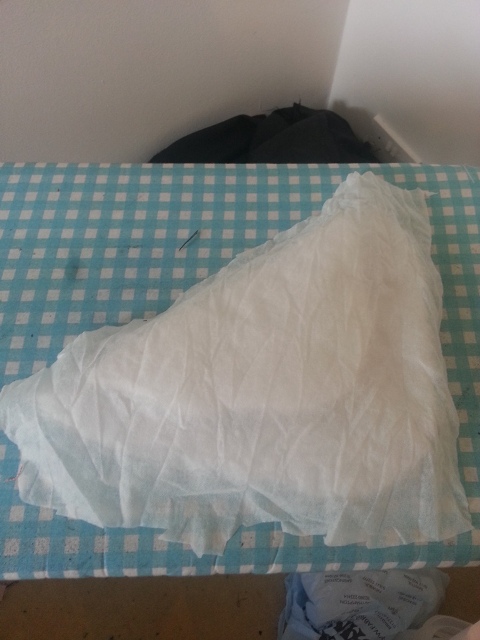
Making the shoulder pads- two layers of wadding and some interfacing.
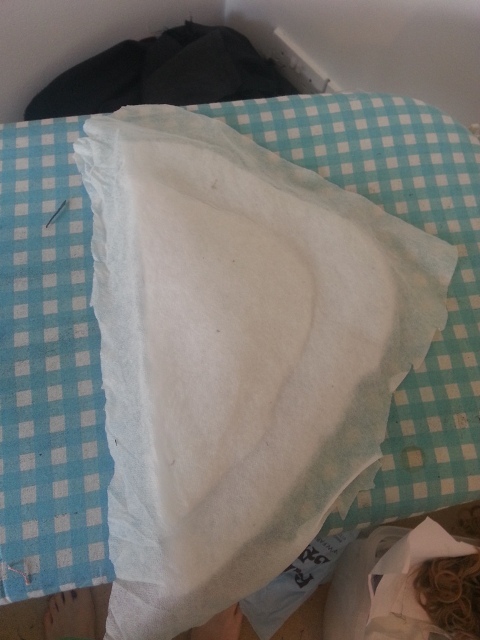
Ironed down the wadding and it makes a nice solid and firm pad in the right size.
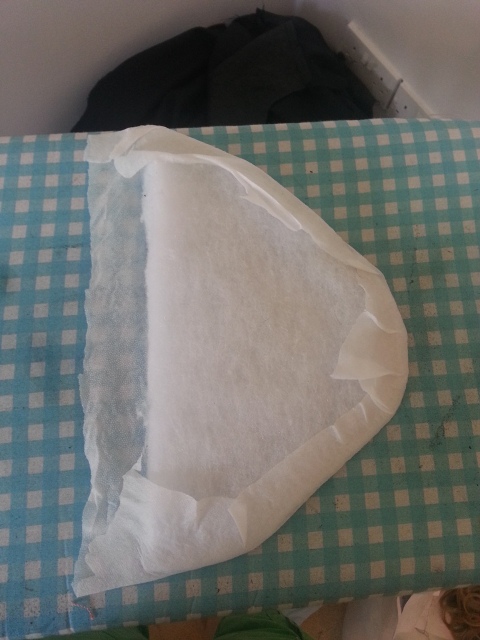
Ironed the edges underneath.
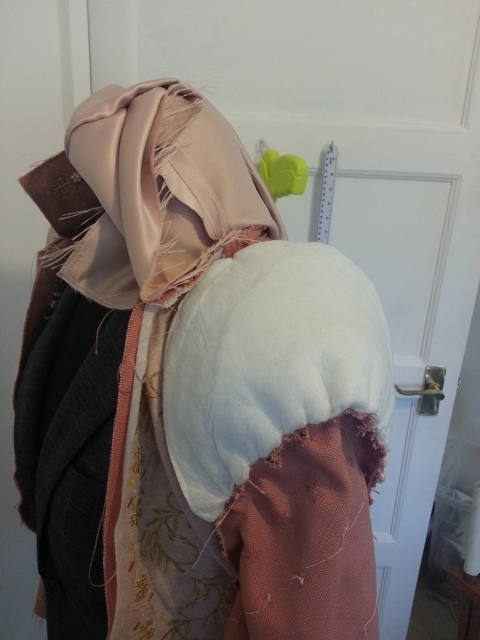
This then gets sewn onto the shoulder seam with a whip stitch.
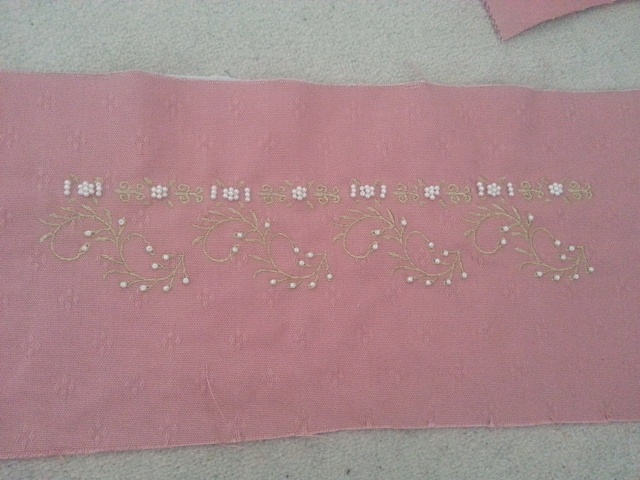
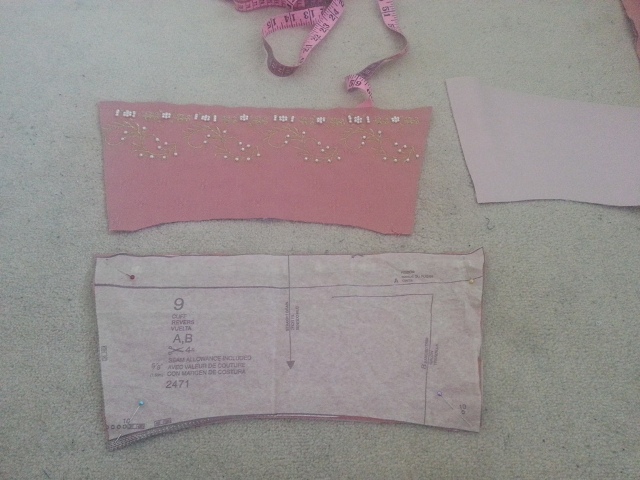
Now time for some cuffs! I use the same repeat pattern and embroider it 4 times along in a line. Plus some more pearlsssss.
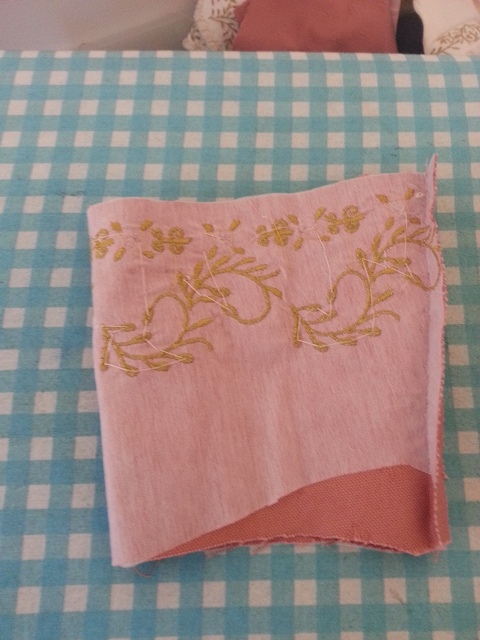
Sewn in a loop
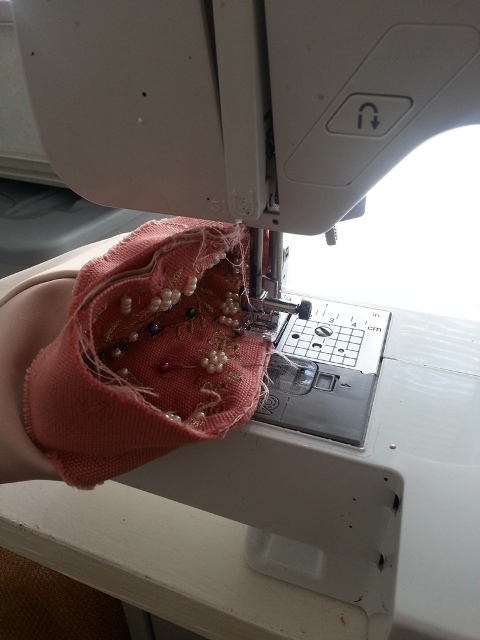
Adding the bias binding and lining.
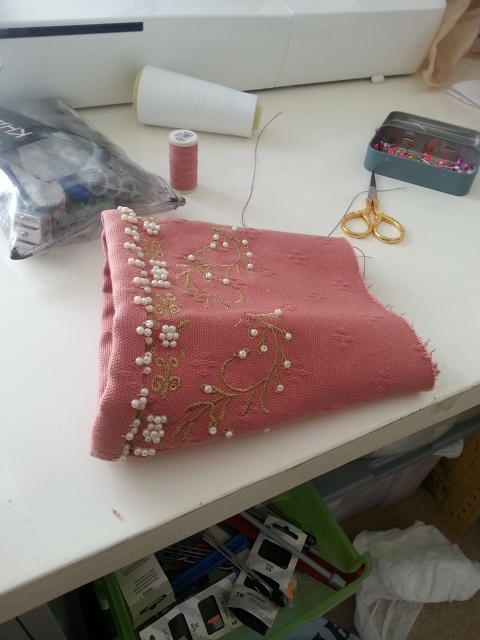
I use the pearls to hold the bias down, saves stitching it separately by hand.
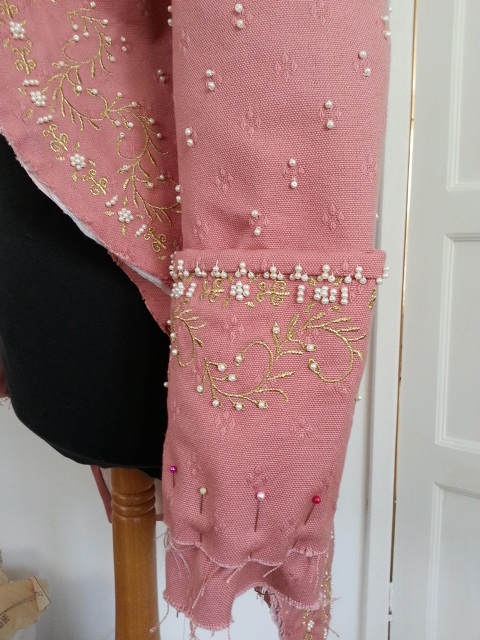
The cuff gets added to the bottom of the sleeve. I have quite short arms so this is a chance to make sure the sleeves are the right length.
Once the cuff is sewn to the bottom of the sleeve. The lining has been sewn in already and bias bound so the sleeve is the final part of the lining.
The lining is then hand stitched to cover up the stitching.
Last bit of embroidery- I need buttons for the side, cuffs and back.
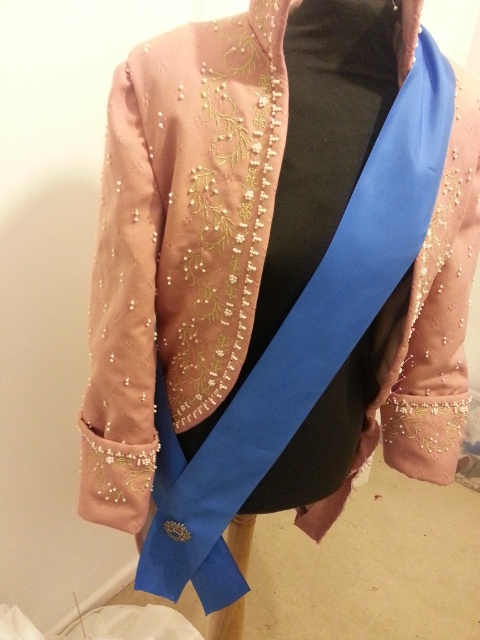
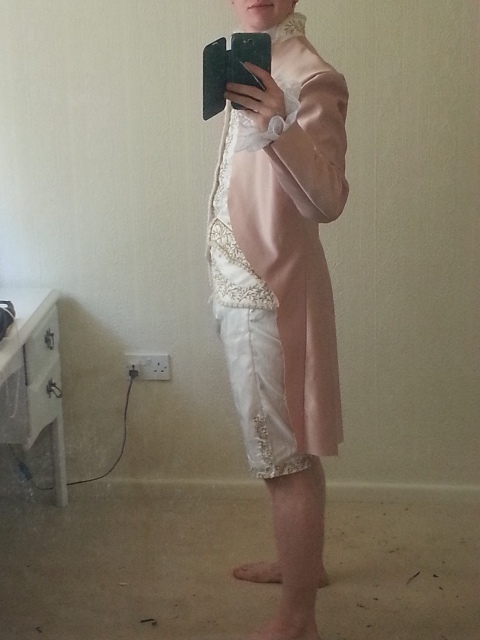
Then another 1000 pearls later, and I’m all done!
VICTORY.
Leave a Reply