


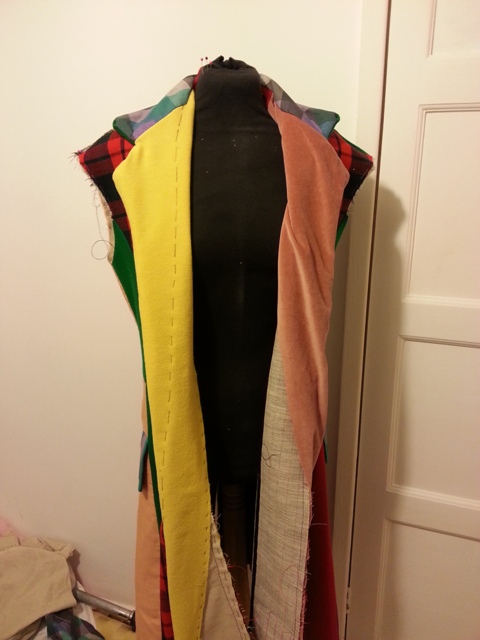
Next step is sewing the lapels in and trying to get a beautiful crisp edge.
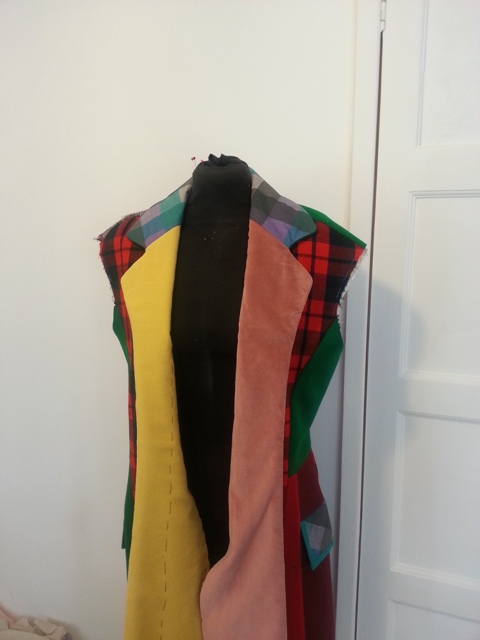
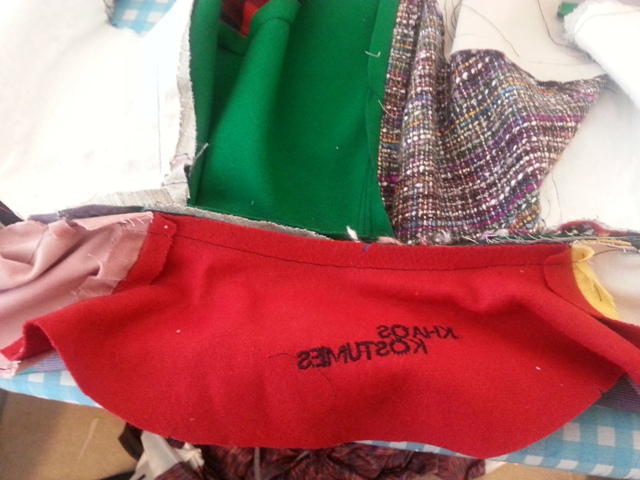
First part is pinning the lapels and top collar all along the outer edge of the coat.
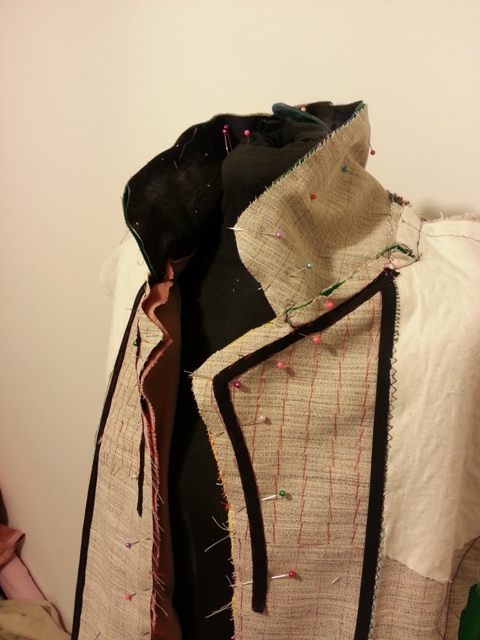

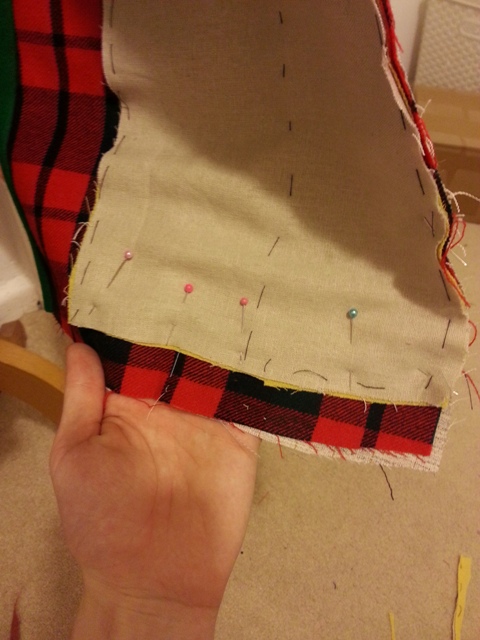
The bottom gets pinned above the hemline and then trimmed down.
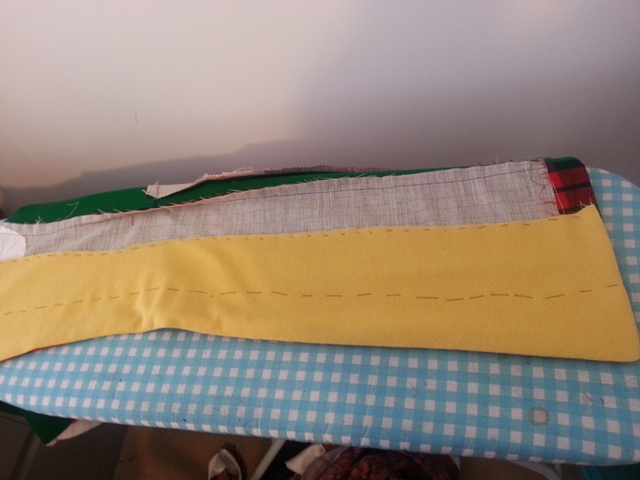
Then it’s happy sewing time all along the edge.
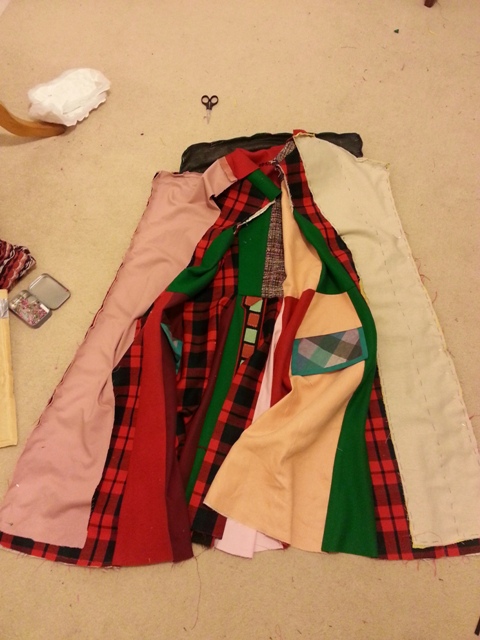
A quick flip inside out to check if everything is where it’s supposed to be, then time to add the bias taping at the bottom.
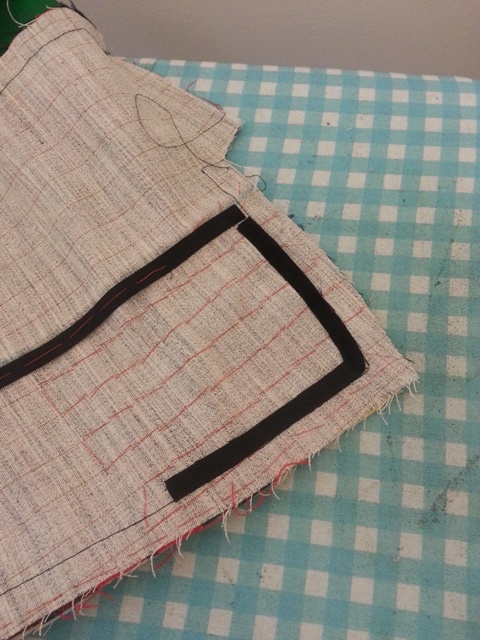
This gets hand stitched into place and gives a crisp line to fold over.
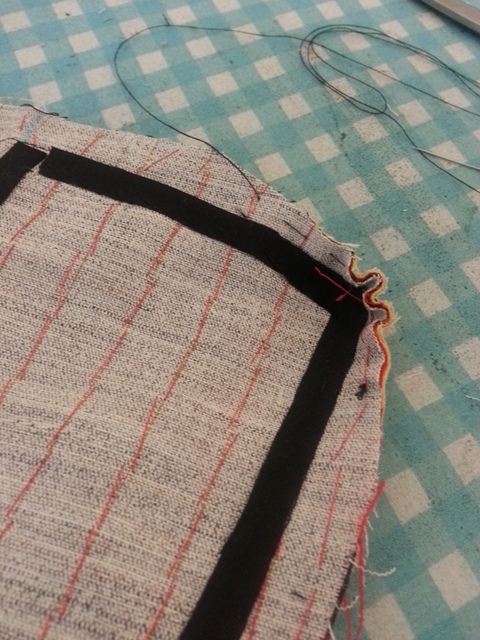
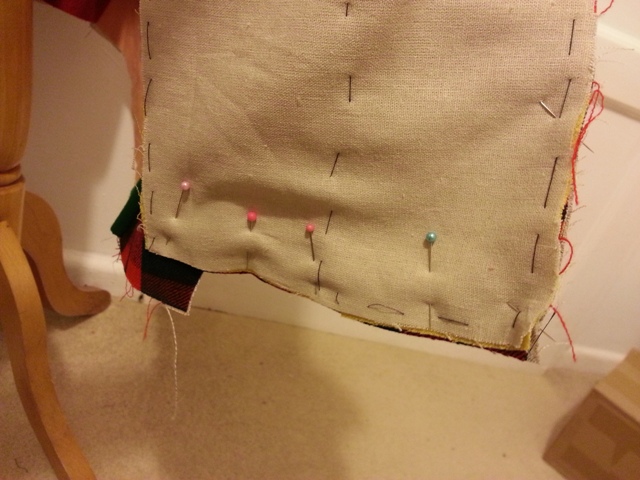
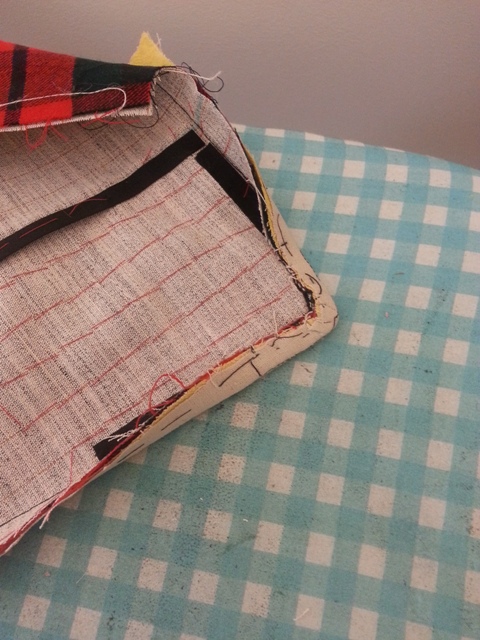
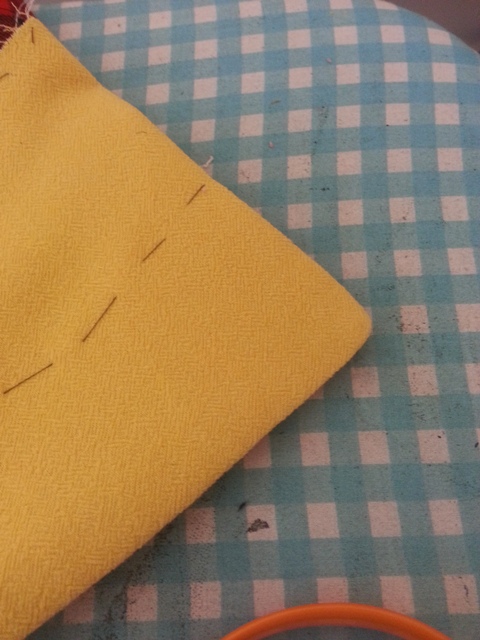
This step is THE MOST AWESOME TIP that I’ve learnt this year. When turning a corner the standard way to do it is to clip the corner and fold inwards- nice but runs the risk of fraying. Instead what you can do is sew a line of running stitch in the corner and gather the fabric in.
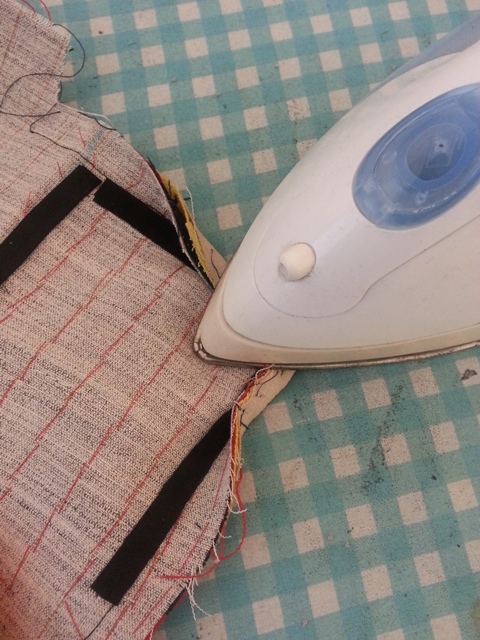
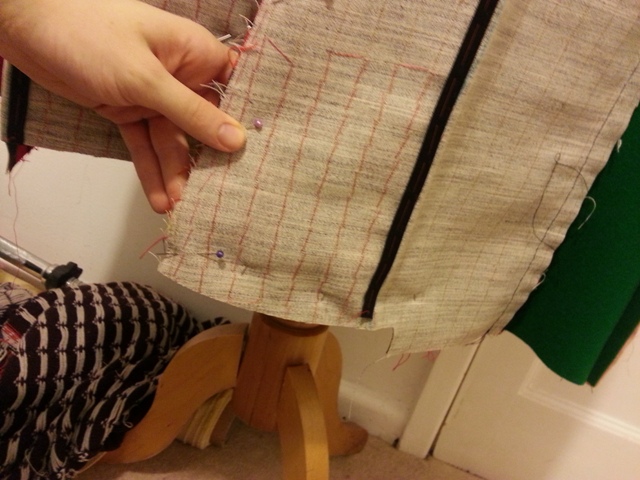
Then iron down flat.
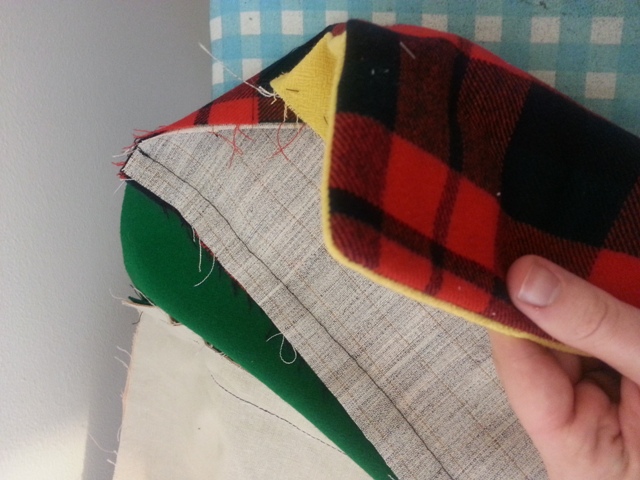
And BAM a neat little corner.
Which when you fold out looks like this- the most beautifully crisp edge that I’ve ever seen!
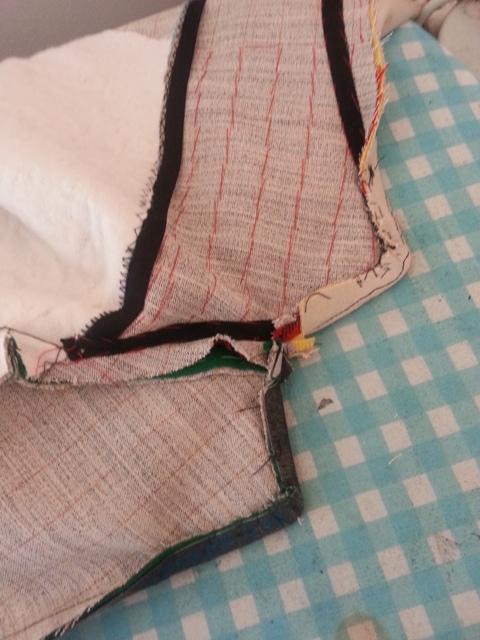
Repeat the same on the collar corners.

Then the facing gets secured to the inside of the coat so it doesn’t shift about.
Then I tack the lapels down inside to secure them.
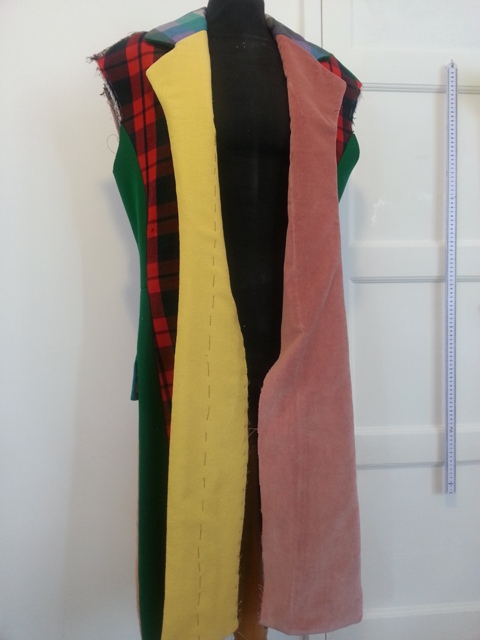
And yes, beautifully turned lapels!
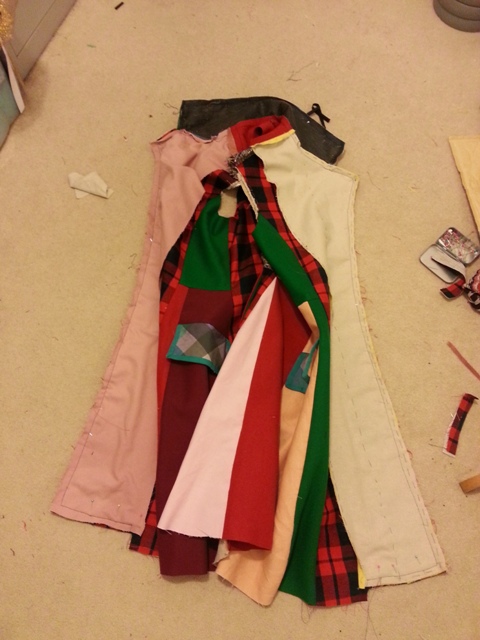
Next step, adding the lining.
Leave a Reply