


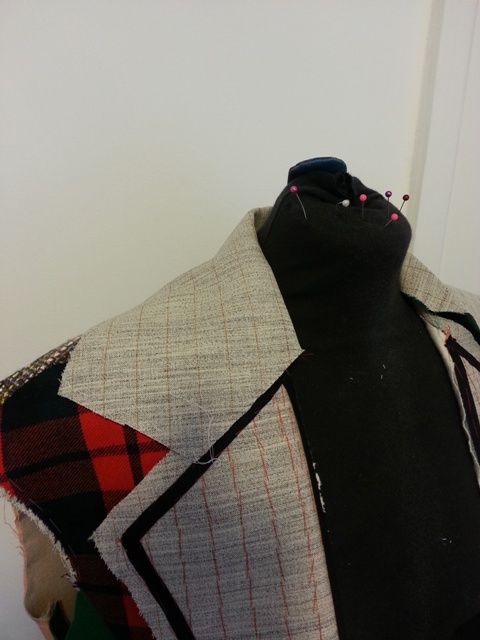
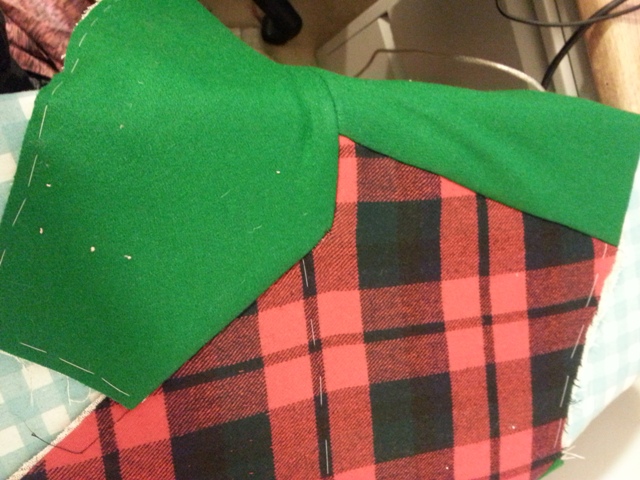
Time to add those classic collar pieces!
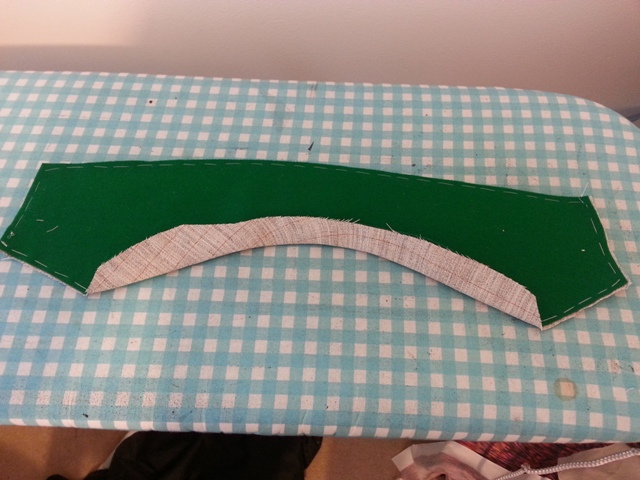
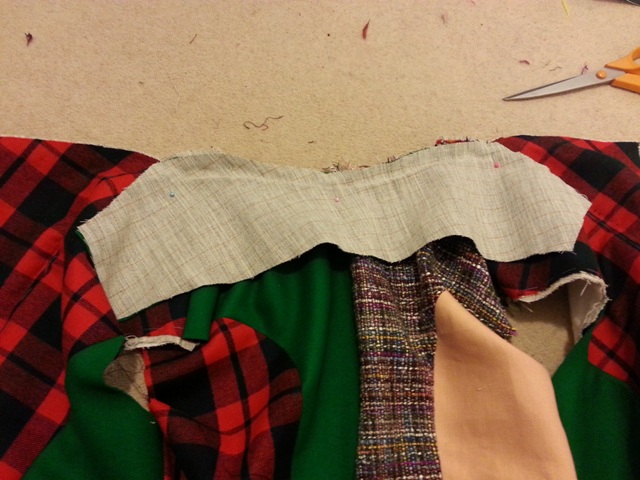
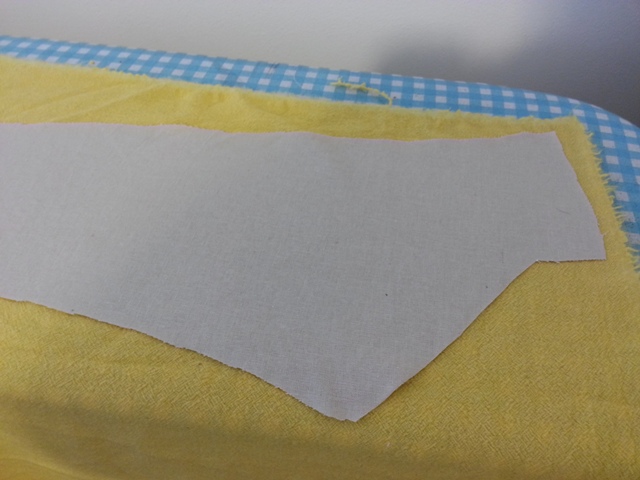
First step was to baste a bias piece of horsehair canvas to the green wool under collar.
This will go on here in on the main suit.
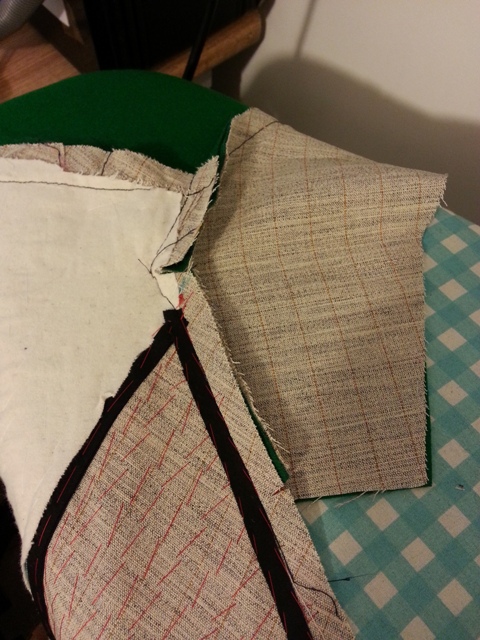
First step was sewing the neck down. It’s important to mark the swivel points of the corners to align it properly.
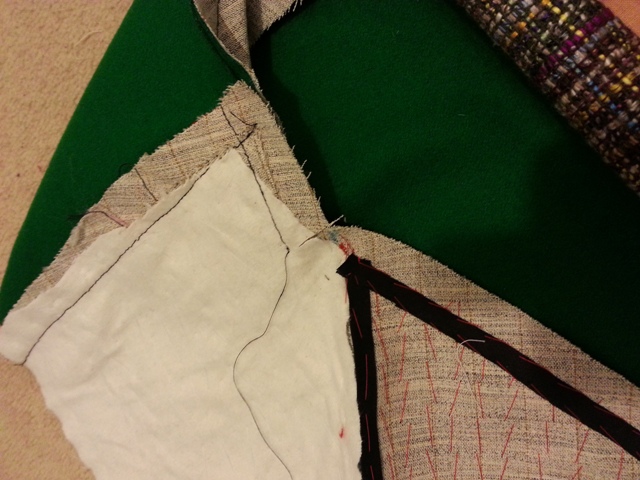
Here I’ve done the scary snip into the corner to allow me to continue sewing.
This opens it up and allows you to do this.
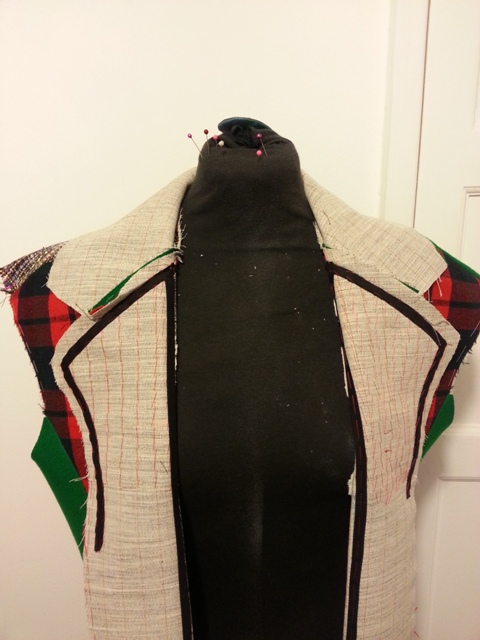
And ta-da- a beautifully set under collar!
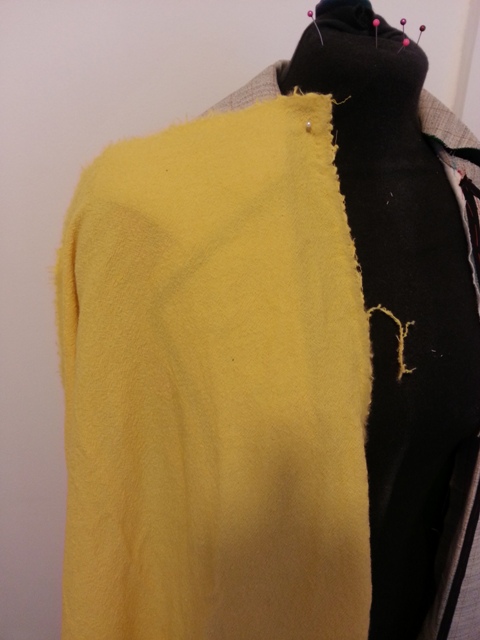
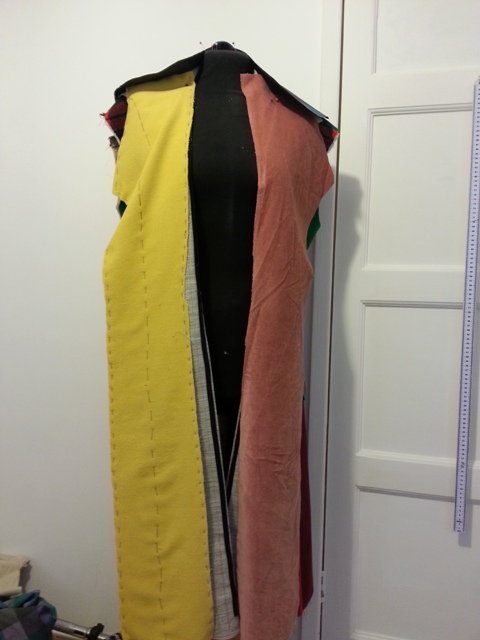
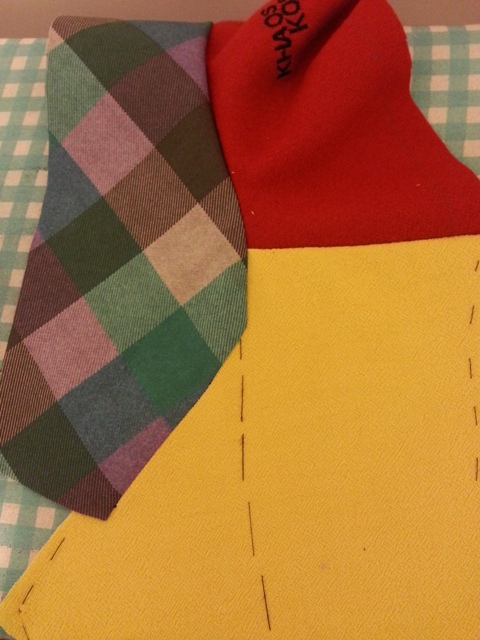
Next step is the famous lapels! This is the white crepe wool that I dyed yellow in my washing machine. As you can see it’s slightly see through and a bit stretchy so I lined it with linen.

The cut out yellow lapel then became the pattern for the pink lapel so I knew they were even!
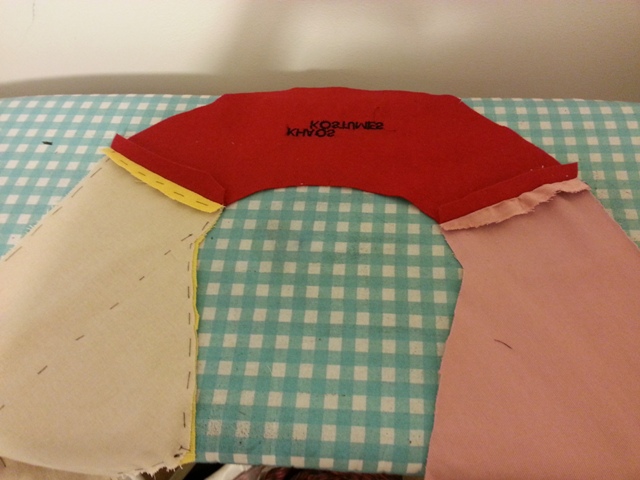
Now a bit of branding! It’s not something I like to talk about, and this commissioner is a lovely chat, but I always add my logo to costumes as people have been known to commission me and enter my work into competitions under the guise that they made it. Adding an embroidery label means the judges have solid proof that it’s someone else if it does happen. It also means in the future if someone finds some of my work they’ll be able to find me!
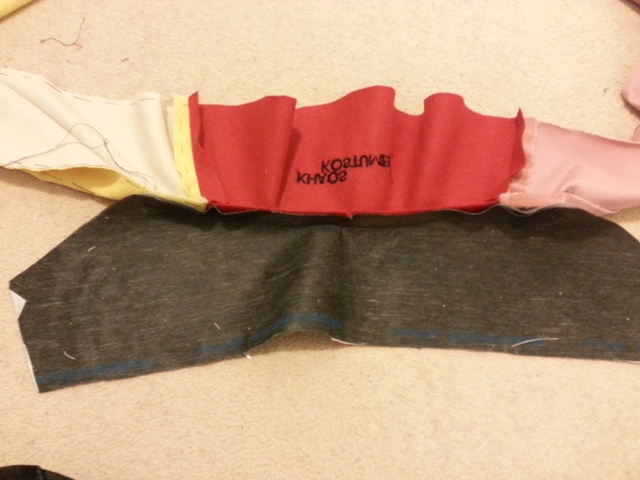
This bit was stupidly difficult to figure out what way round everything went. I had to unpick it twice!
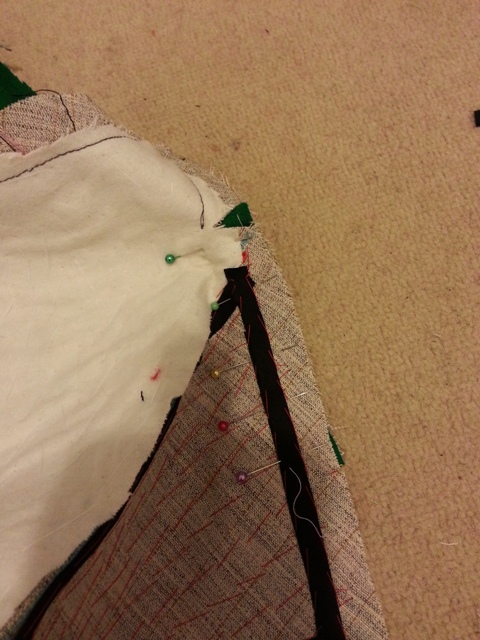
The collar gets added the same way as the under collar.
Snipped and rotated!
Et voilà!


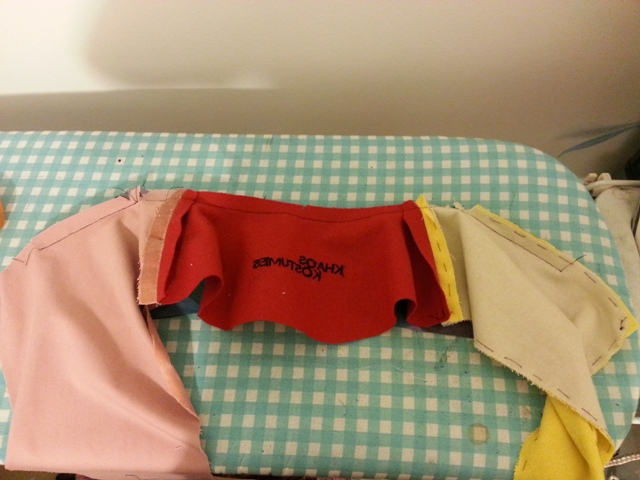
Now a beautiful set of lapels and fastenings- next step is sewing the damn things together…
Leave a Reply