


I’ve always wanted to do the fancy tailoring thing where you use a pick stitch to roll the lapel and get a smooth curve- well here it is!
I used the guide from this book

Christian and some friends got together and bought me it one year- thanks guys!
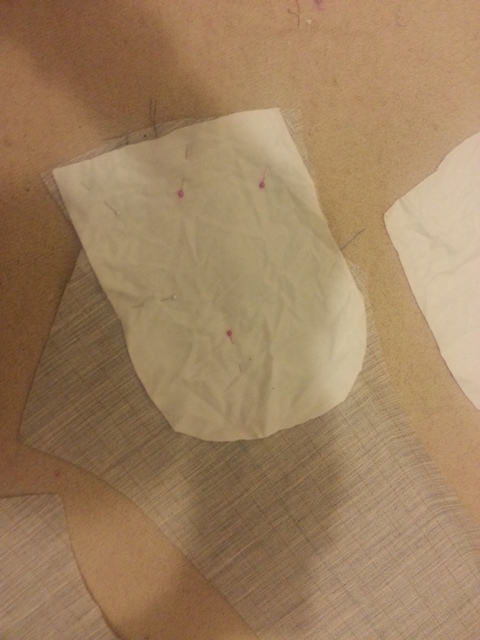
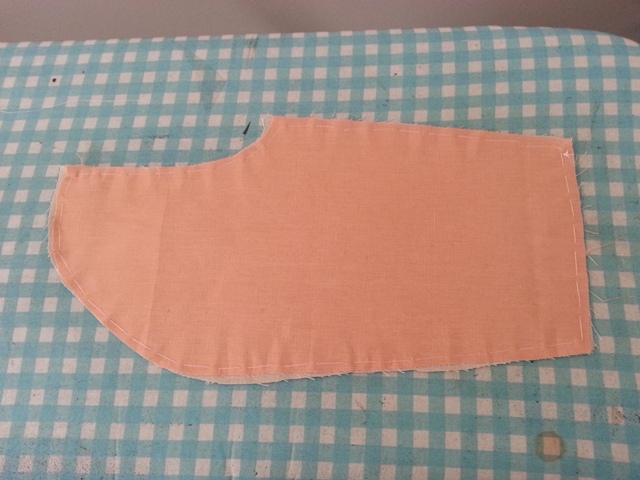
First step was to cut all of the front facing of the lapel out of horse hair. You can buy this in fabric land- it’s not actually that pricey!

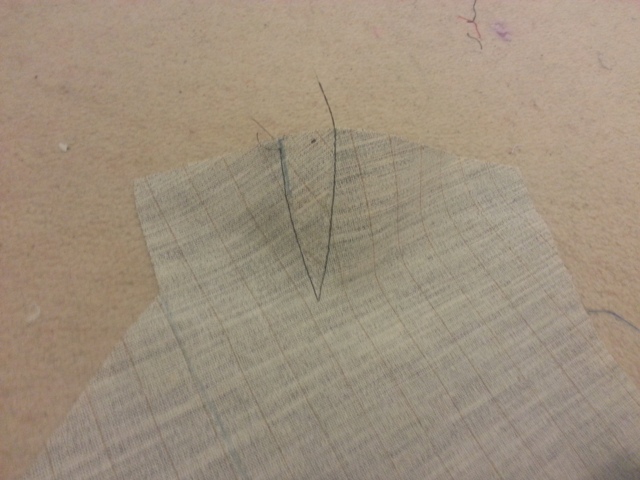
I cut a nick in the top of the horse hair and added a vent to it.
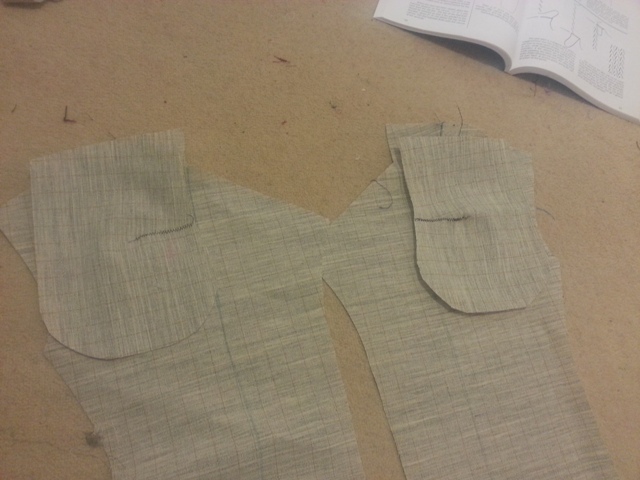
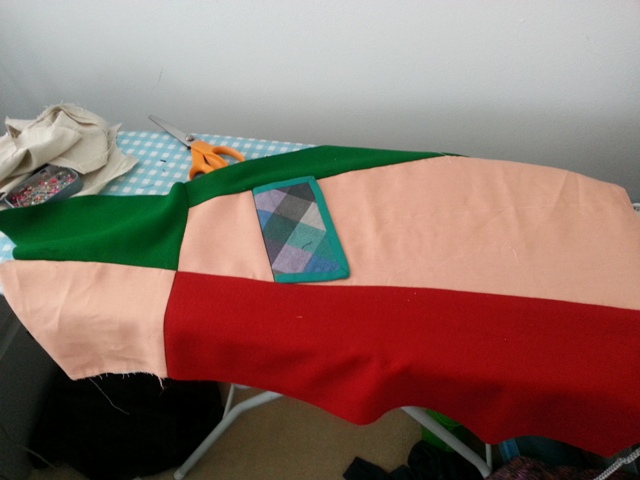
Then these shapes were stitched together over it.
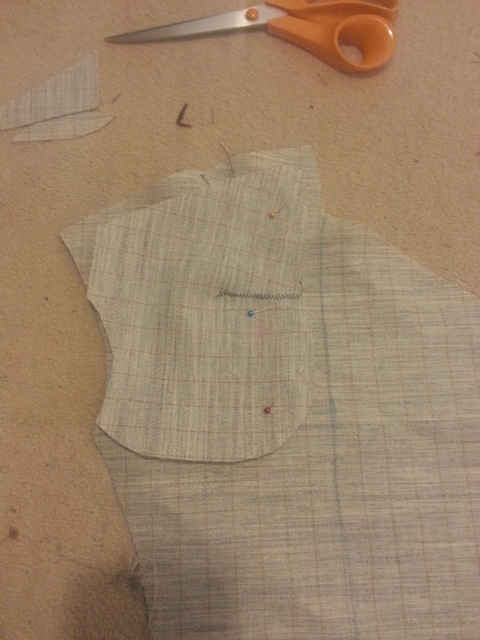
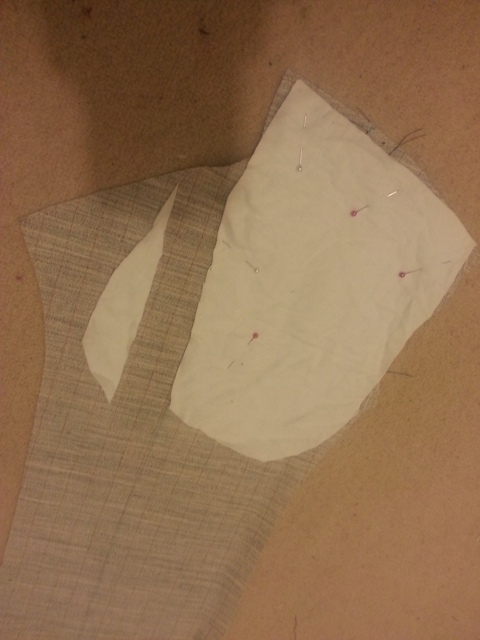
Pinned down
The top of the second layer was then trimmed down.
Then a 3rd section is laid over the top.
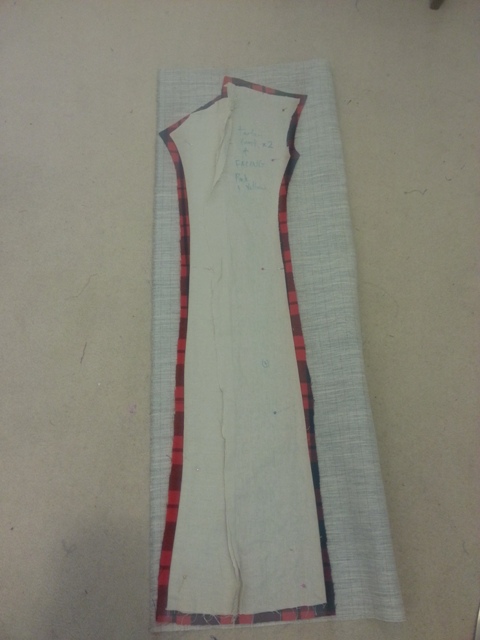
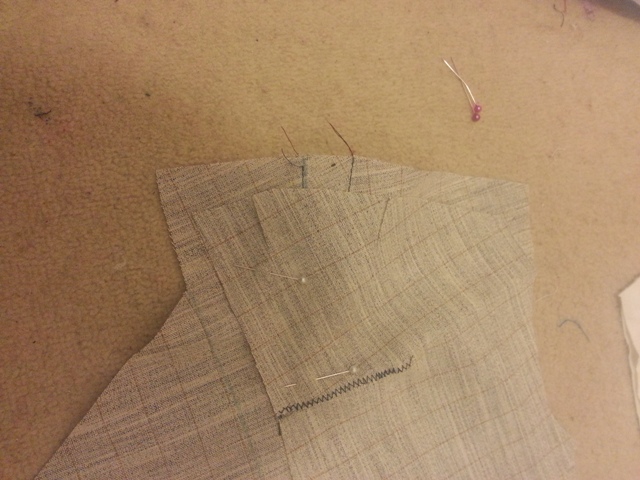
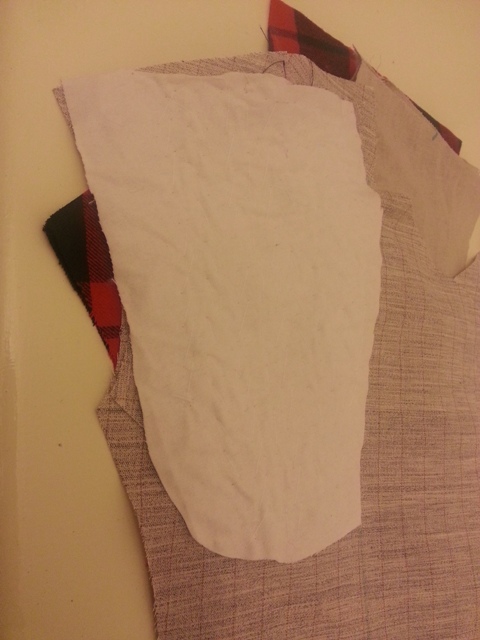
Then a section of brushed cotton/cotton mull cut out and laid over.
Trim the edge so it doesn’t interfere with the lapel.
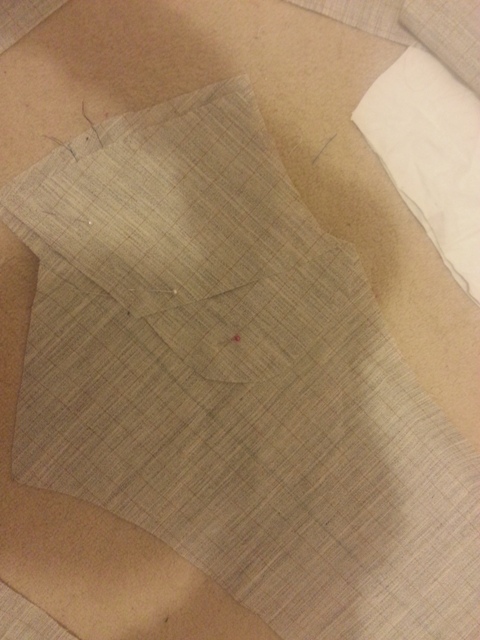
Then you pad stitch the hell out of it. What does this even give you, you ask? Basically this magically makes suits the curved shape of the human body. I was dubious even as I was following the instructions, but hot damn it really works!
If you’re not familiar with pad stitching then the Wearing history blog has a great tutorial on it: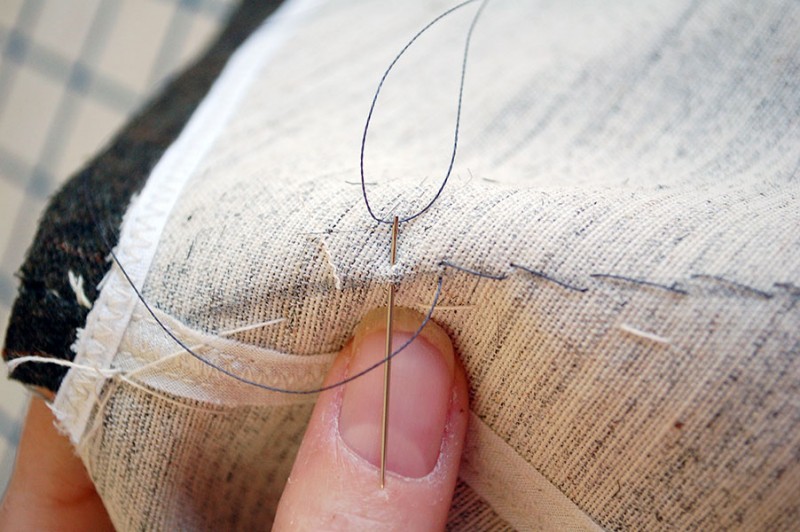
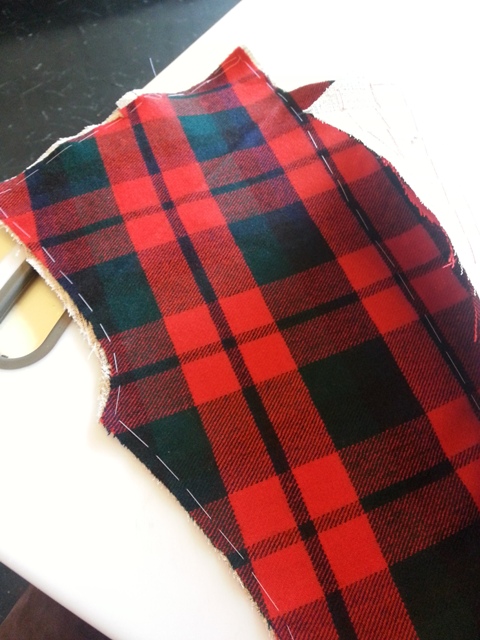
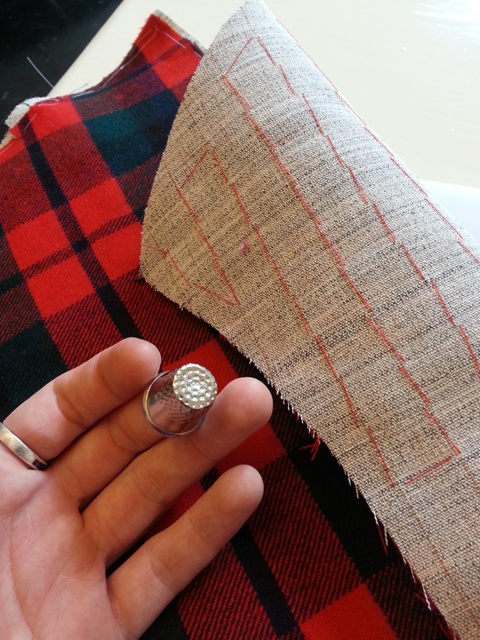
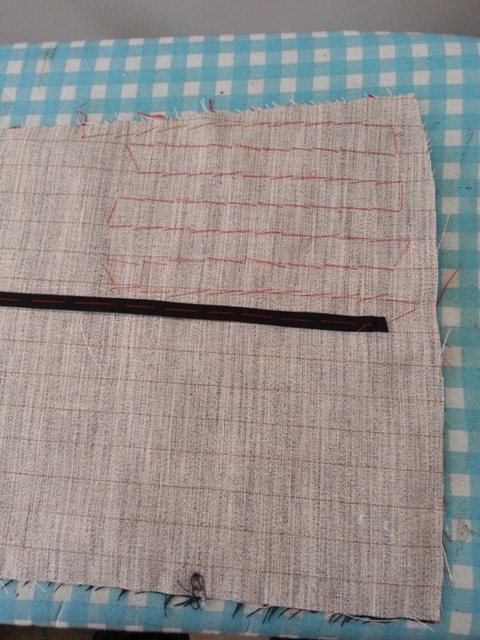
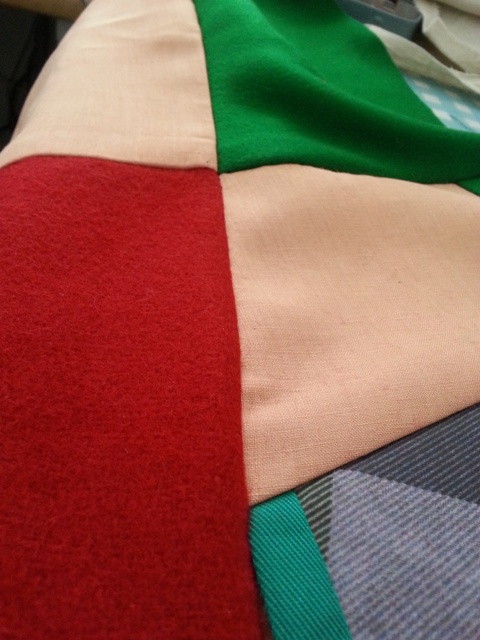
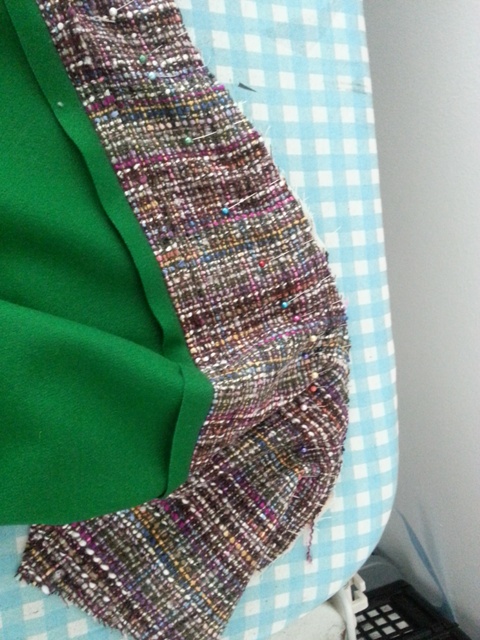
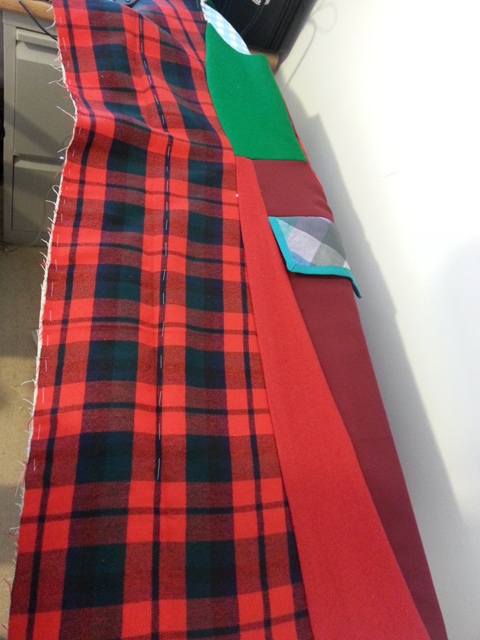
The tartan is then basted to the finished horsehair support. This is called the canvas- you can buy them premade if you want but it’s not really worth it.
Then using a matching thread and I thimble I slowly stitched over the surface, rolling the lapel as I went. I decided to do one point every cm squared.
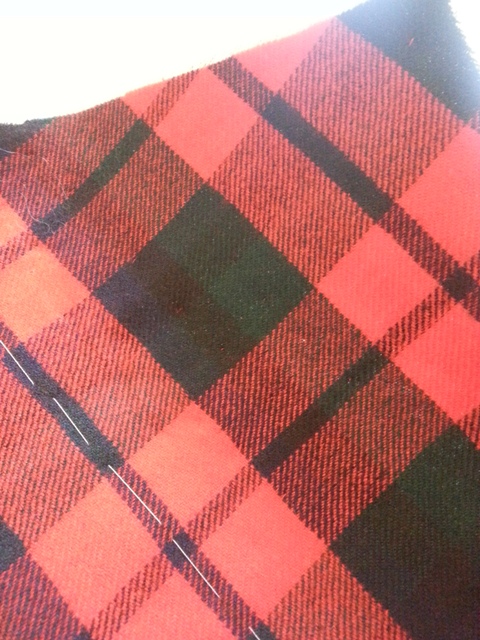
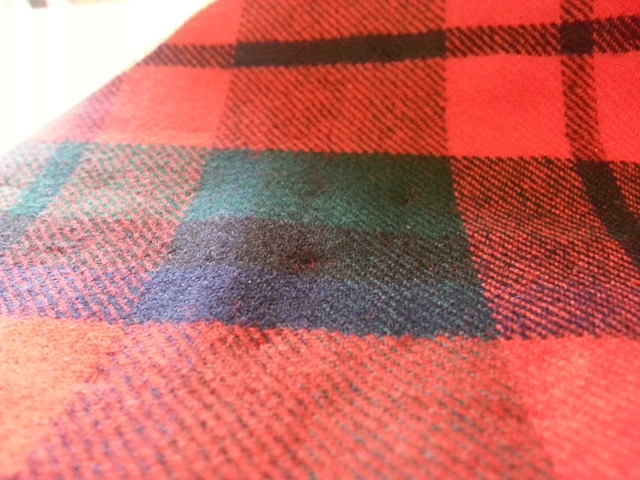
As you can see it’s basically invisible on the tartan side!
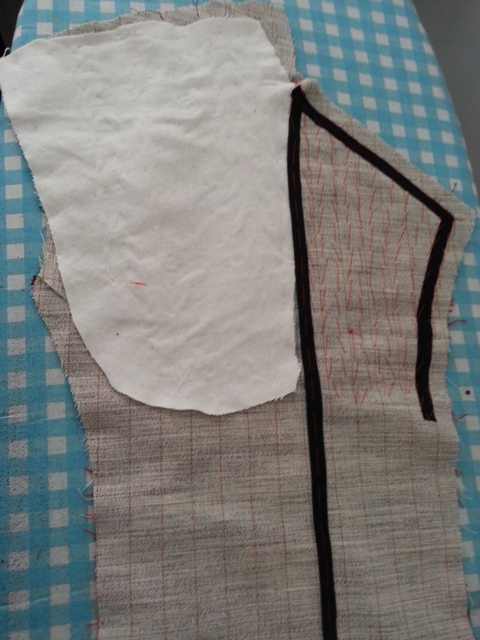
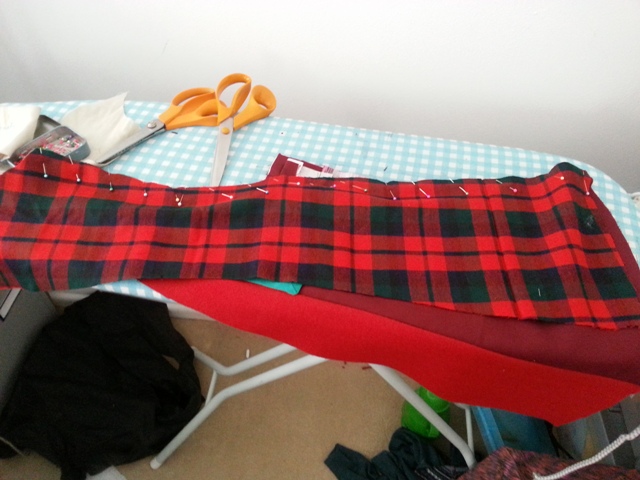
Then the awesome bit happens. If there’s one fancy tailoring bit you take away from this it’s adding bias taping to where you want the lapel to fold over. I tried lots of ways to sew this on with a machine but just hand stitch it, it’s far easier.
The bias taping goes all the way down the crease of the lapel to 3cm up from the hem.


When ironed open it gives the coat a beautiful crisp edge- no more randomly closing lapels!
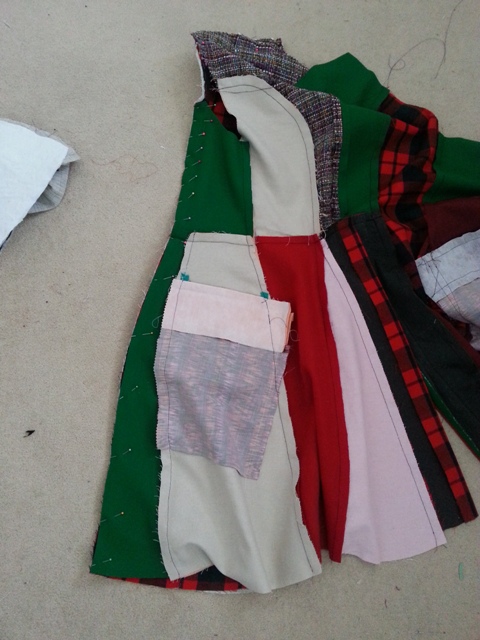
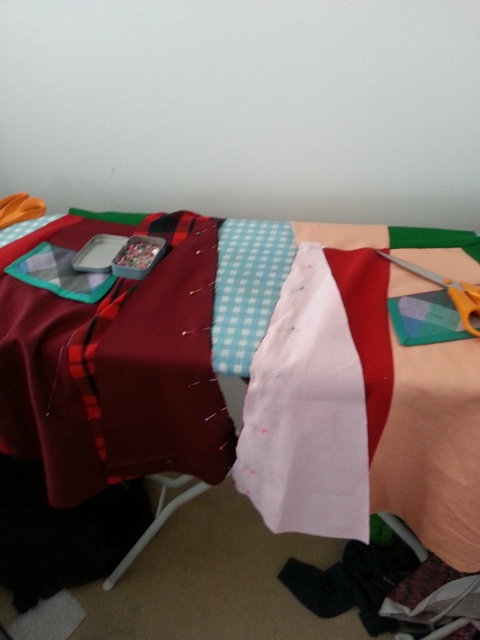
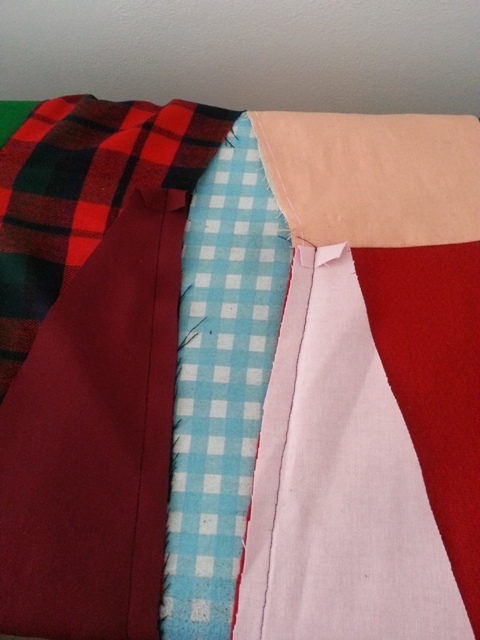
Then I sew all the other panels together!
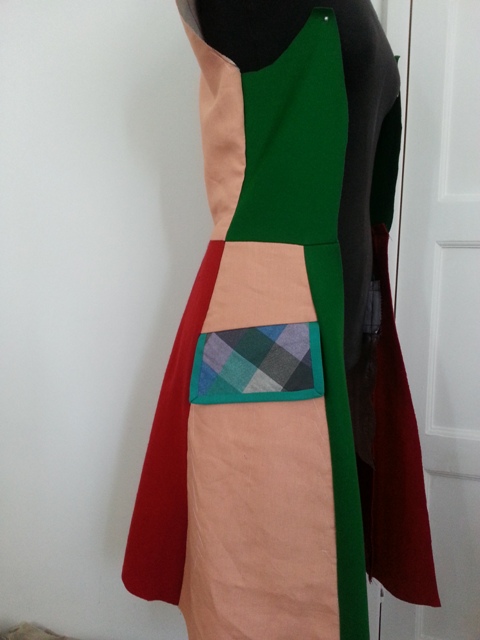

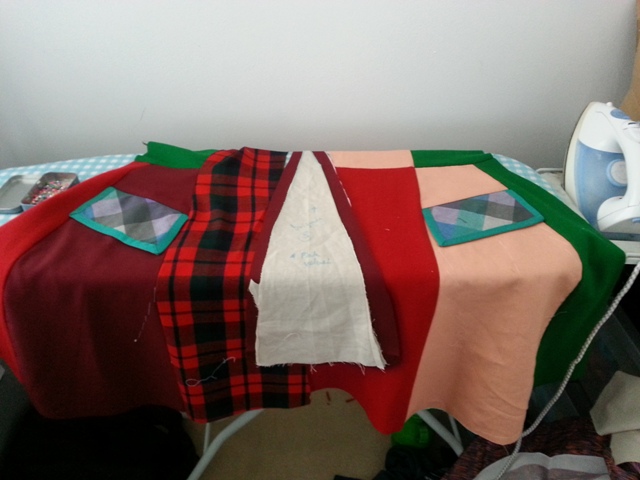


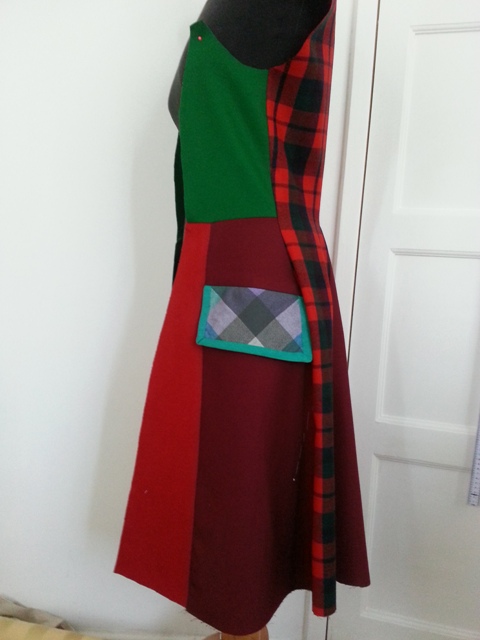
Tada! Next step is adding the collar!
Leave a Reply to Ian Michael MacPharlaine Cancel reply